F5 Distributed Cloud > F5 Distributed Cloud: SaaS Happens, Control the Flow Source | Edit on
Lab 2: Load Balancer Routes
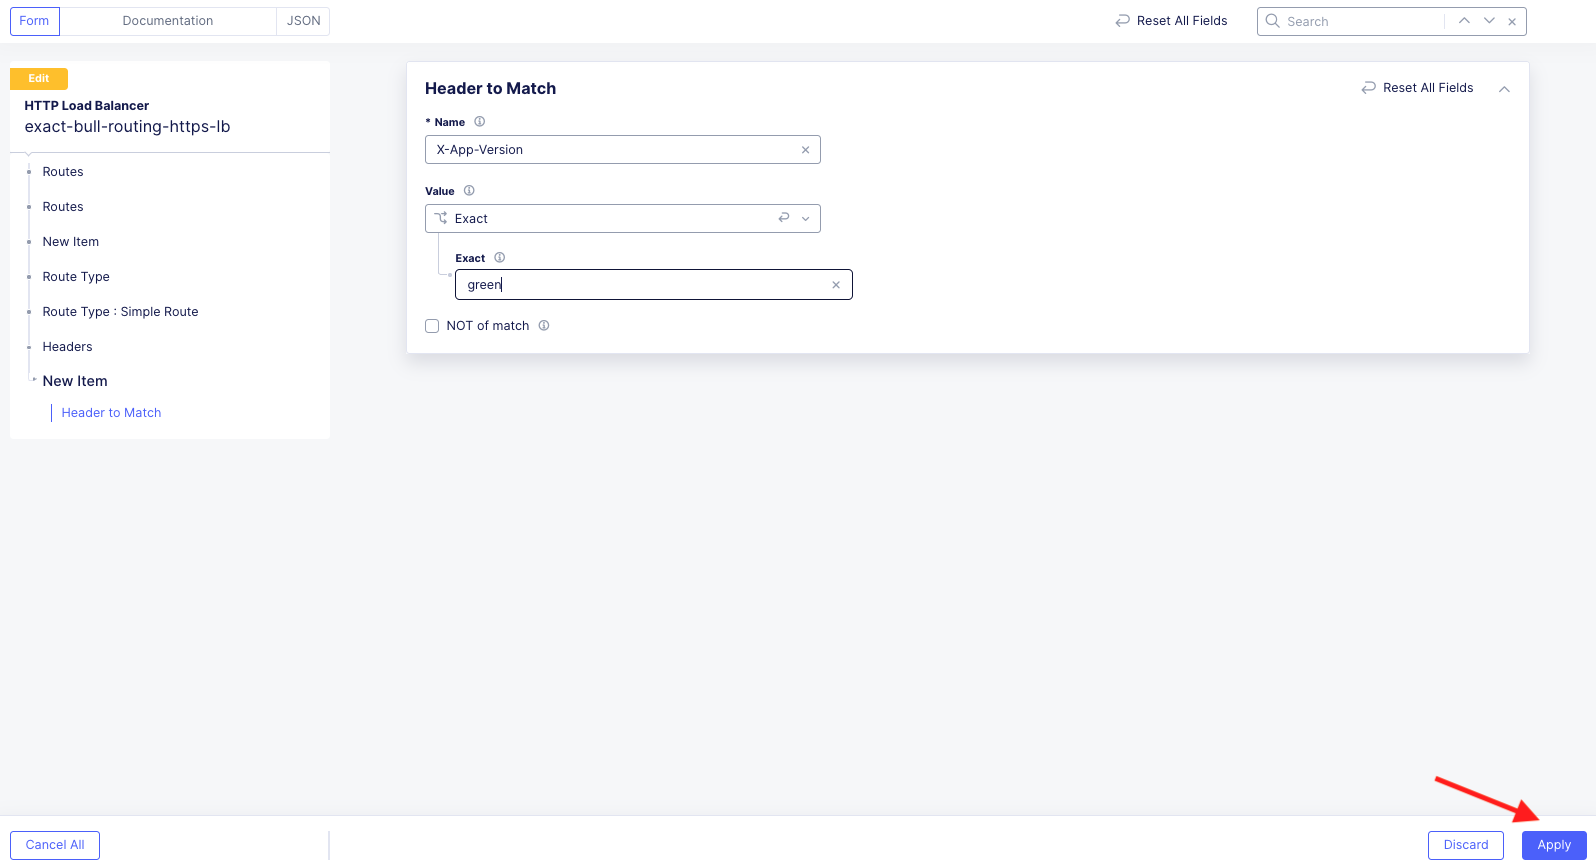
The following lab tasks will guide you through using the Distributed Cloud Console to configure routes within a HTTP Load Balancer. Students will start by creating a route to steer traffic based on a specified HTTP header contained within the client request. Header based routing is often used for blue-green testing. Blue-green testing is a release strategy that uses two independent deployments (Blue and Green) for real world testing of software updates and application enhancements.
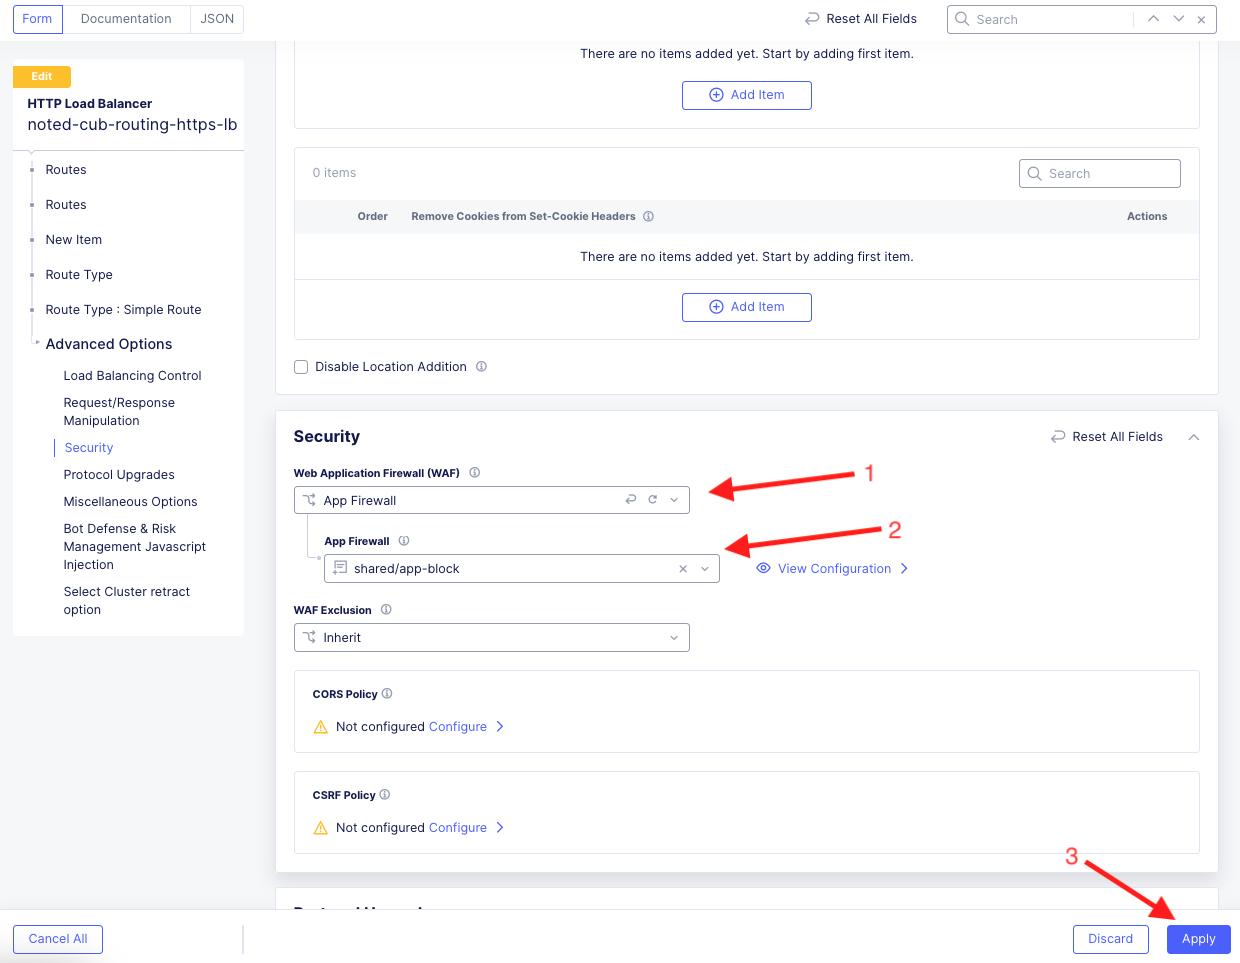
Next, students will apply a Web Application Firewall (WAF) policy at the route level. Applying a WAF policy at the route level allows security teams to apply more prescriptive WAF policies to the different components of the web application. For example, you may want to apply additional WAF rules for the logon portion of the application.
The last task within this lab is to deploy routes to modify application responses in transit. This task demonstrates Distributed Cloud’s ability to modify Requests and/or Responses. This can be used to add/remove headers used by the backend application, rewrite path prefixes and modify cookies.
Expected Lab Time: 25 minutes
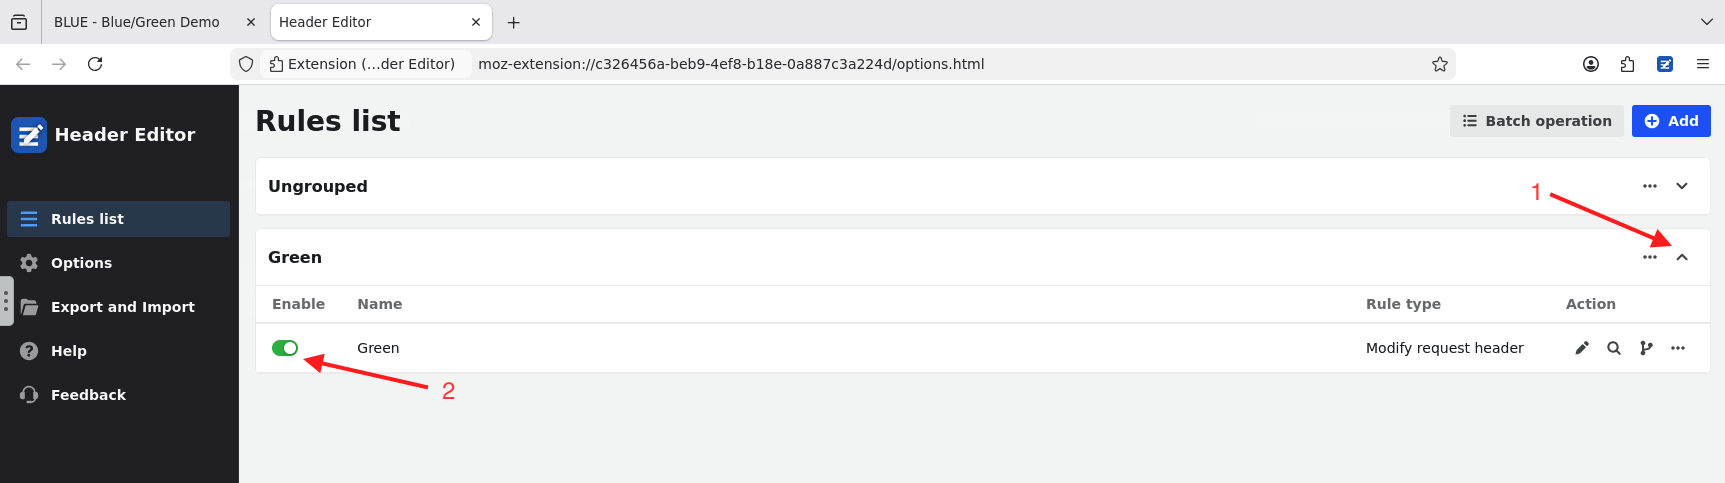
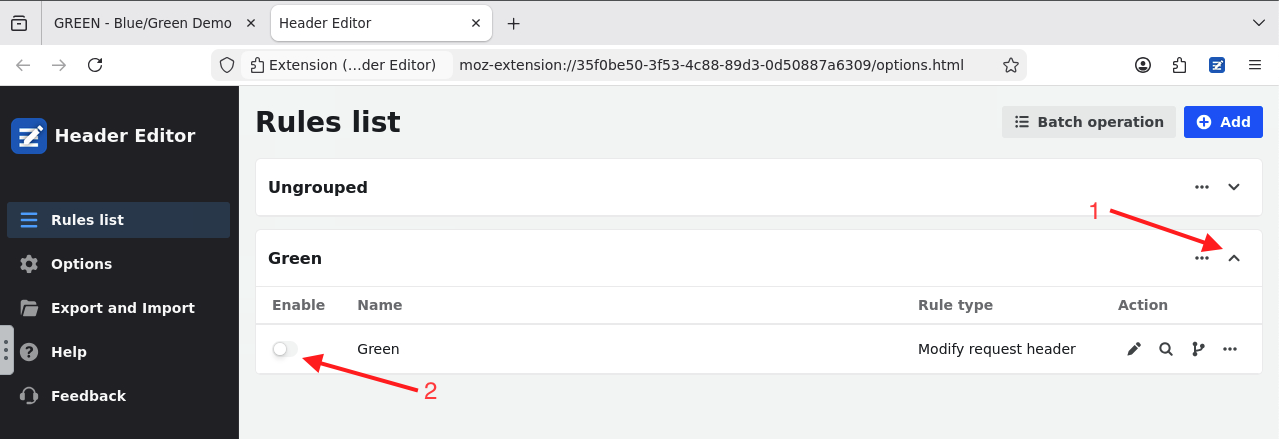
Task 1: Deploy a Header Route to Steer Traffic for Canary Testing
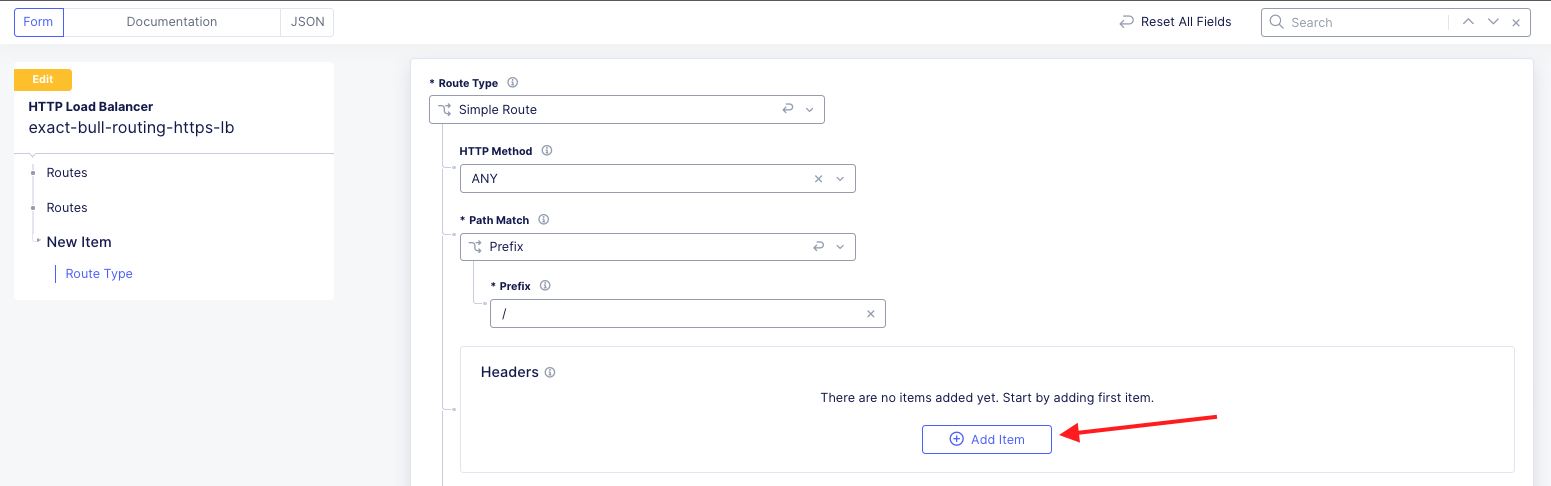
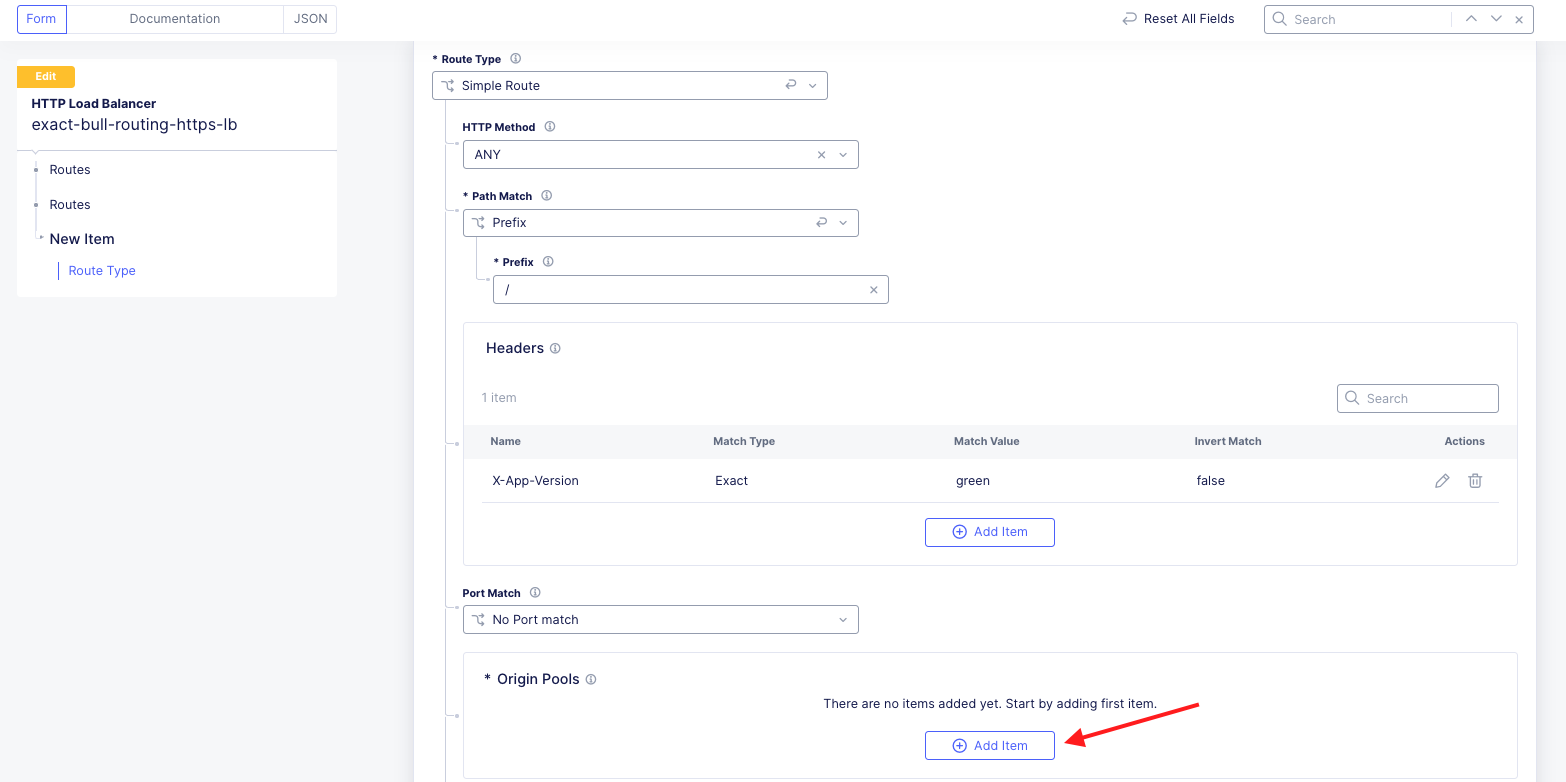
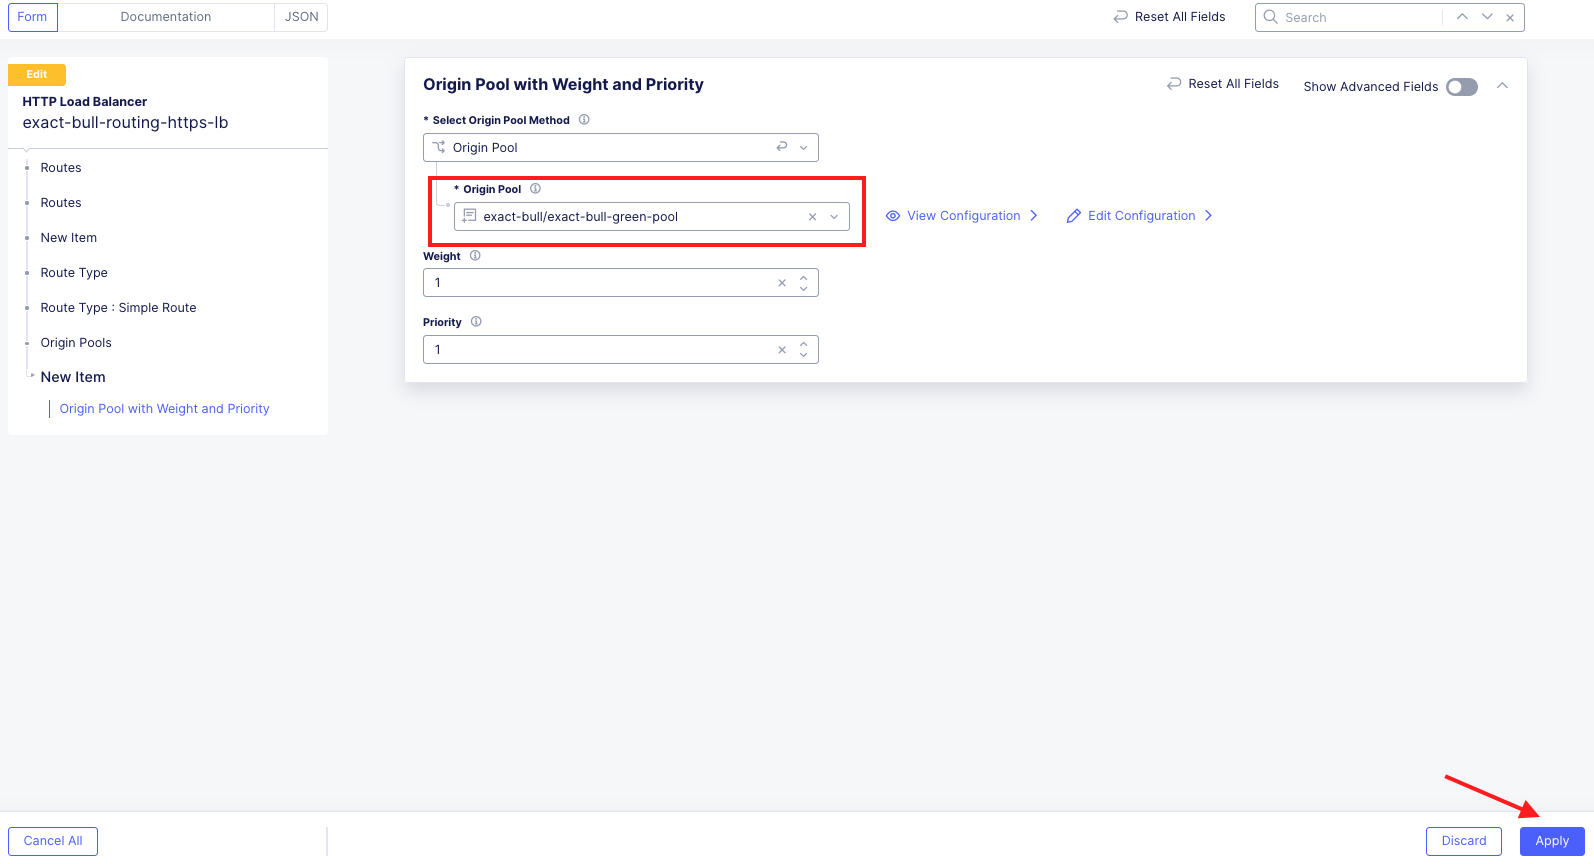
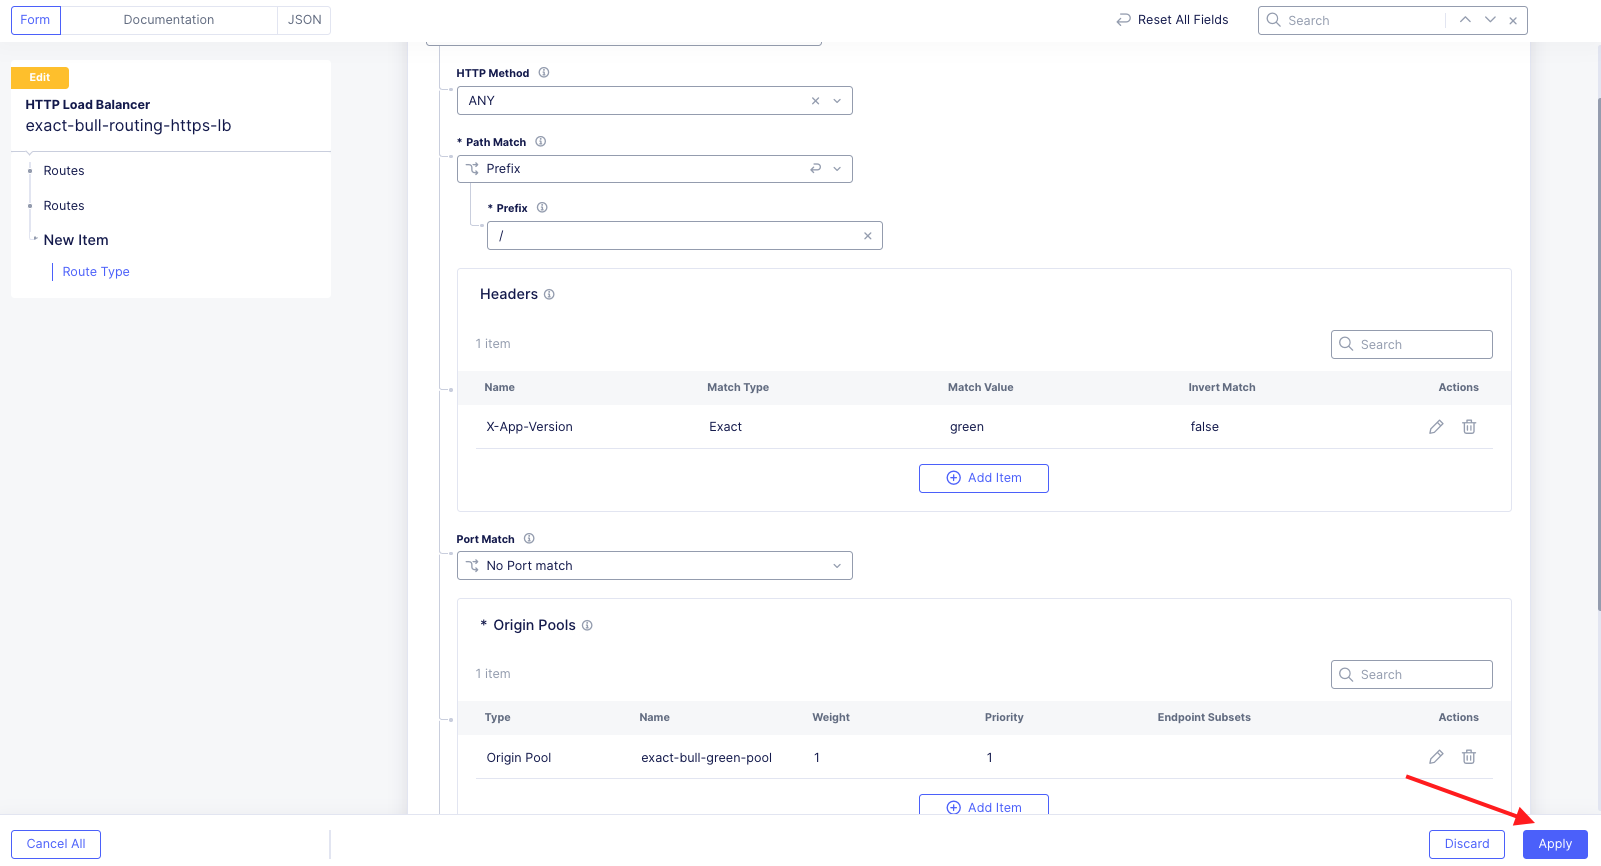
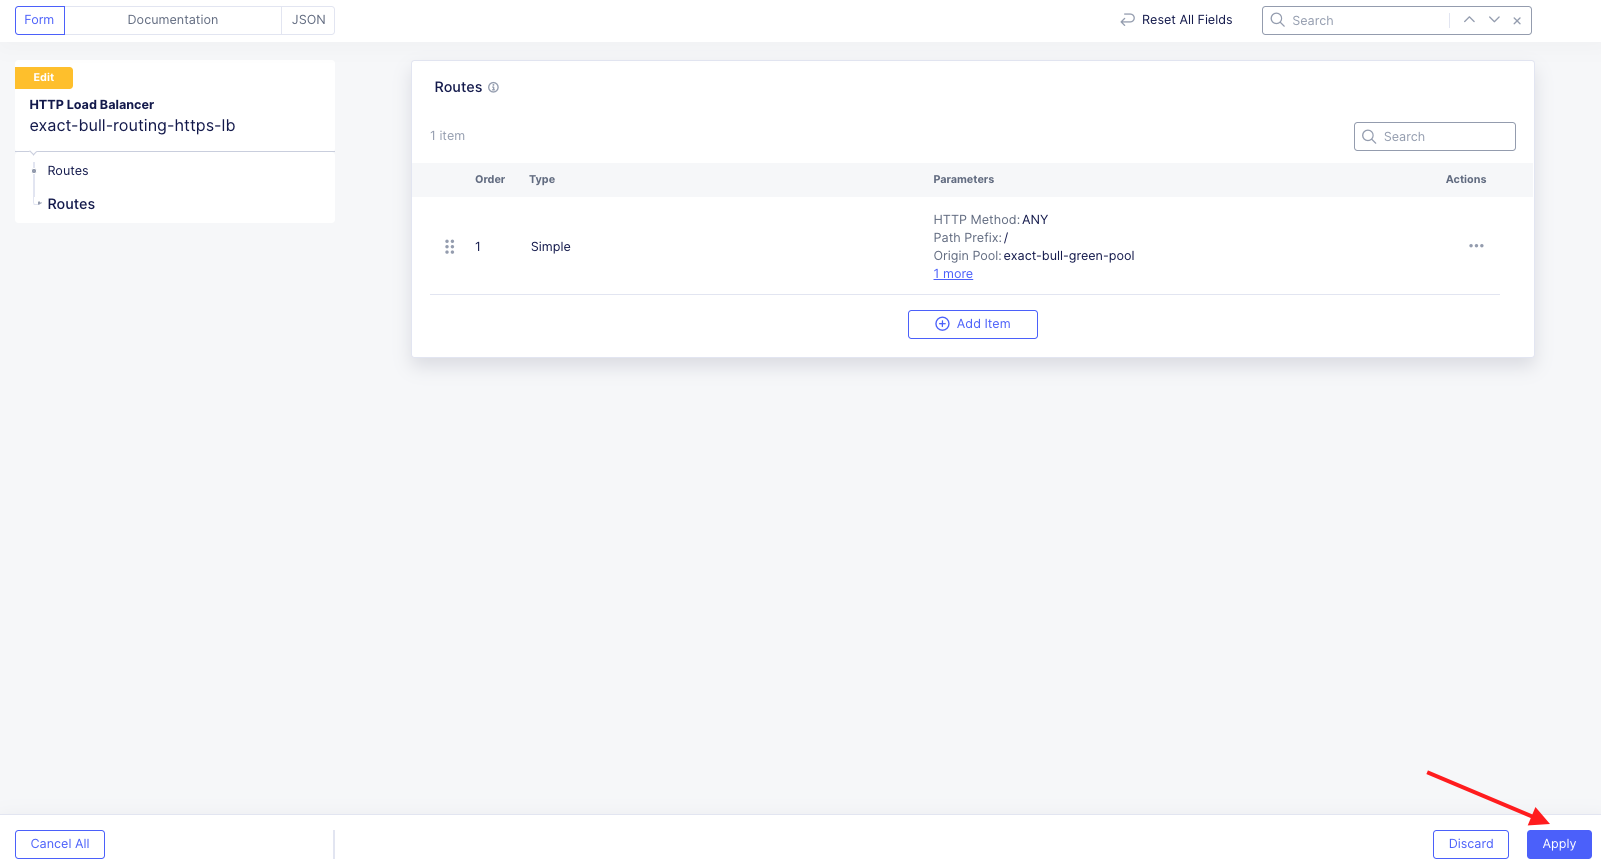
In this task, you will create a header route that directs traffic to different origin pools based off a specified HTTP header. This configuration can be useful for Canary testing. Traffic matching a specified header will be directed to a specified origin pool, while all other traffic will be directed default origin pool for the load balancer.
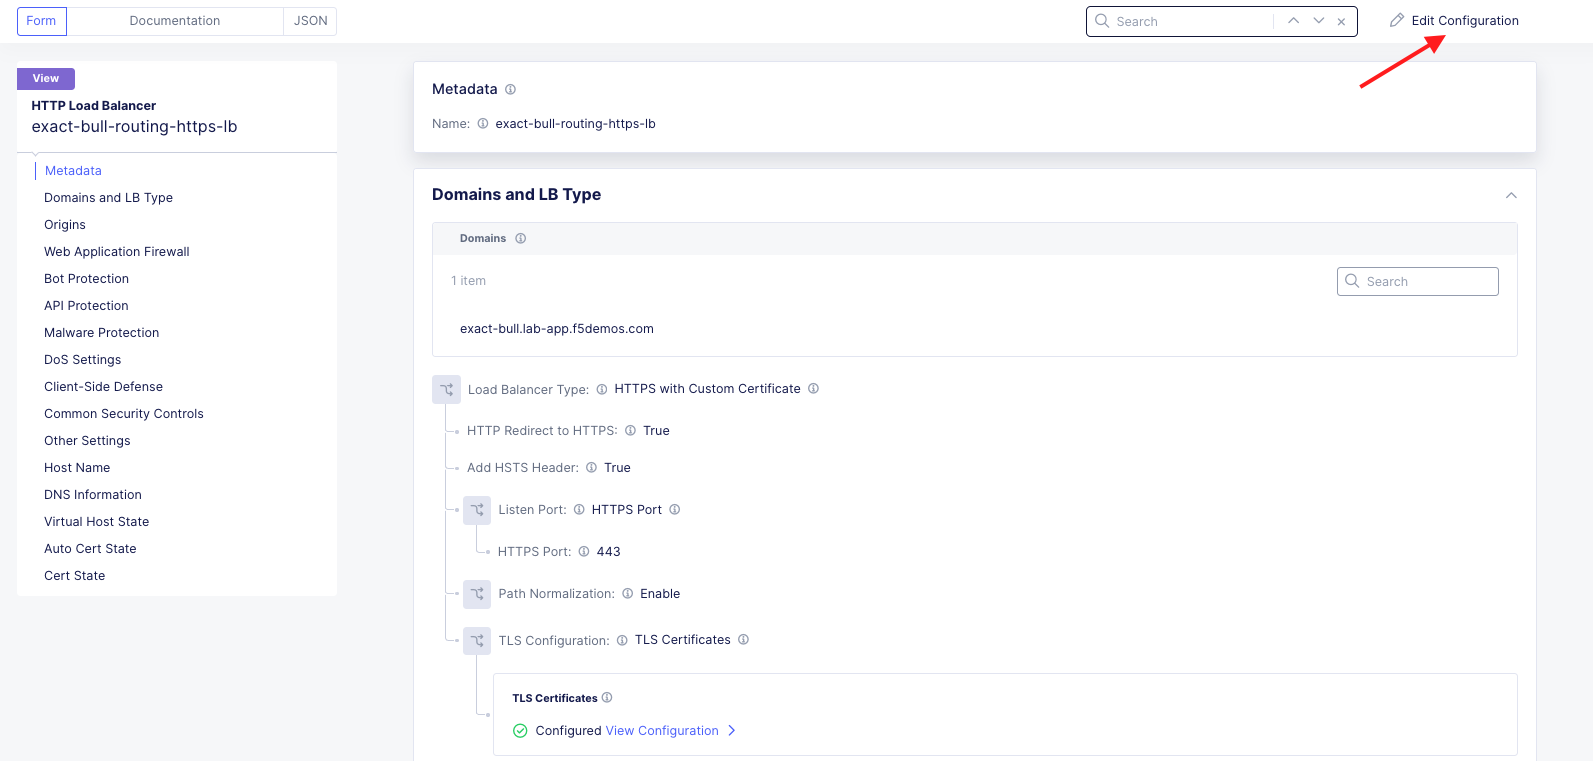
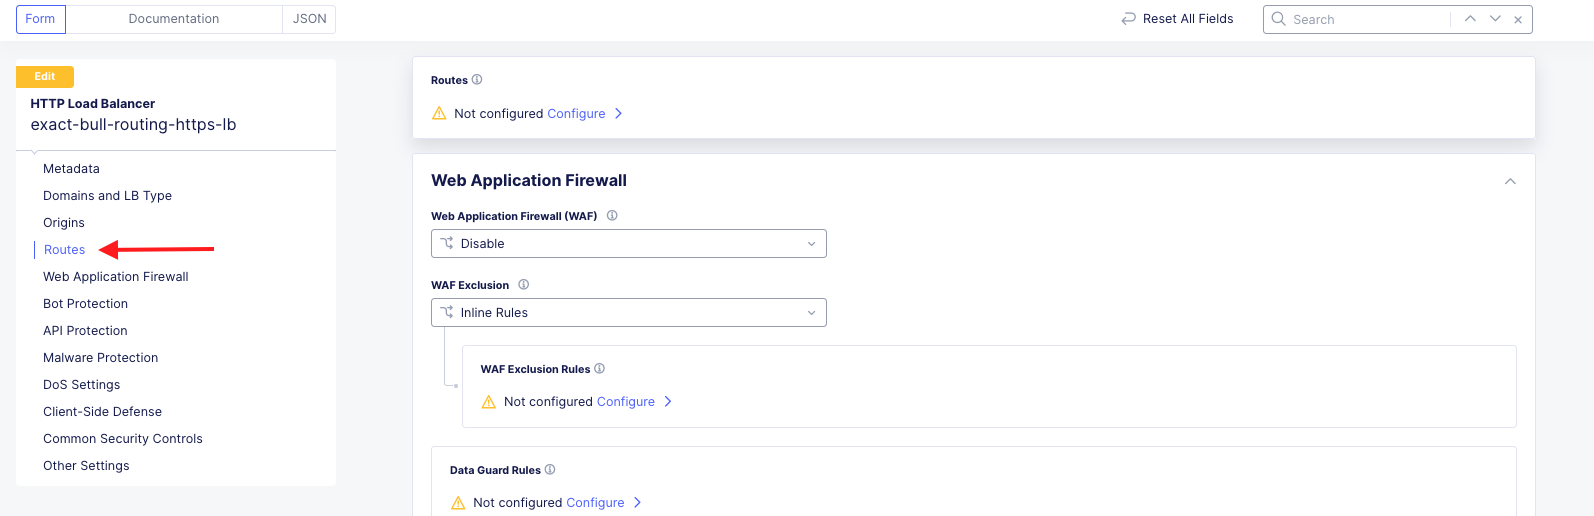
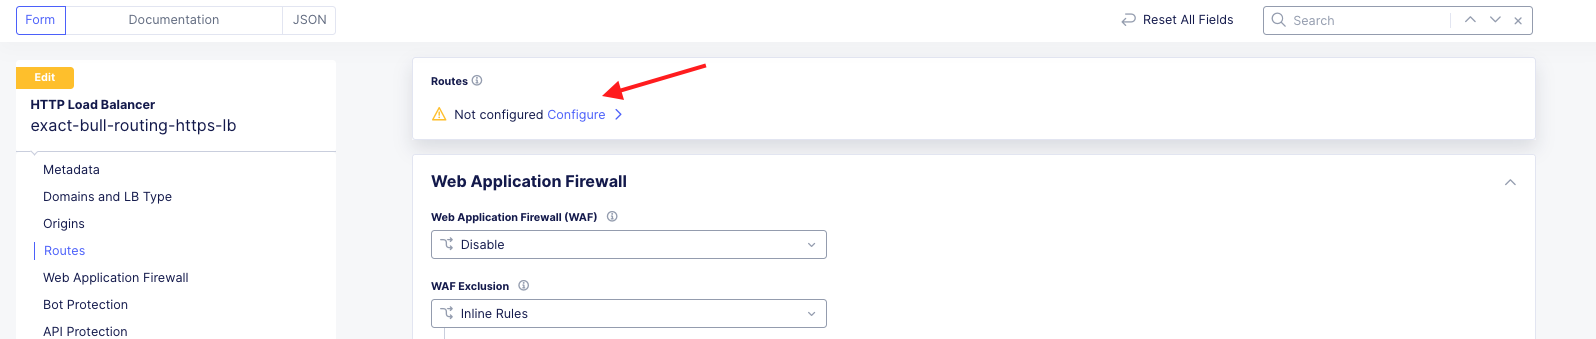
Configure a Header Route |
|---|
|
|
|
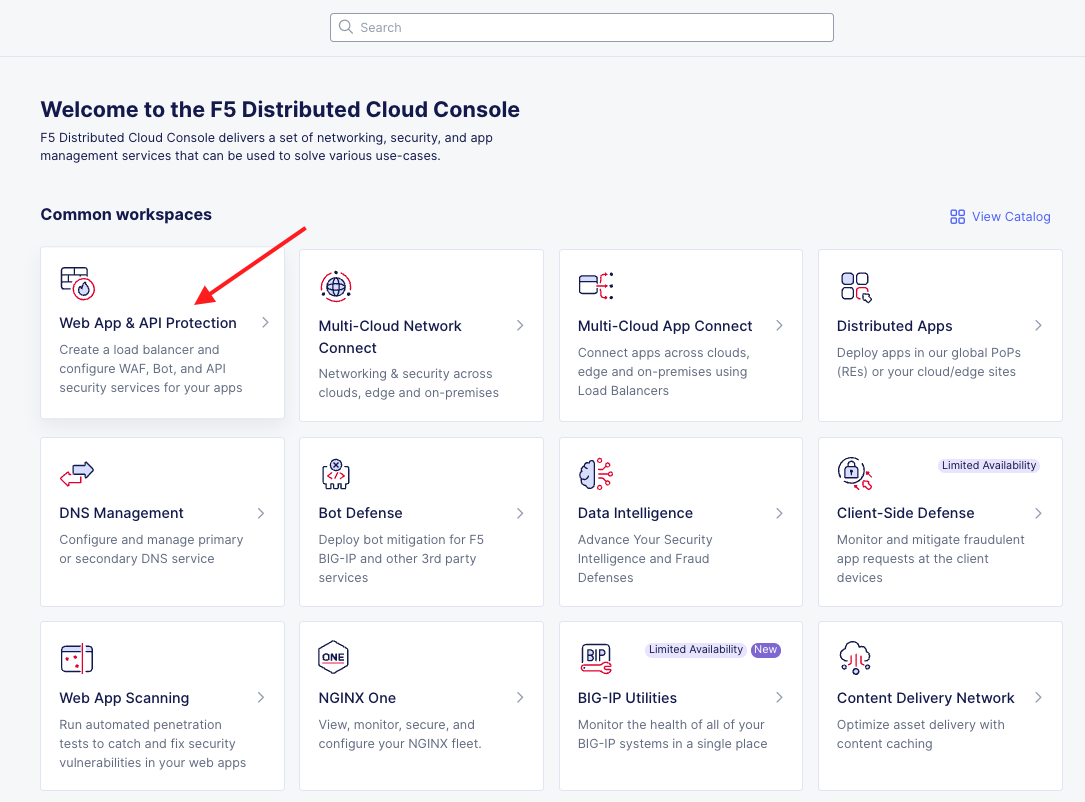
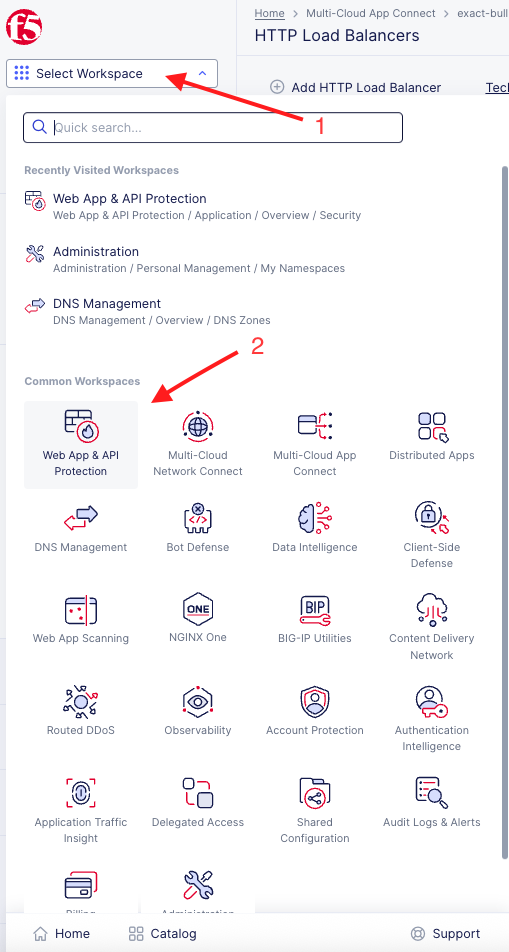
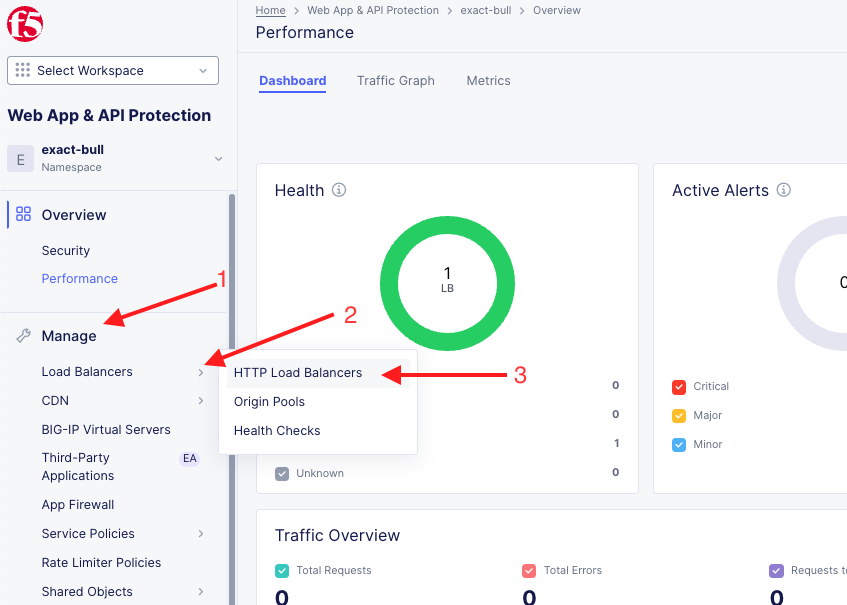
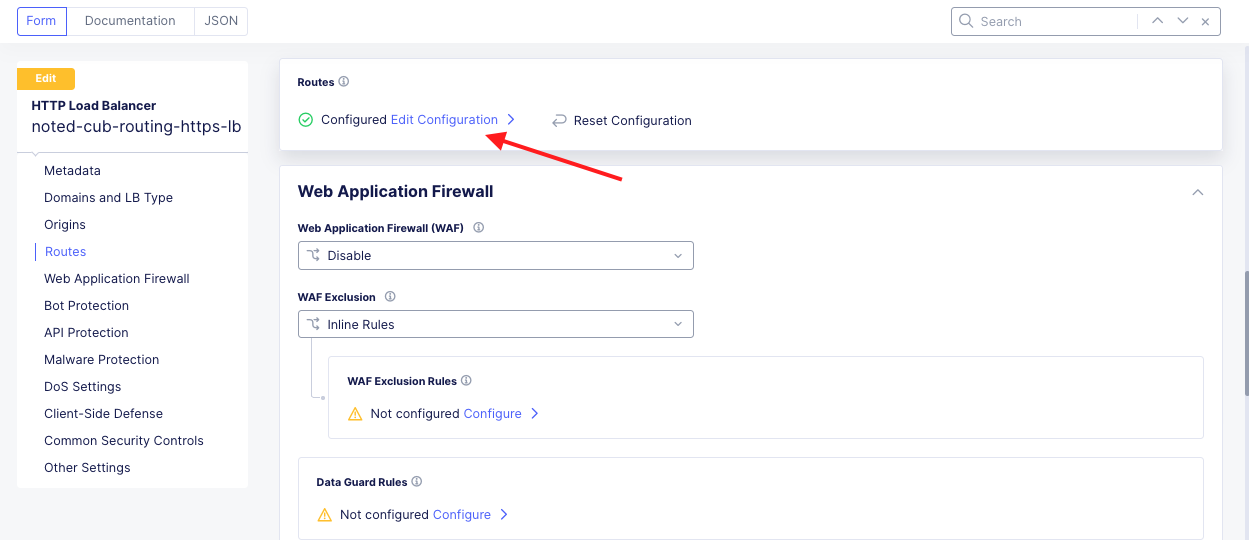
Note If you don’t see a HTTP Load Balancer, make sure you are in the correct namespace. |
|
|
|
|
|
|
|
|
|
|
|
Test and Verify: |
|
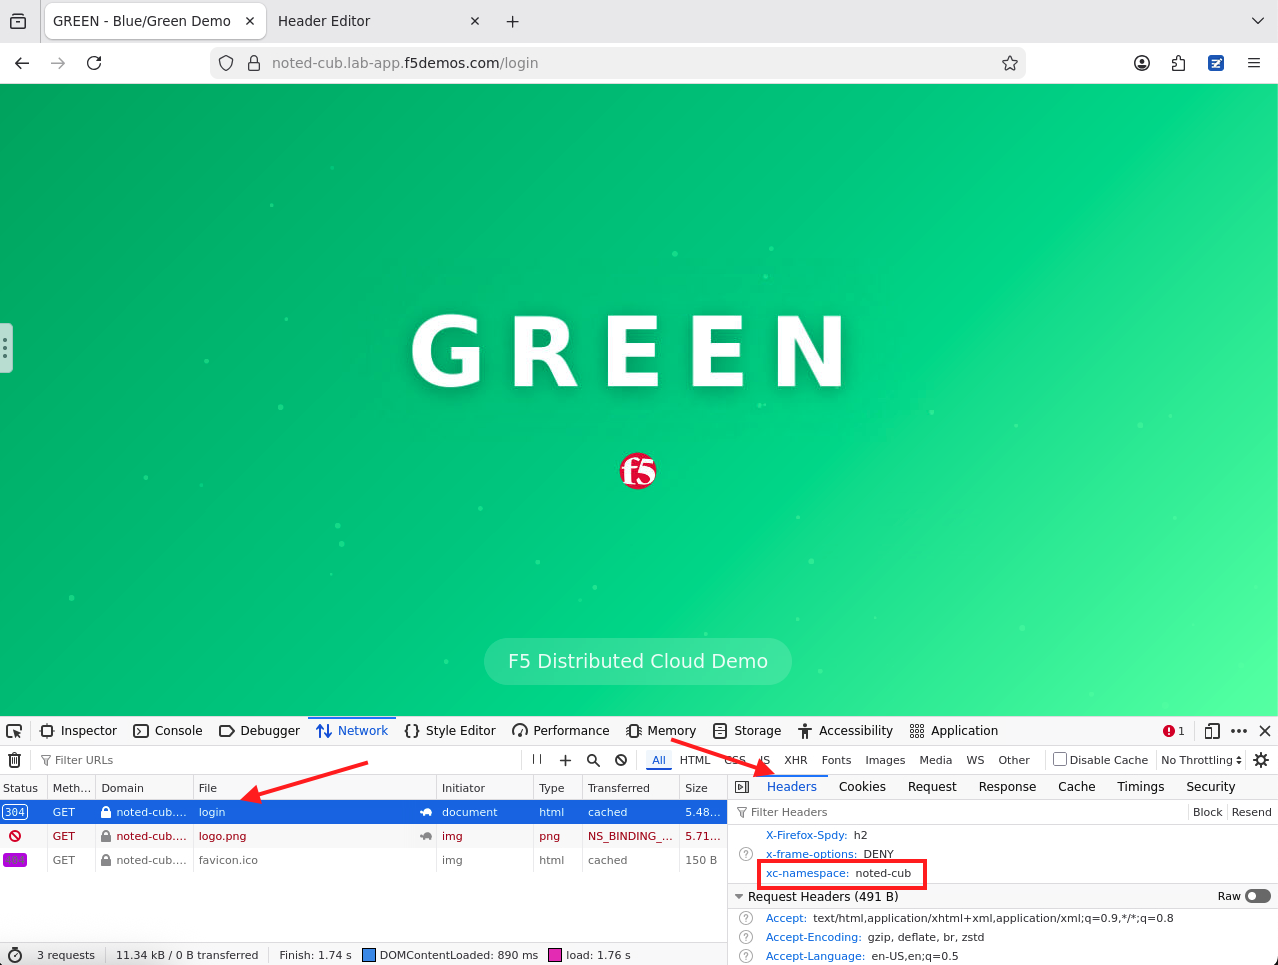
Note Notice that you are receiving the Blue version of the application |
|
|
Note To view the rule click the magnifying glass icon. |
Note Make sure you are clicking the refresh button for the Firefox browser and not the parent browser that the Firefox browser is running in. |
Cleanup - Disable the Header Rule |
|
|
|


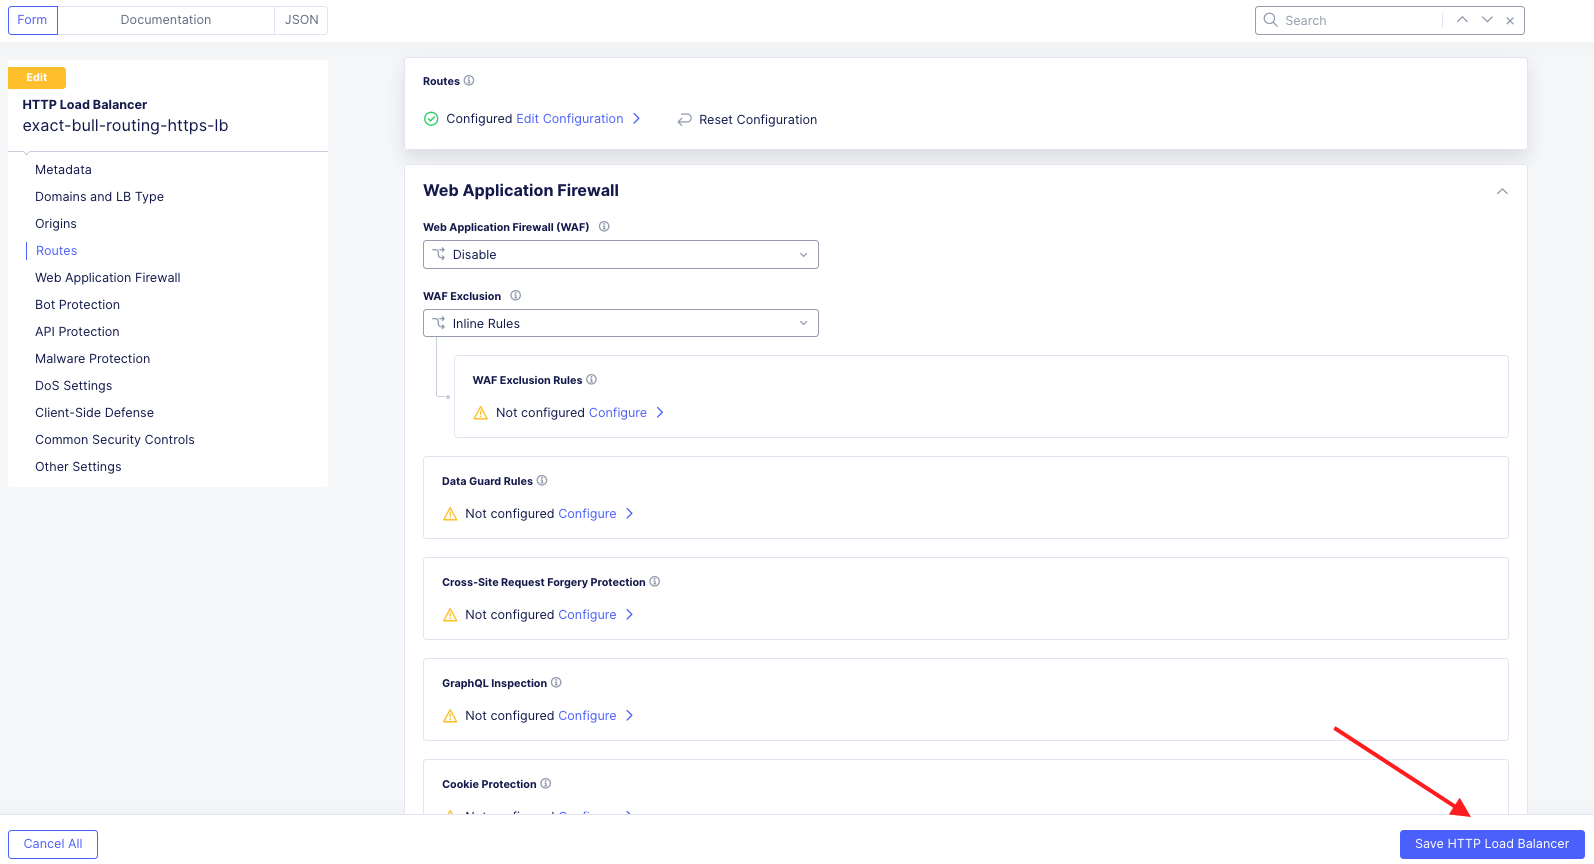


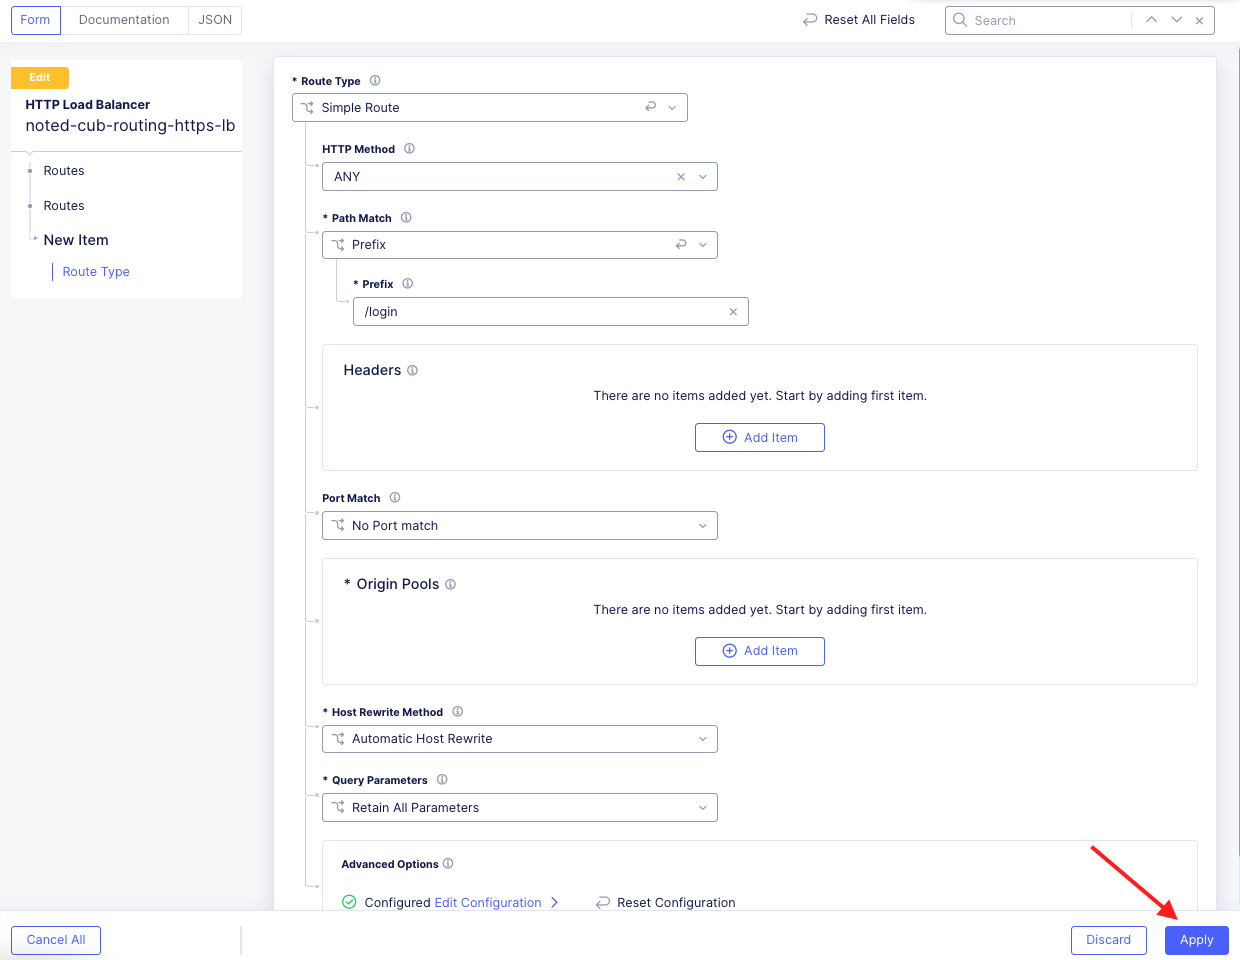
Task 2: Deploy and apply WAF policy at the route level
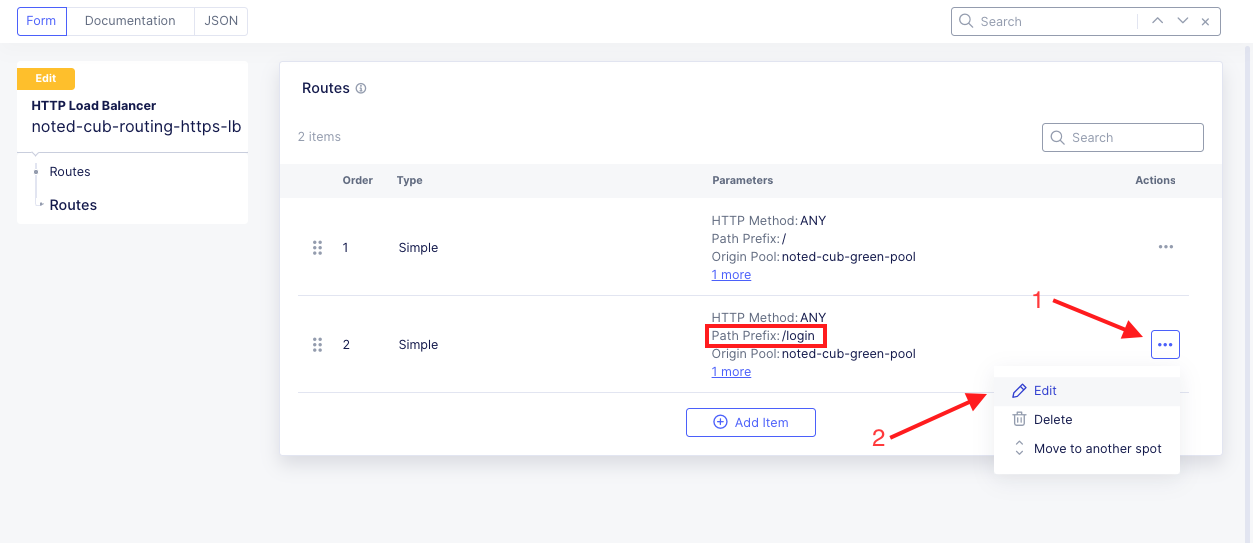
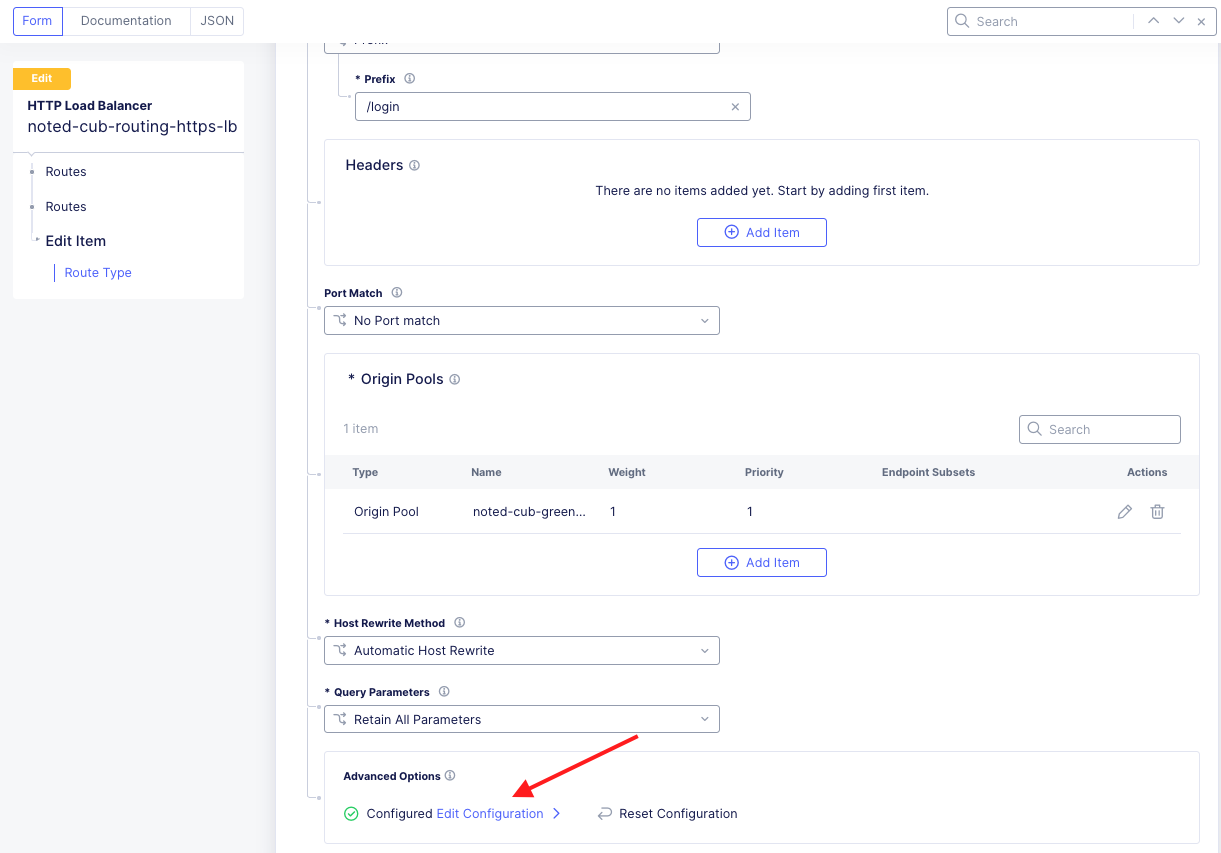
This task will guide you through creating and applying a route policy for an F5 Distributed Cloud Load Balancer that makes routing decisions based on the URL path and also attaches a Web Application Firewall (WAF) policy to the route. This configuration can be useful if you have certain URL paths that require additional protection. For example a path that could contain customer data.
Configure a Path Route and Attach a WAF Policy |
|---|
|
|
|
Note If you don’t see a HTTP Load Balancer, make sure you are in the correct namespace. |
|
|
|
|
|
|
|
|
|
|
|
|
Test and Verify: |
|
|
|
|
|
|
|
|
|
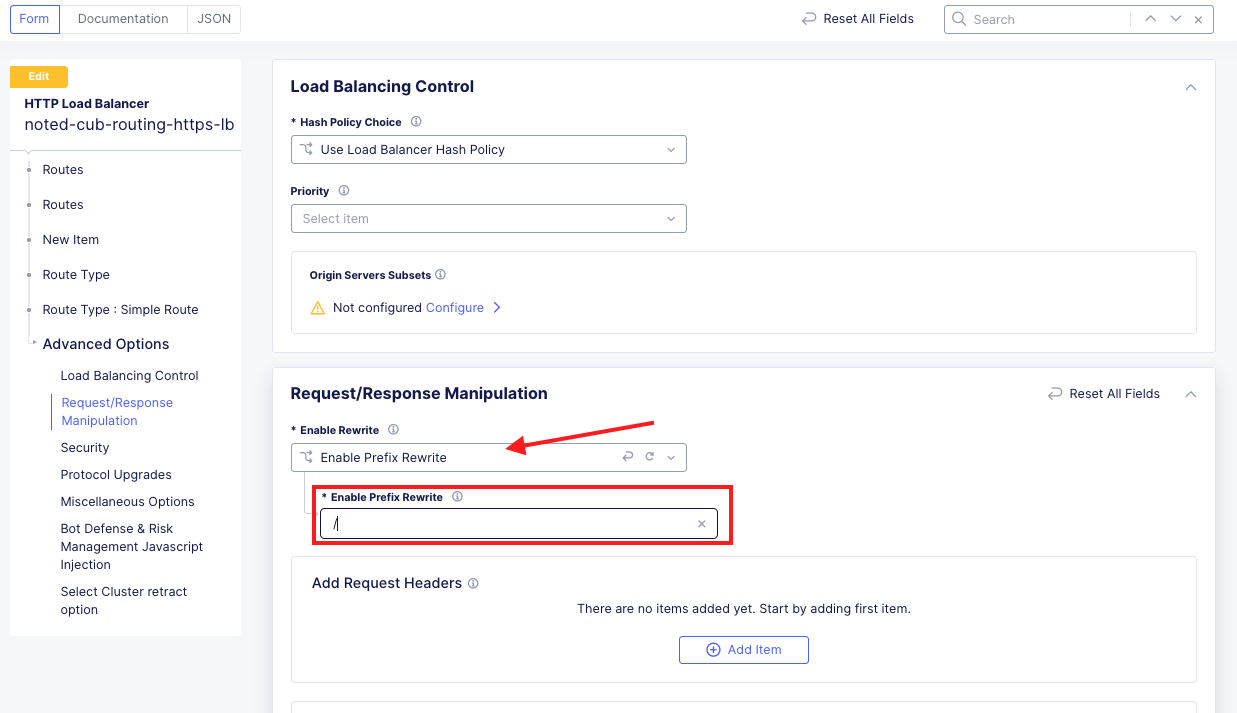


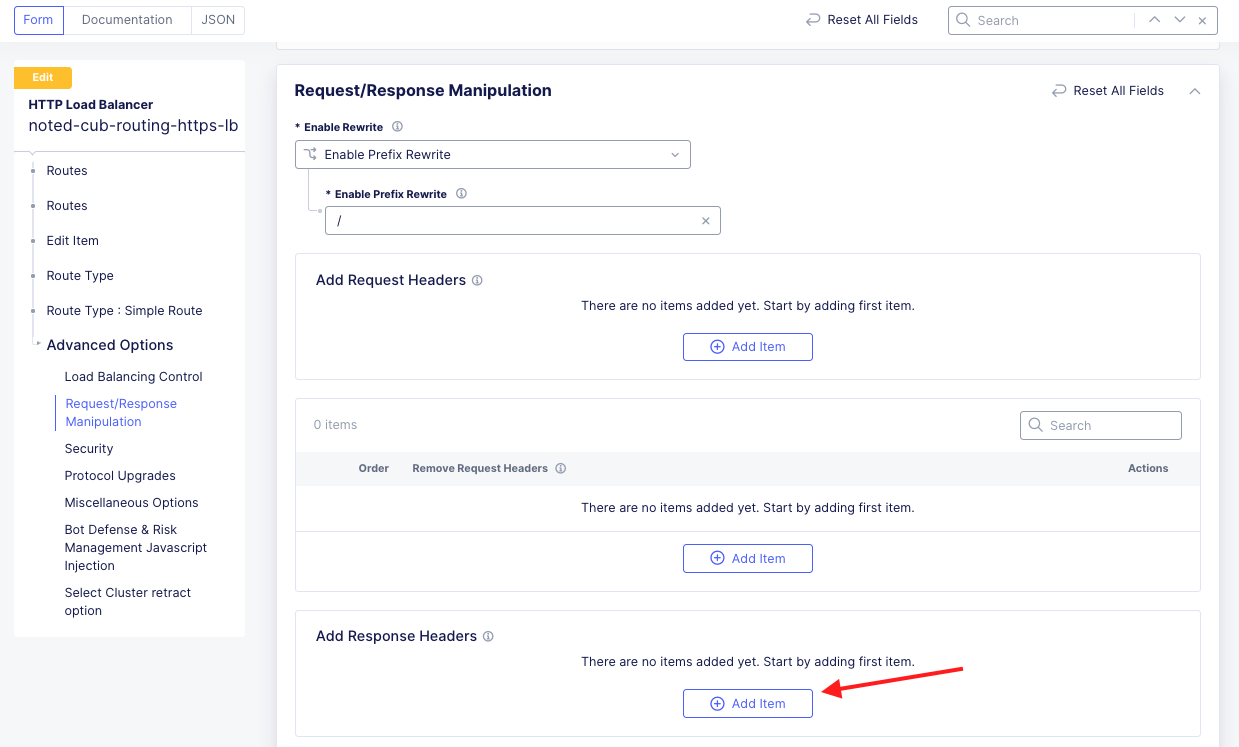
Task 3: Deploy routes to modify application responses in transit
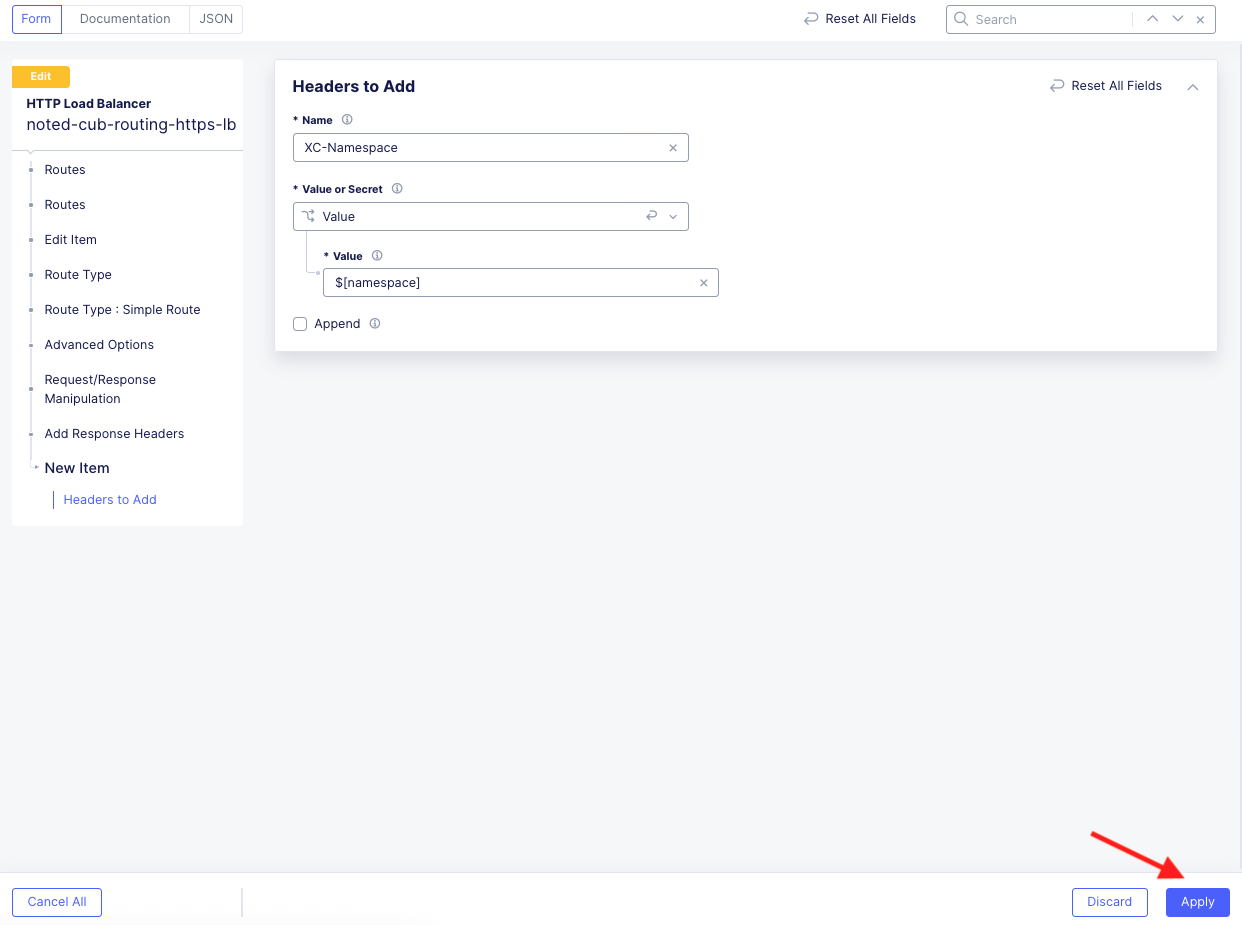
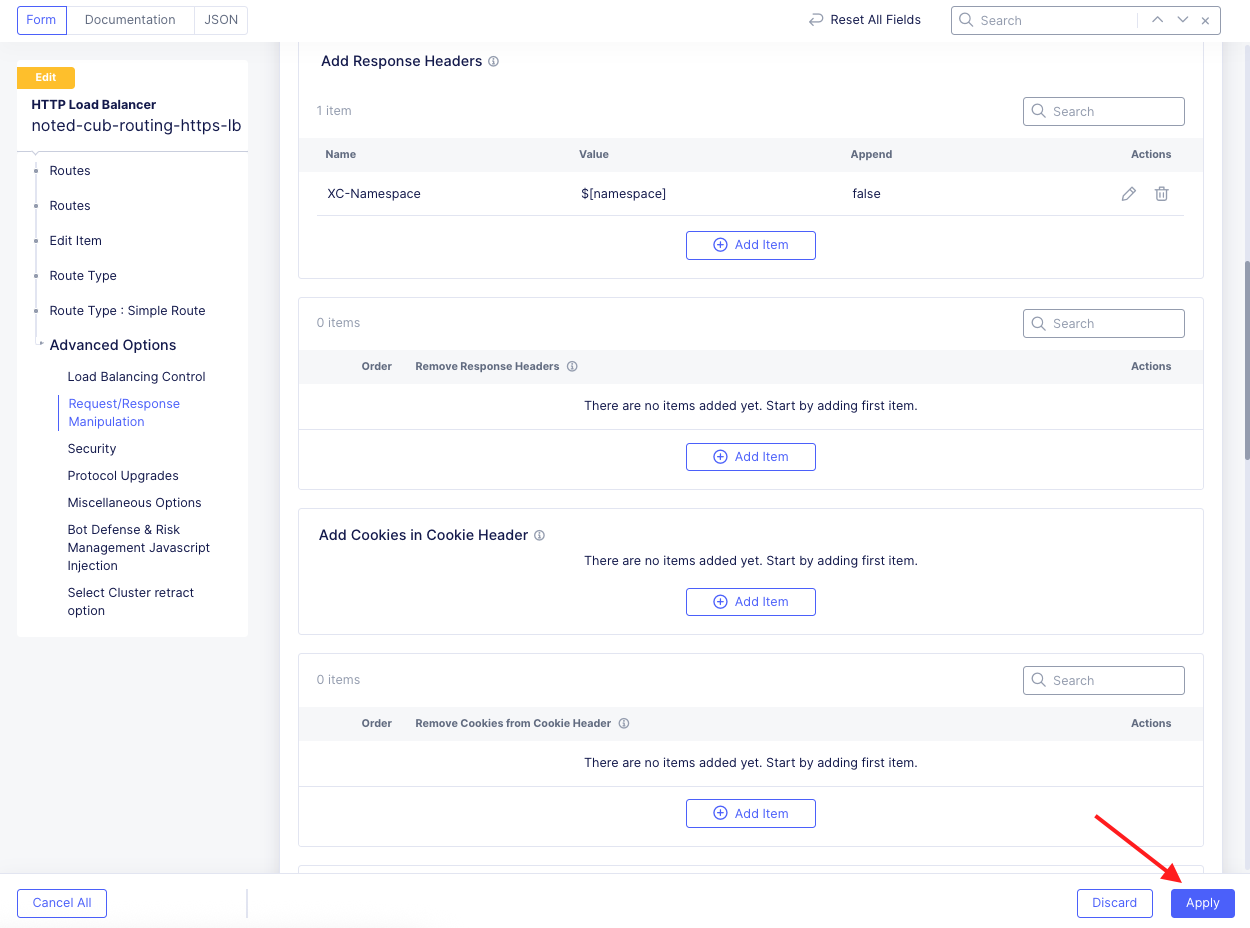
This task guides you through configuring a route for an F5 Distributed Cloud Load Balancer that makes routing decisions based on the URL path and adds a response header. This configuration can be used to set or remove headers that are utilized by the backend application.
Configure a Path Route and Adds a Response Header |
|---|
|
|
|
Note If you don’t see a HTTP Load Balancer, make sure you are in the correct namespace. |
|
|
|
|
|
|
Note XC has predefined header variables that you can use to insert dynamic content. XC-Header-Variables. |
|
|
|
|
Test and Verify: |
|
|
|
|
|
|

End of Lab 2 |
|---|
This concludes Lab 2. In this lab, you learned how to:
|
|