F5 Distributed Cloud > F5 Distributed Cloud: Policy Optimization in a Multicloud World > Module 1: Multi-Cloud Network Connect with Segments Source | Edit on
Lab 1: Exploring Your Pre-Configured Customer Edge (CE) Node
Objective:
Navigate the F5 Distributed Cloud Console
Explore the pre-configured UDF Lab Environment
Review your deployed Customer Edge (CE) Node configuration
Understand CE Node deployment architecture
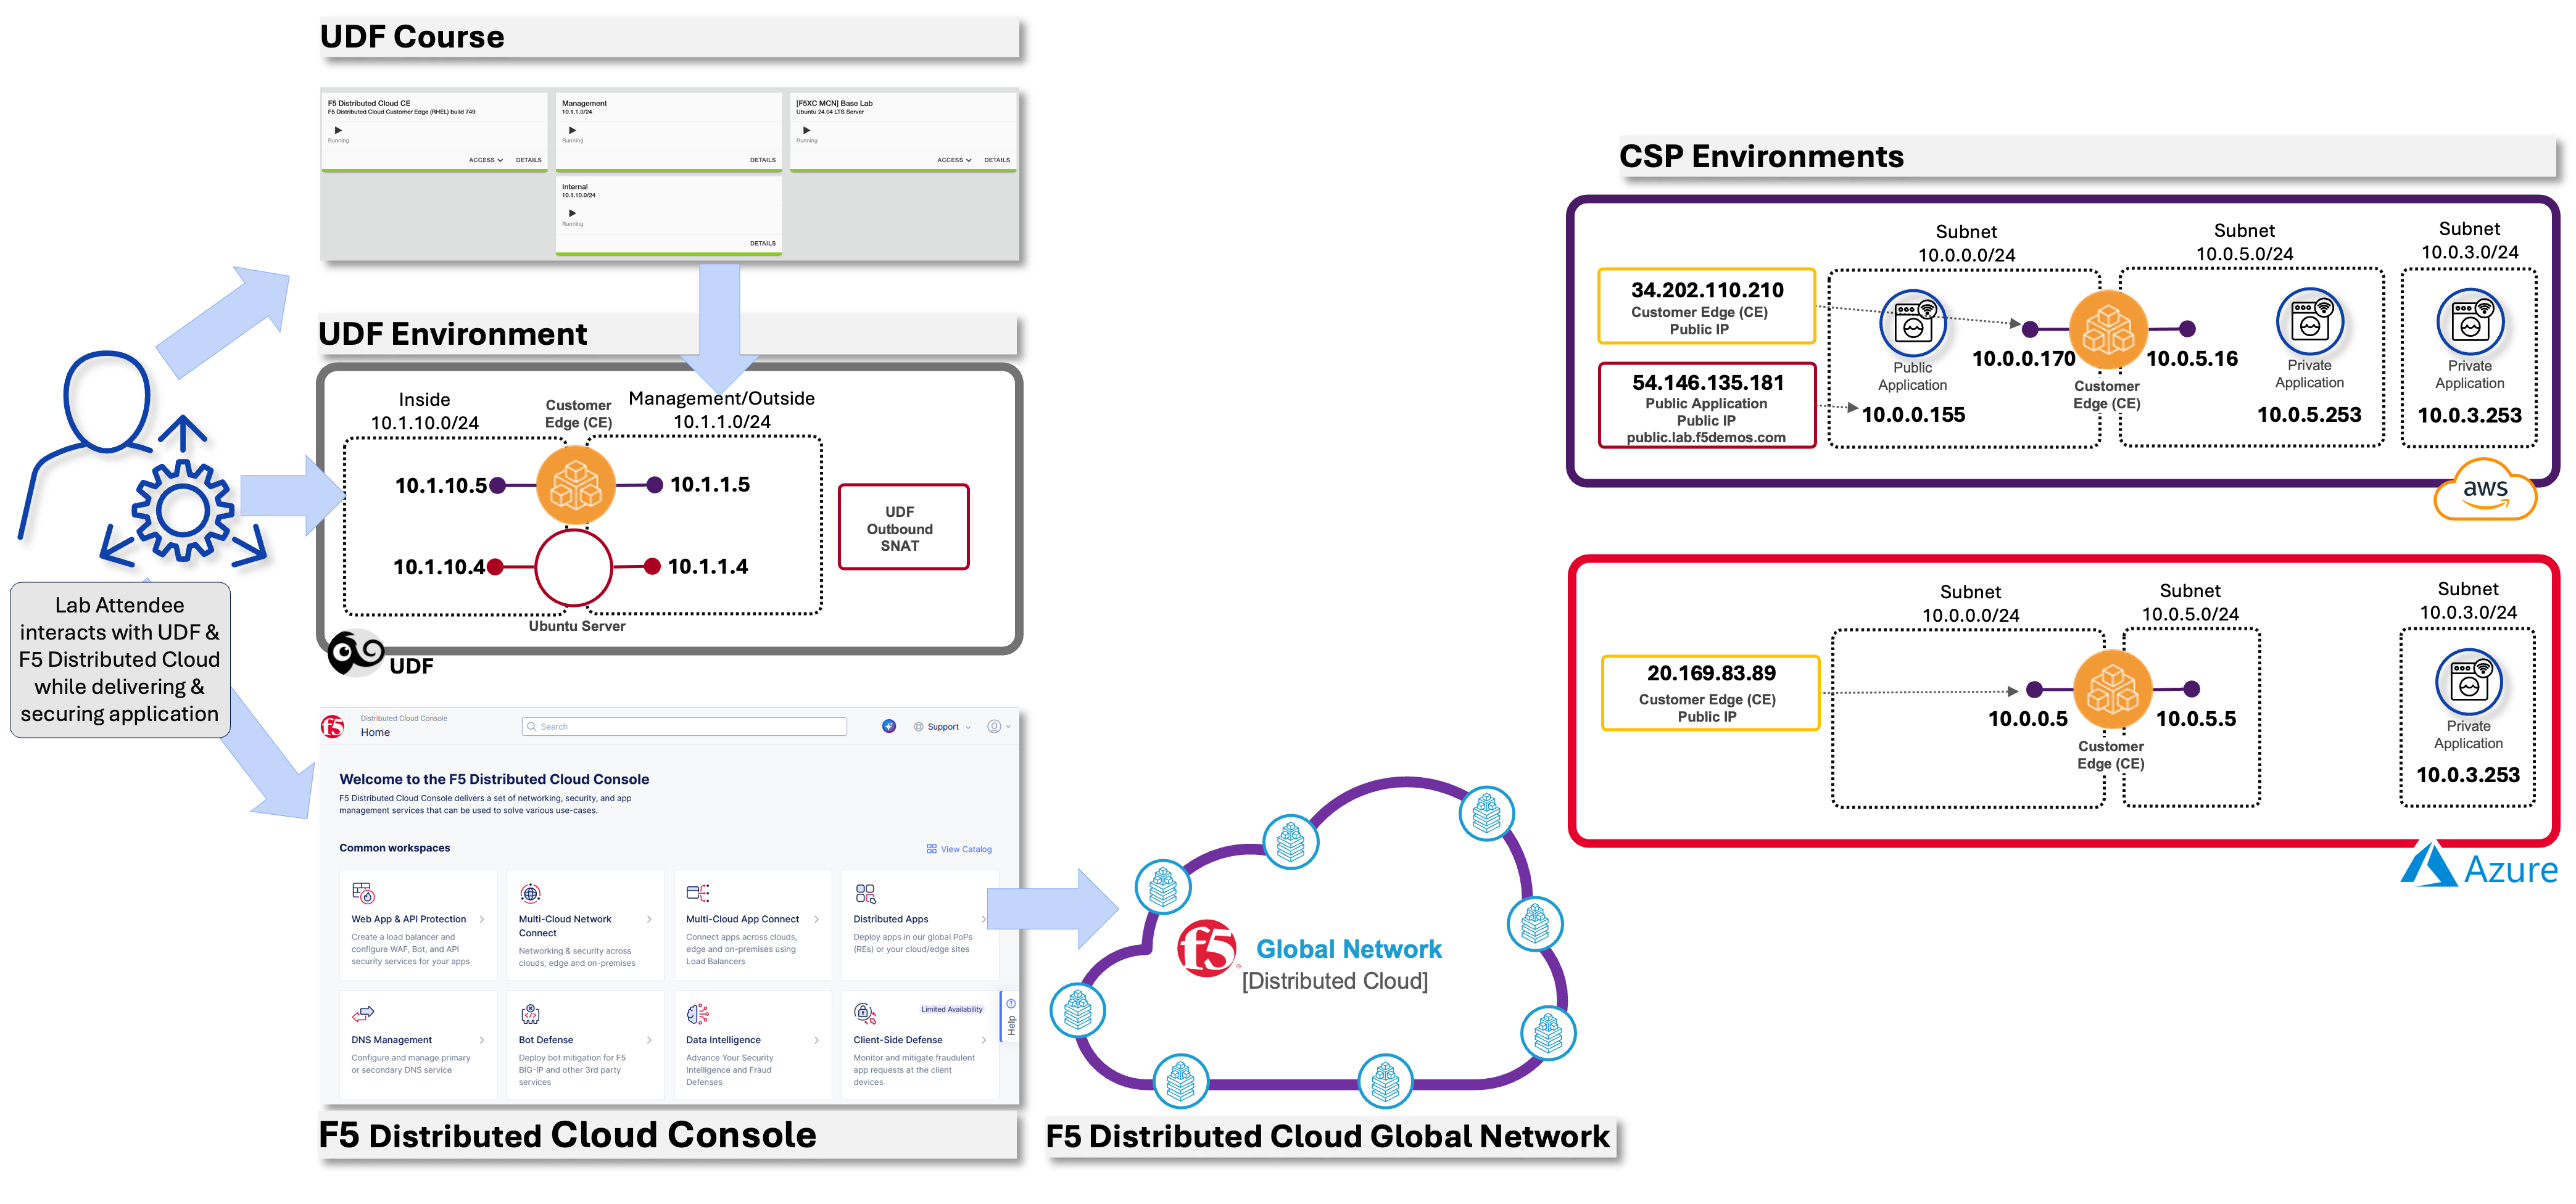
For this lab, your Customer Edge (CE) Nodes have been pre-deployed in AWS, Azure and your on-premises data center (UDF environment). This allows you to focus on understanding the architecture and configuration rather than spending time on initial deployment.
Note
In a production environment, you would download the CE Node image (OVA, QCOW2, or ISO) and deploy it on your chosen platform (VMware, KVM, Azure, AWS, etc.).
Prerequisite
Note
You should already be logged into your lab’s Distributed Cloud Tenant. If not, review the course introduction for the login process.
Warning
If you are experiencing issues accessing the Distributed Cloud Tenant, please alert one of the Lab Assistants.
Task 1: Navigate to Multi-Cloud Network Connect
Your Customer Edge (CE) node has been fully deployed and registered in your lab environment. In this task, you’ll explore the Multi-Cloud Network Connect workspace to understand your deployment.
From the F5 Distributed Cloud Console Home screen, click on the Multi-Cloud Network Connect tile.
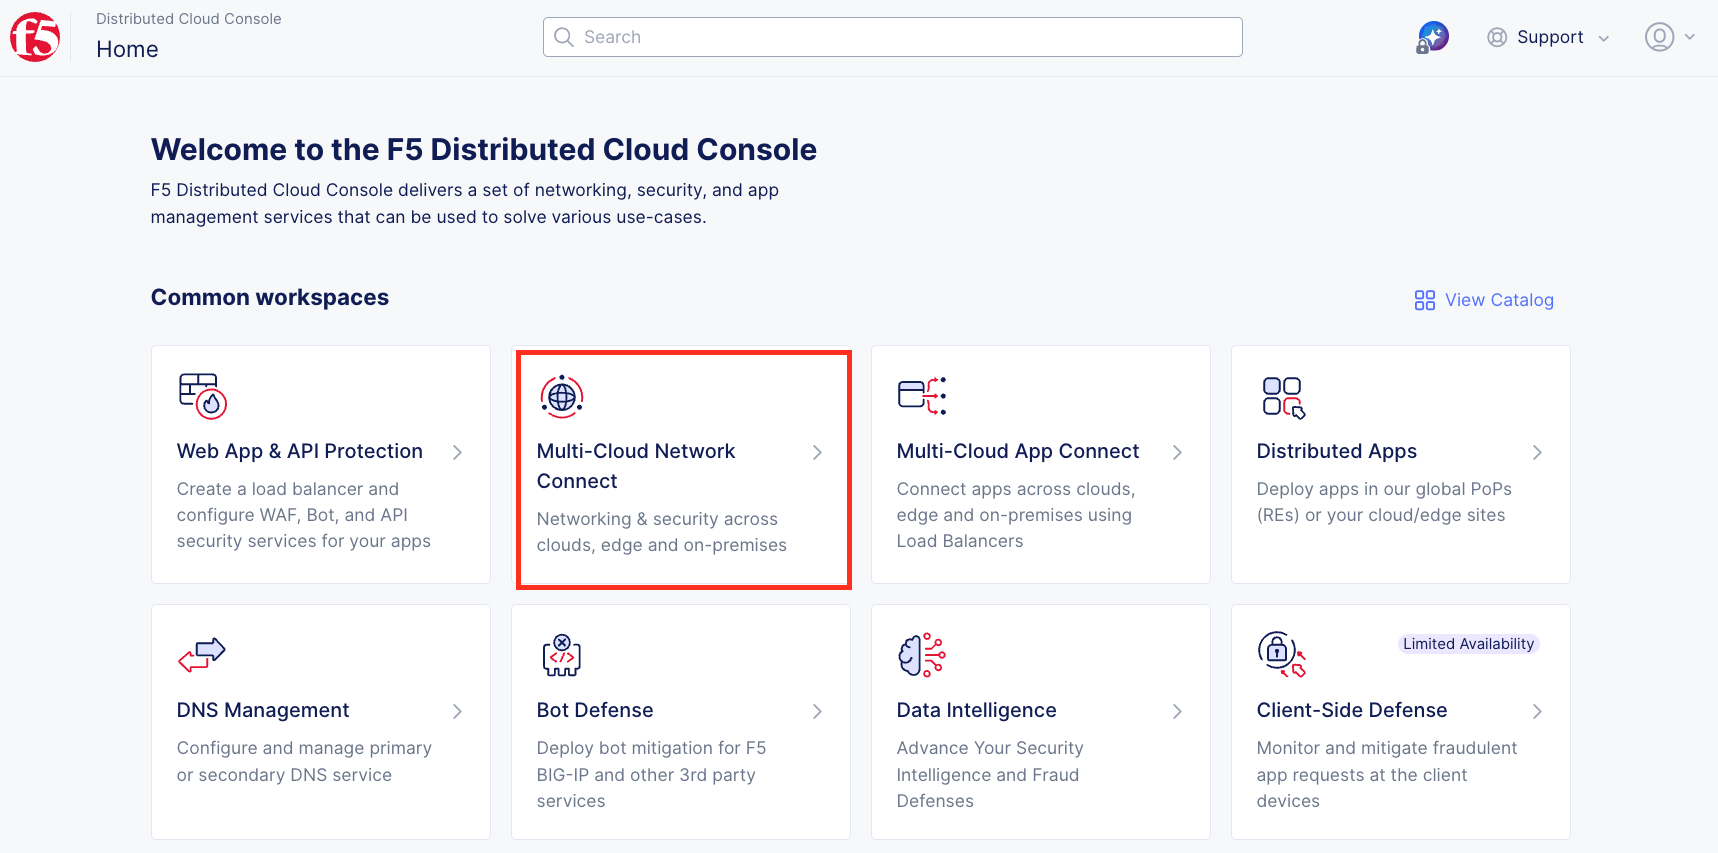
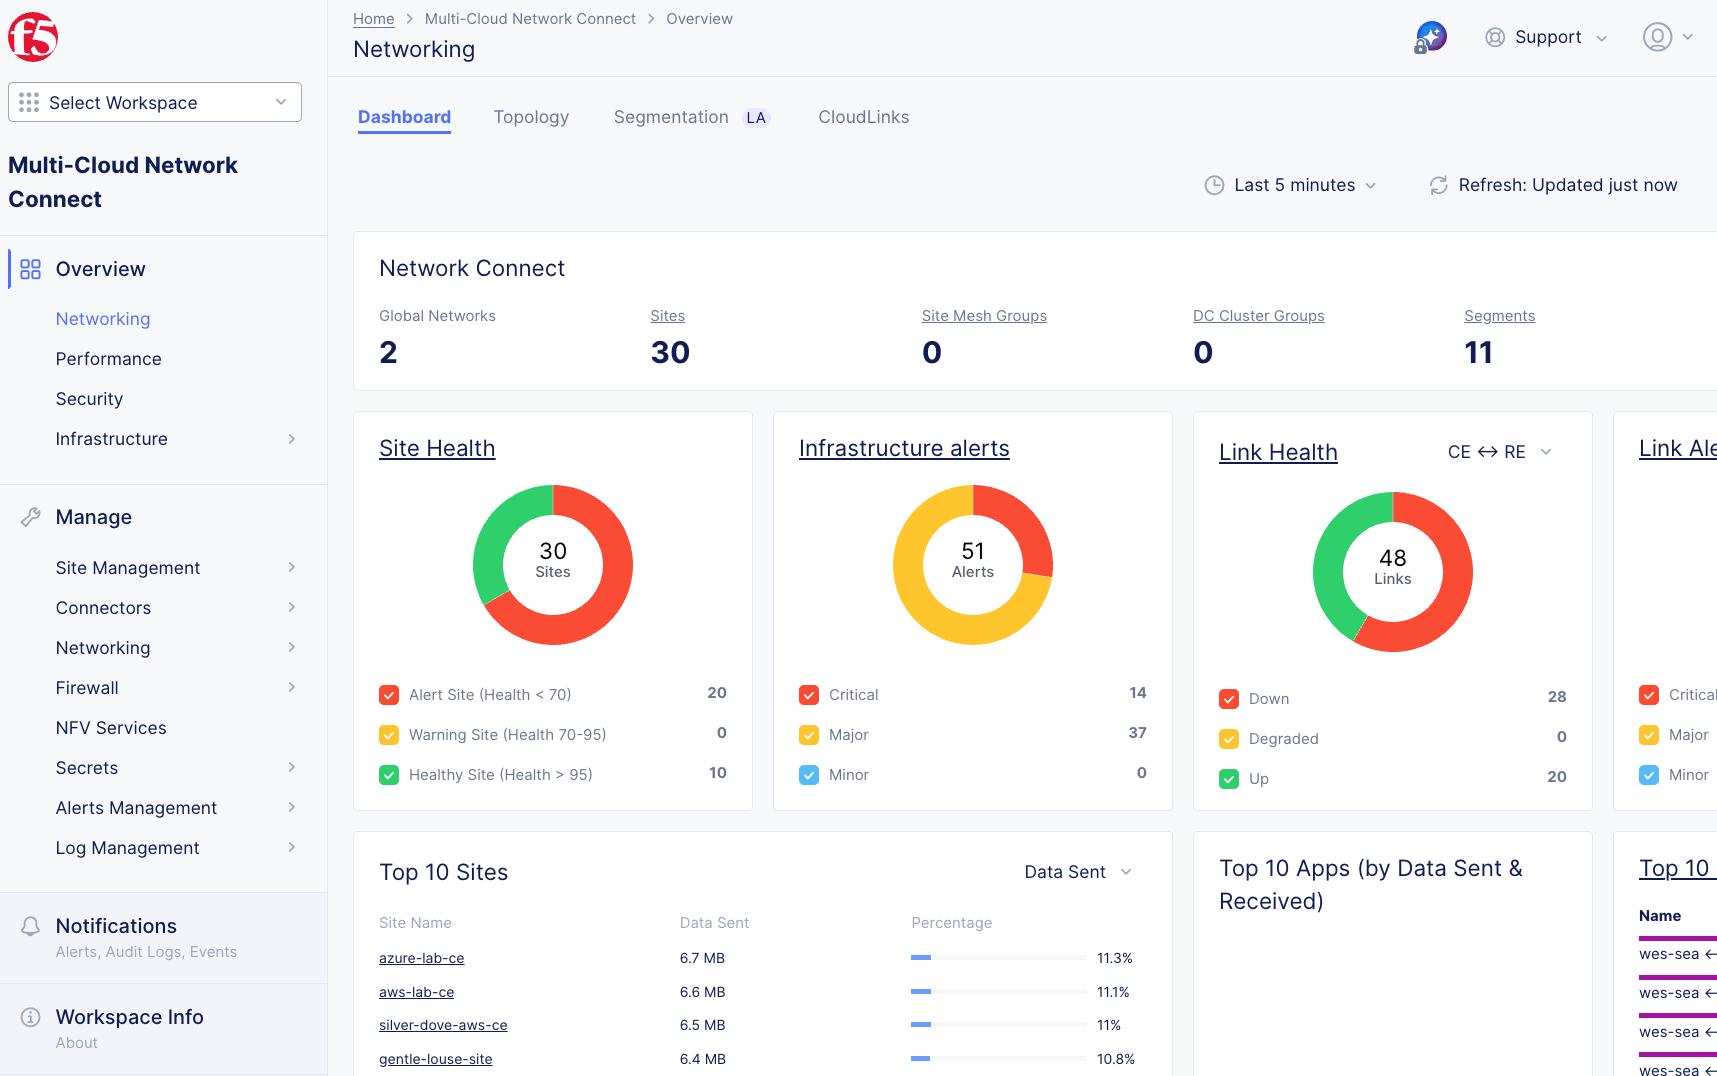
You will be presented with the Multi-Cloud Network Connect overview dashboard. This view provides a high-level summary of all Customer Edge deployments across your organization.
Task 2: Locate Your Customer Edge Node
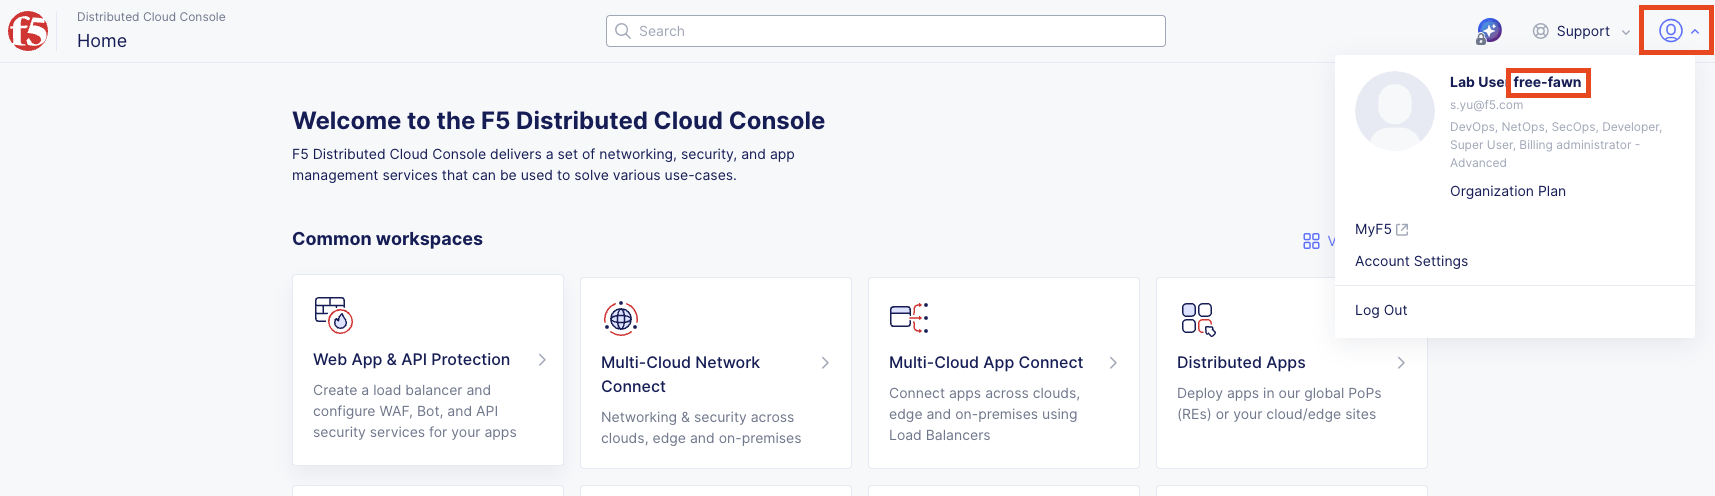
Each lab attendee has been assigned a unique Customer Edge node following the <adjective-animal> naming convention identified in the lab introduction. If you haven’t already done this in the Introduction: Accessing Lab Resources, you can find your assigned namespace by clicking on the account icon on the top right corner.
Using the left-hand navigation, from the Manage section, click on Site Management, then select Secure Mesh Sites v2.
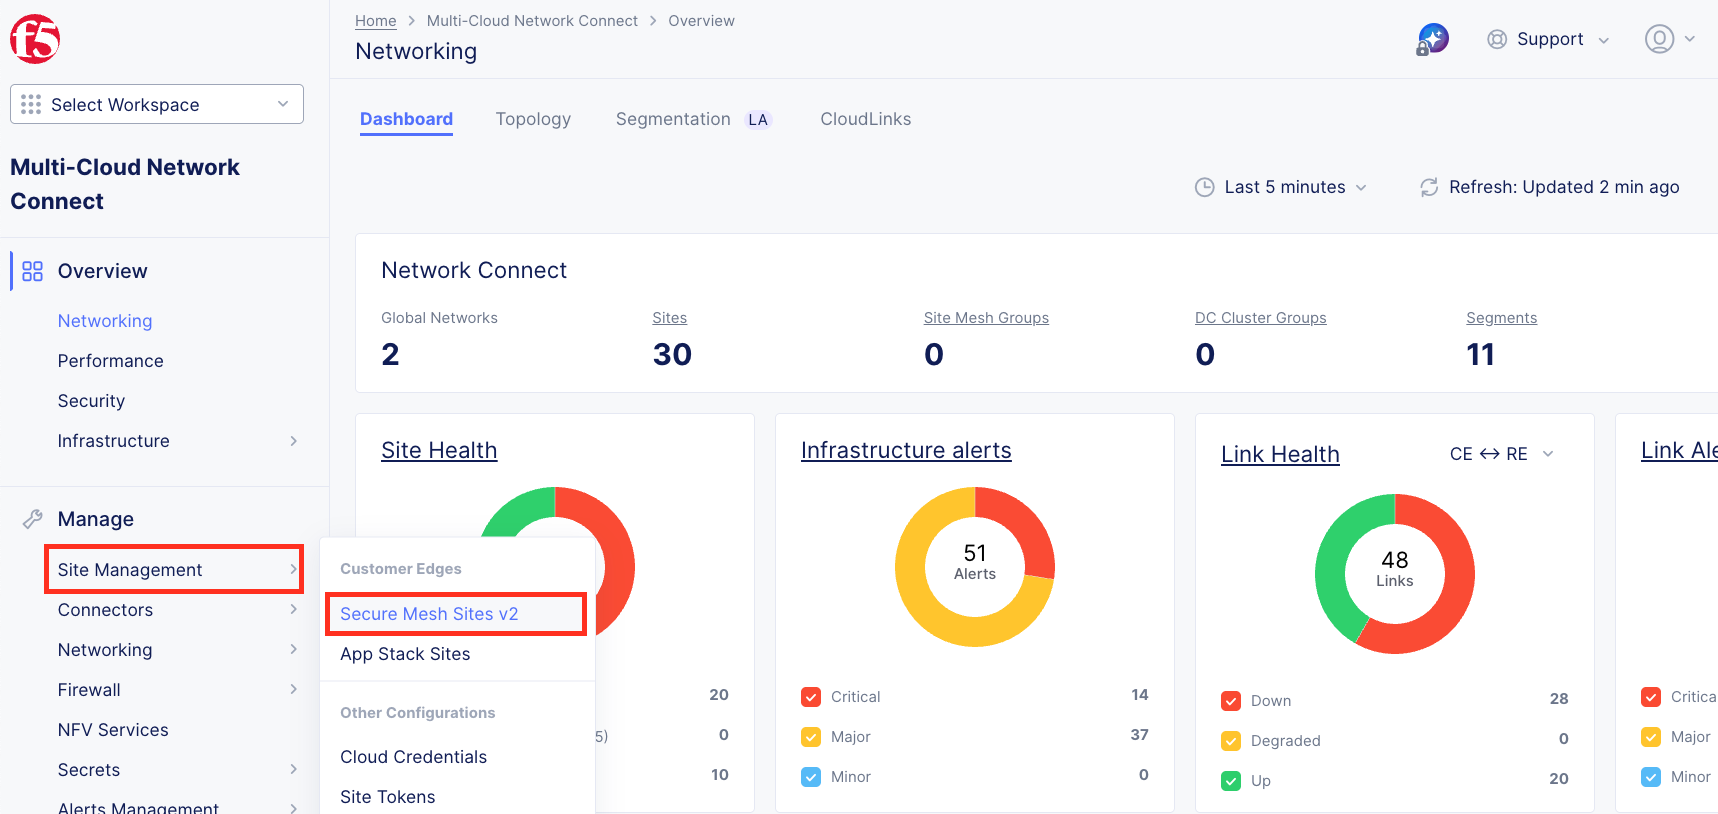
You will see all Secure Mesh Sites v2 (SMSv2) in the list that are in this tenant. Use the Search box to filter by your namespace name (<your-namespace>).
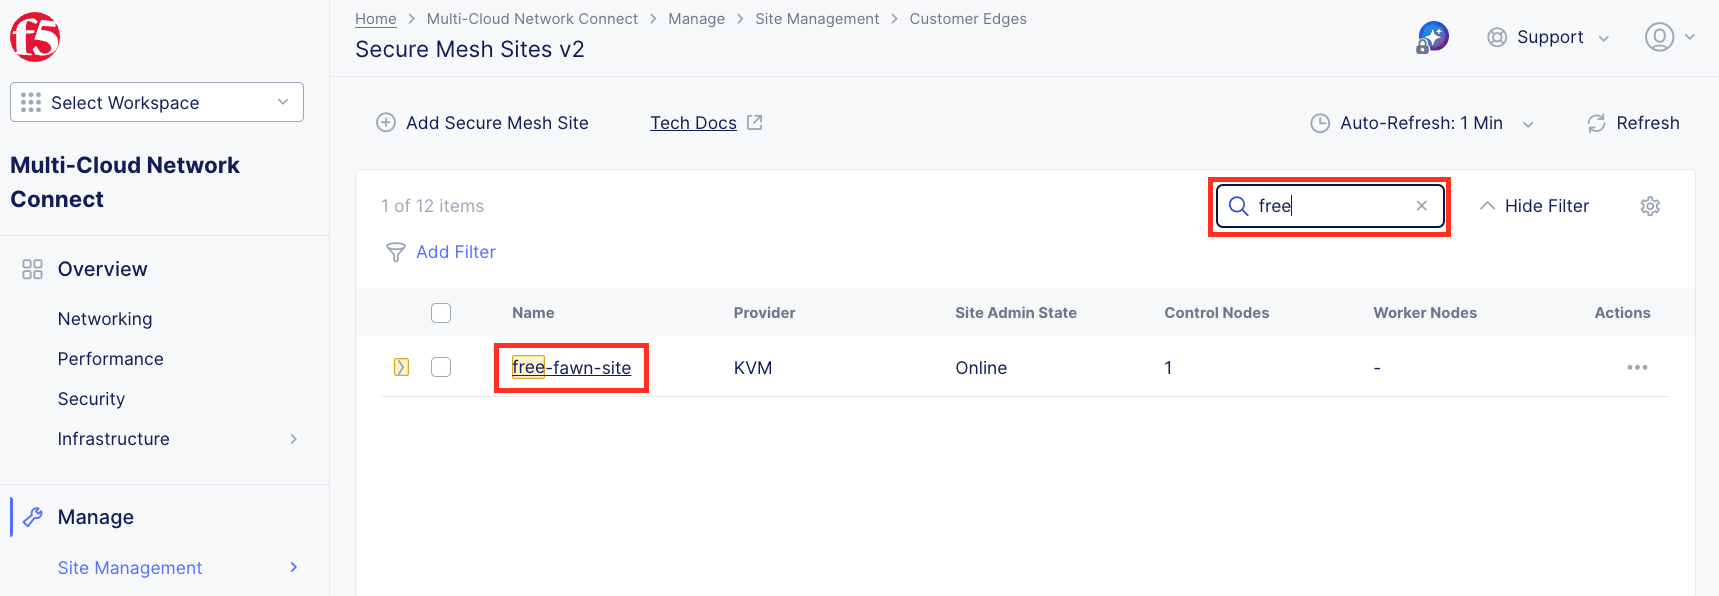
Click on your site name to view detailed information about your CE node.
Note
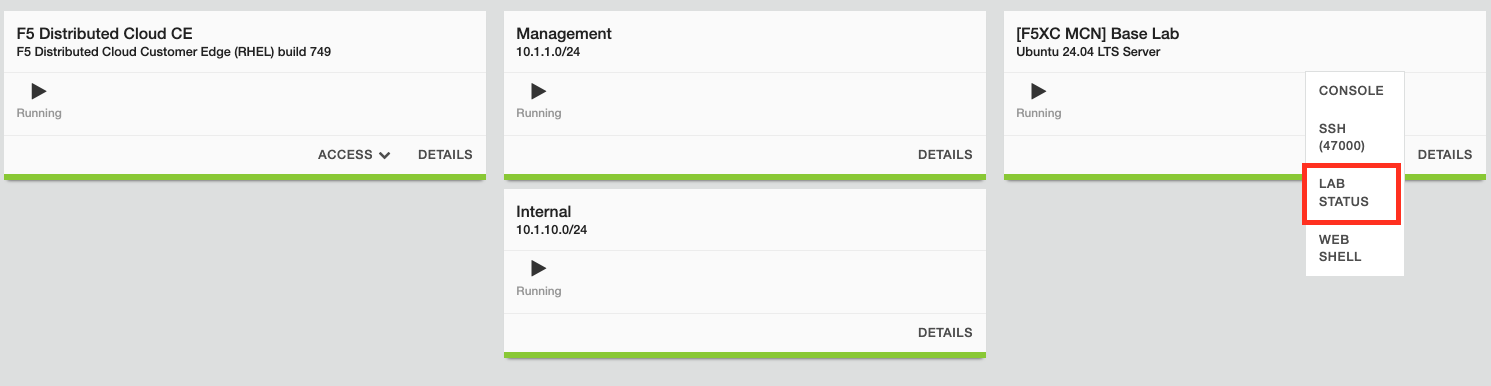
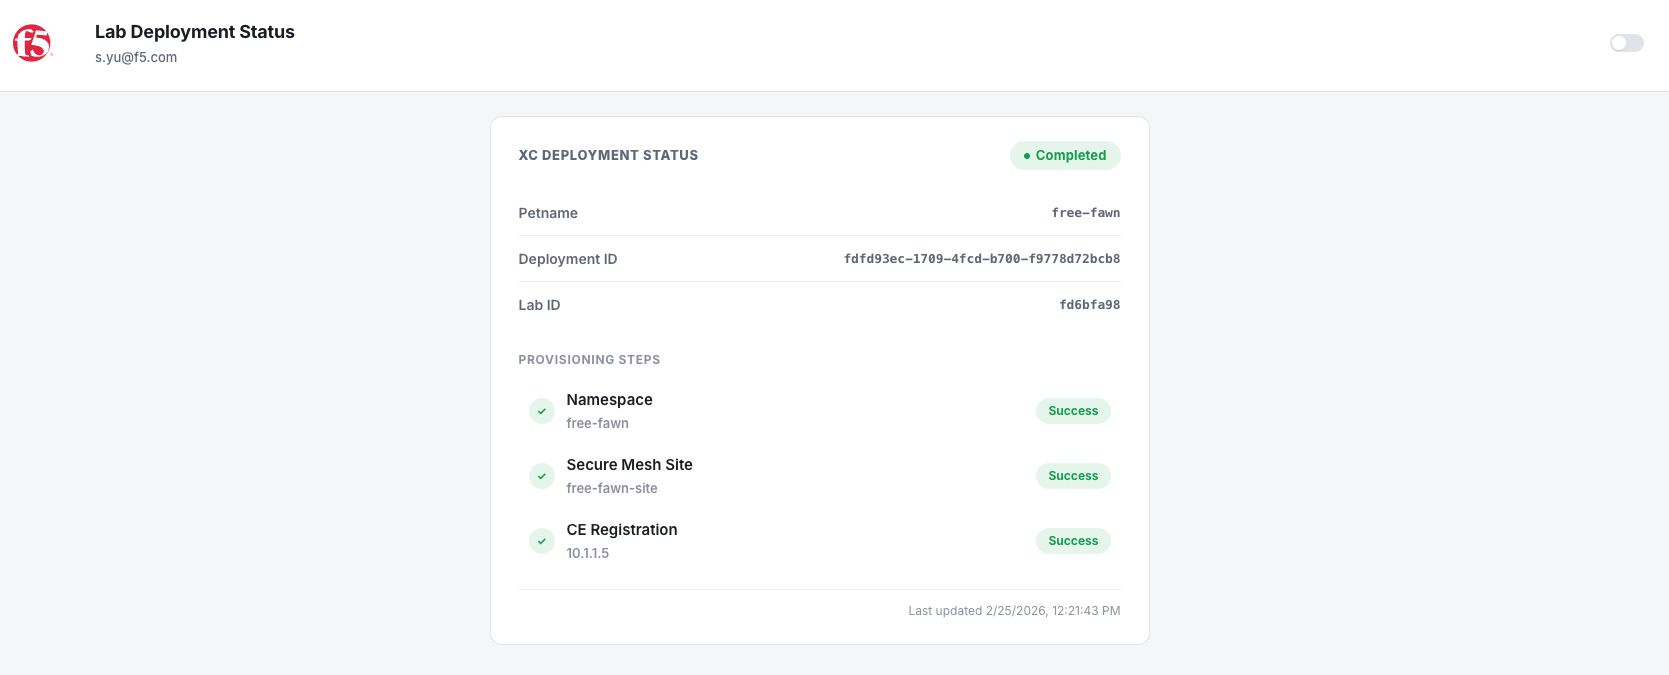
If your node is not yet online, give it a few minutes to finish provisioning. You can check the progress from the lab deployment status (access from Ubuntu server in your UDF deployment).
Task 3: Review Your Customer Edge Configuration
Now let’s examine the configuration that was automatically deployed for your CE node.
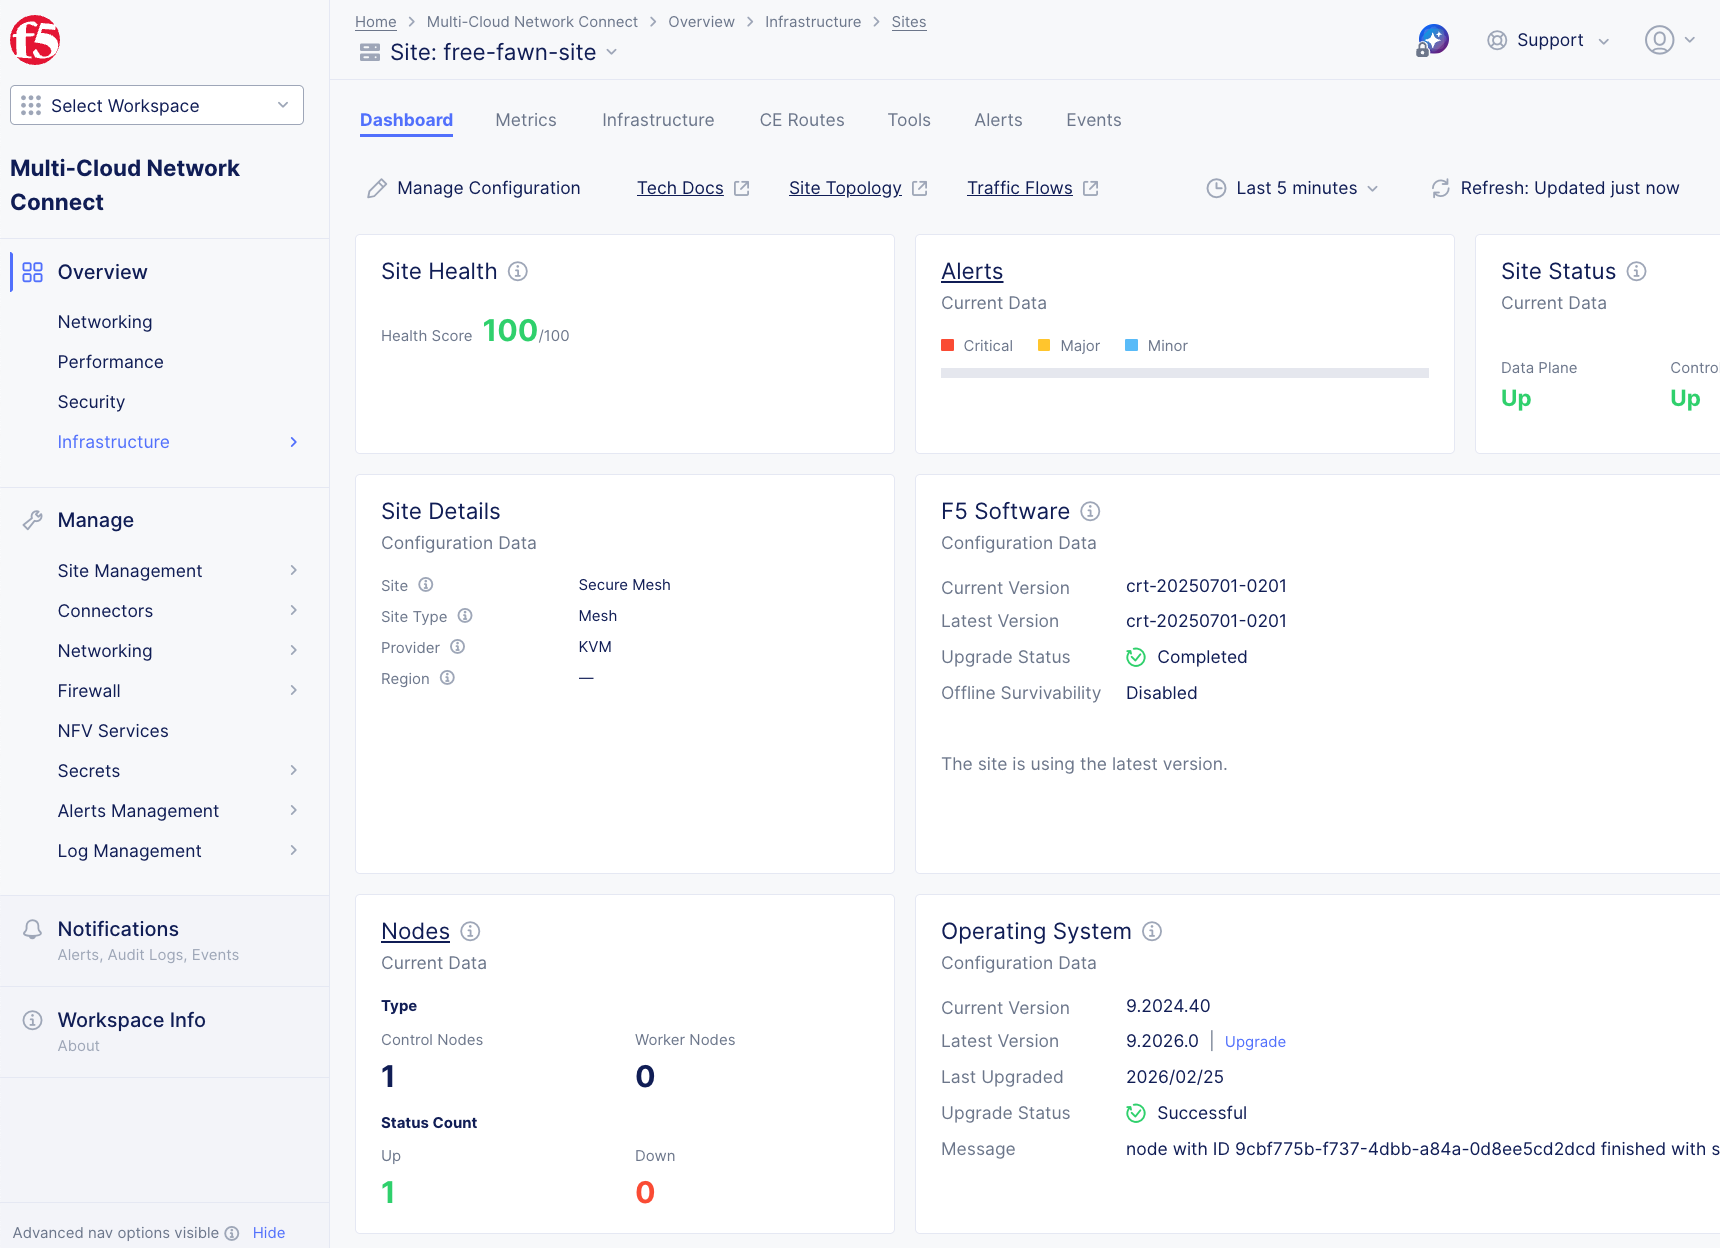
Verify your CE node status:
Dashboard:
Site Health: Should be 100% (green)
Site Status: Both Data Plane and Control Plane should be Up
Nodes: You should have 1 Control Node and it should be up
Note
In production environments, the best practice is to deploy a 3-node cluster for high availability. For this lab, a single-node deployment is sufficient.
Important
Your CE node must be fully provisioned and Online before proceeding to Lab 2. If the health score is not 100% or the state is not online, please alert a Lab Assistant.
Task 4: What Happens During CE Deployment
Let’s review what was automatically configured in your lab environment:
What Happens During CE Deployment (FYI):
While you didn’t perform these steps in this lab, here’s what occurs during a typical CE deployment:
Download & Deploy: Download the CE image then deploy it on your chosen platform
Create Secure Mesh Site: Create a secure mesh site in F5 Distributed Cloud Console
Registration: Node registers with F5 Distributed Cloud
Provisioning: Node downloads its configuration and establishes connectivity
Activation: Site becomes active and ready for traffic
Tip
In a real-world deployment, the initial setup takes approximately 10-15 minutes after registration. The automation in this lab has completed all these steps for you.
Task 5: Review Network Topology
This topology represents your distributed network infrastructure that will be used in subsequent labs to demonstrate Network Connect and App Connect capabilities.
Lab Summary
What You’ve Learned:
How to navigate the F5 Distributed Cloud Console
Where to view Customer Edge node status and health
What happens during a CE node deployment (conceptually)
Your Environment:
You now have a fully operational multi-cloud network infrastructure with CE nodes deployed in:
On-Premises: UDF Data Center
AWS Cloud
Azure Cloud
In the next lab, you’ll configure Network Connect to establish secure connectivity between these sites.
Important
Verify your CE node shows 100% health and Online status before proceeding to Lab 2.
End of Lab 1