F5 Distributed Cloud > F5 Distributed Cloud: Code, Secure, Repeat > Module 0 – Intro & Environment Source | Edit on
Task 3 – Configure GitLab Server
In this task, you will access the GitLab Server, verify connectivity, configure required CI/CD variables, and upload the F5XC API certificate used by automation later in the lab.
This task connects identity, secrets, and automation—all prerequisites for a successful CI/CD-driven deployment.
GitLab Server Access
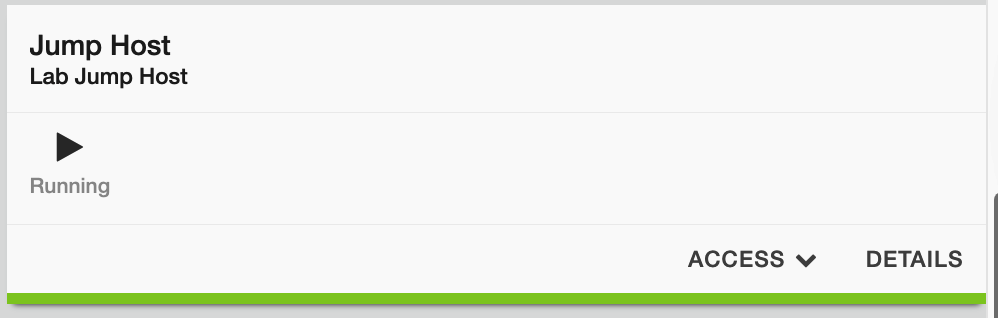
Access the GitLab Server from the Jump Host.
In your UDF deployment, locate the Jump Host tile and click Access.
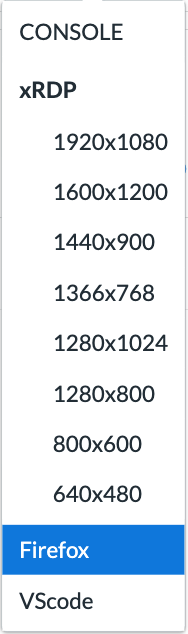
Launch the Firefox browser.
Click FIREFOX to open a browser session inside the lab environment.
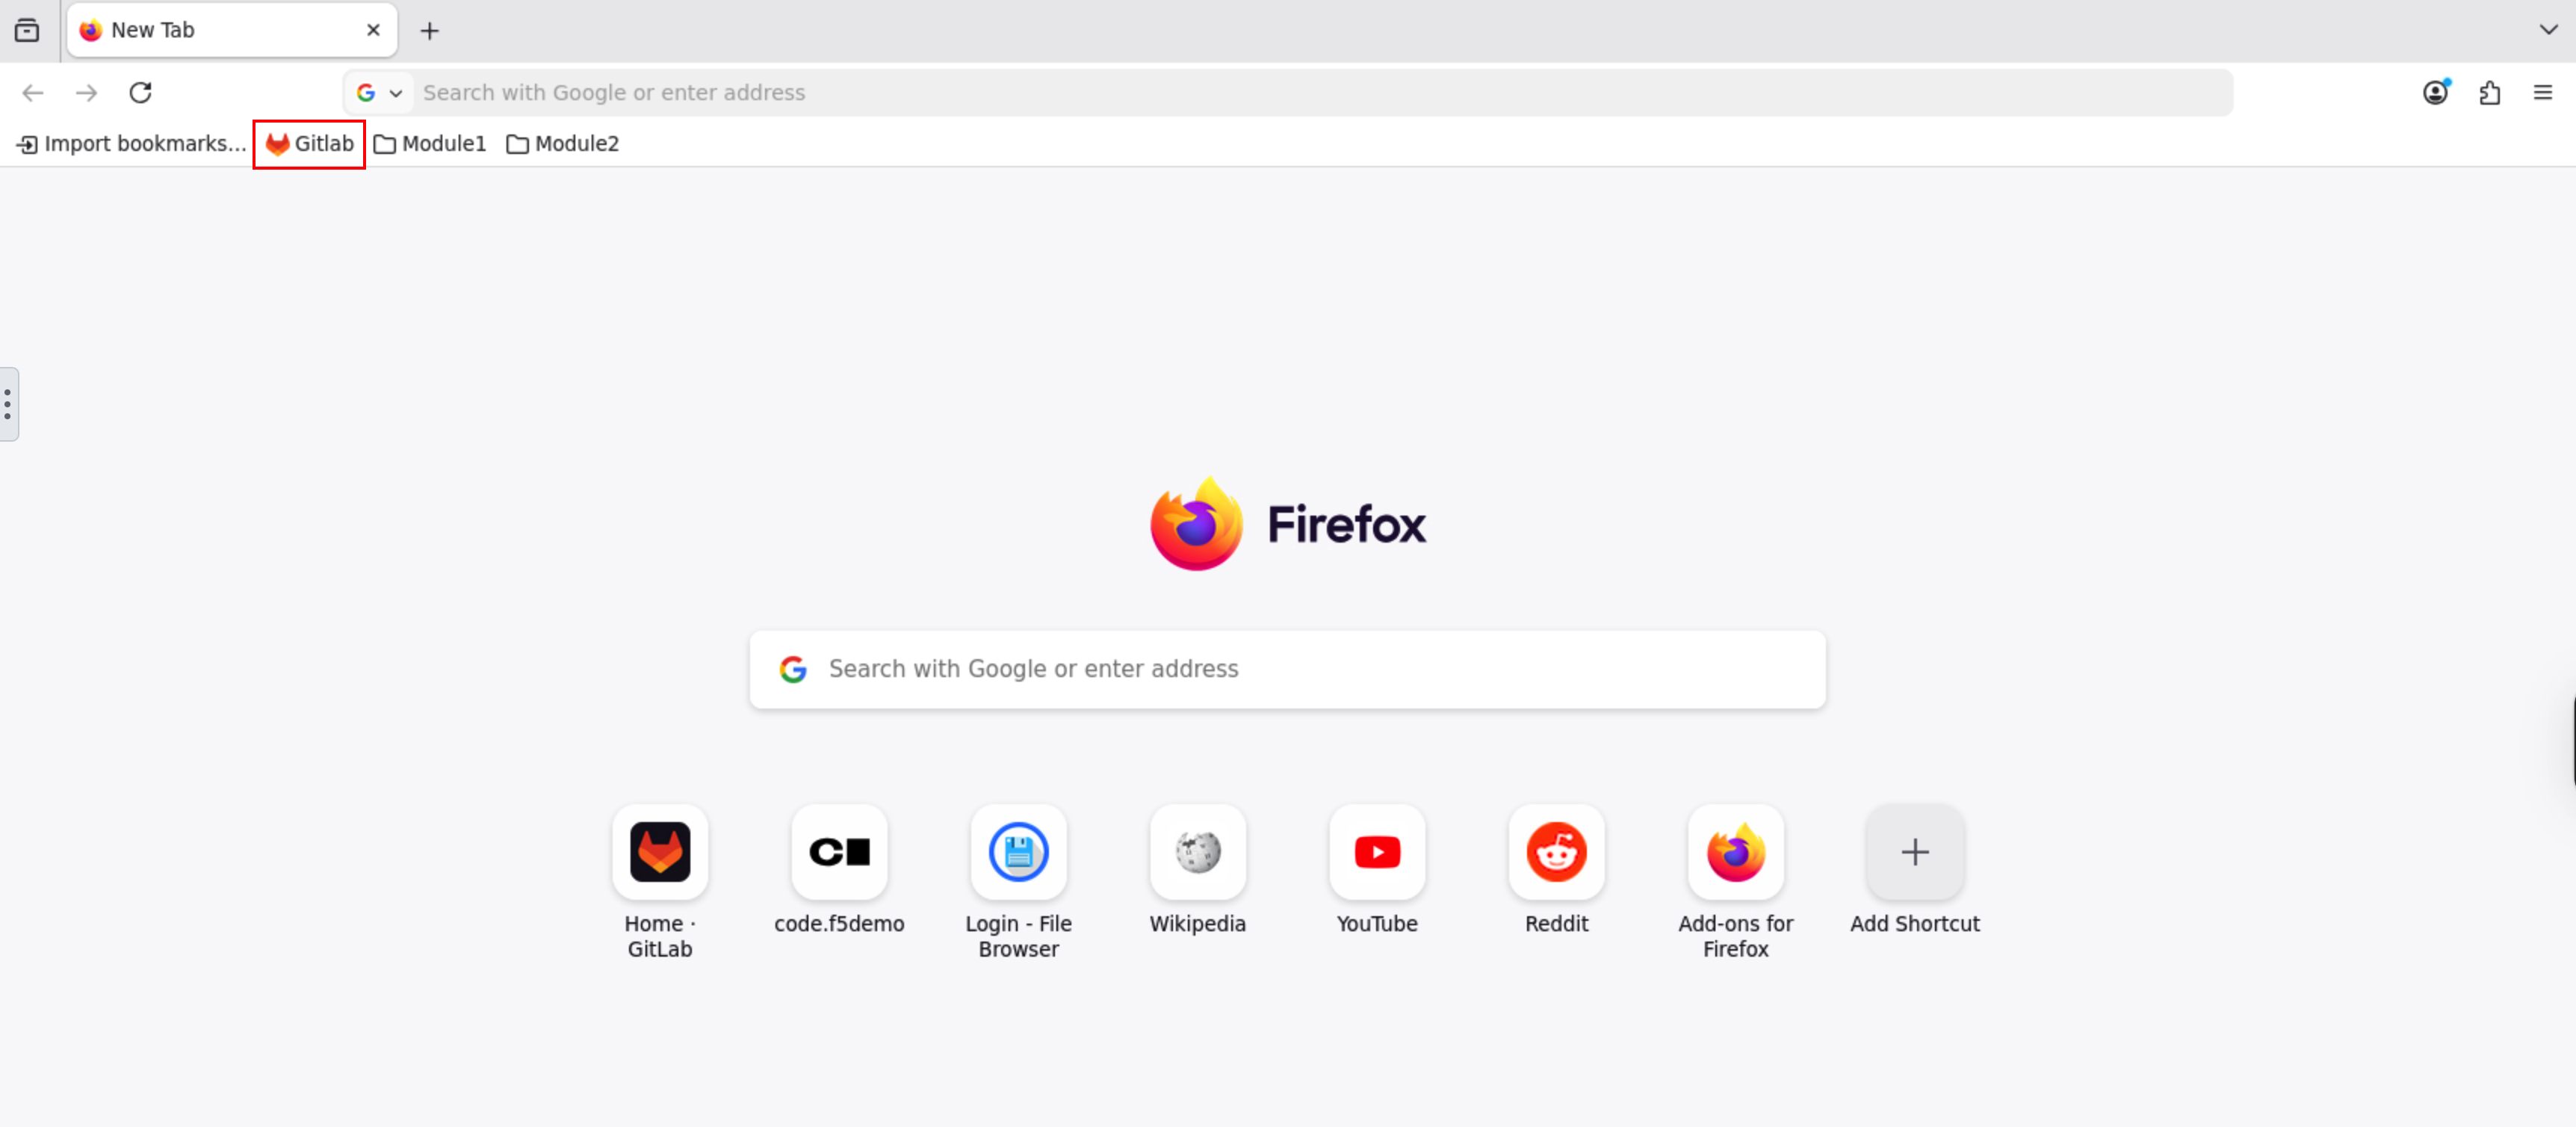
Open GitLab using the browser bookmark.
A new browser tab will open with the Firefox landing page. Click the GitLab bookmark to access the GitLab server.
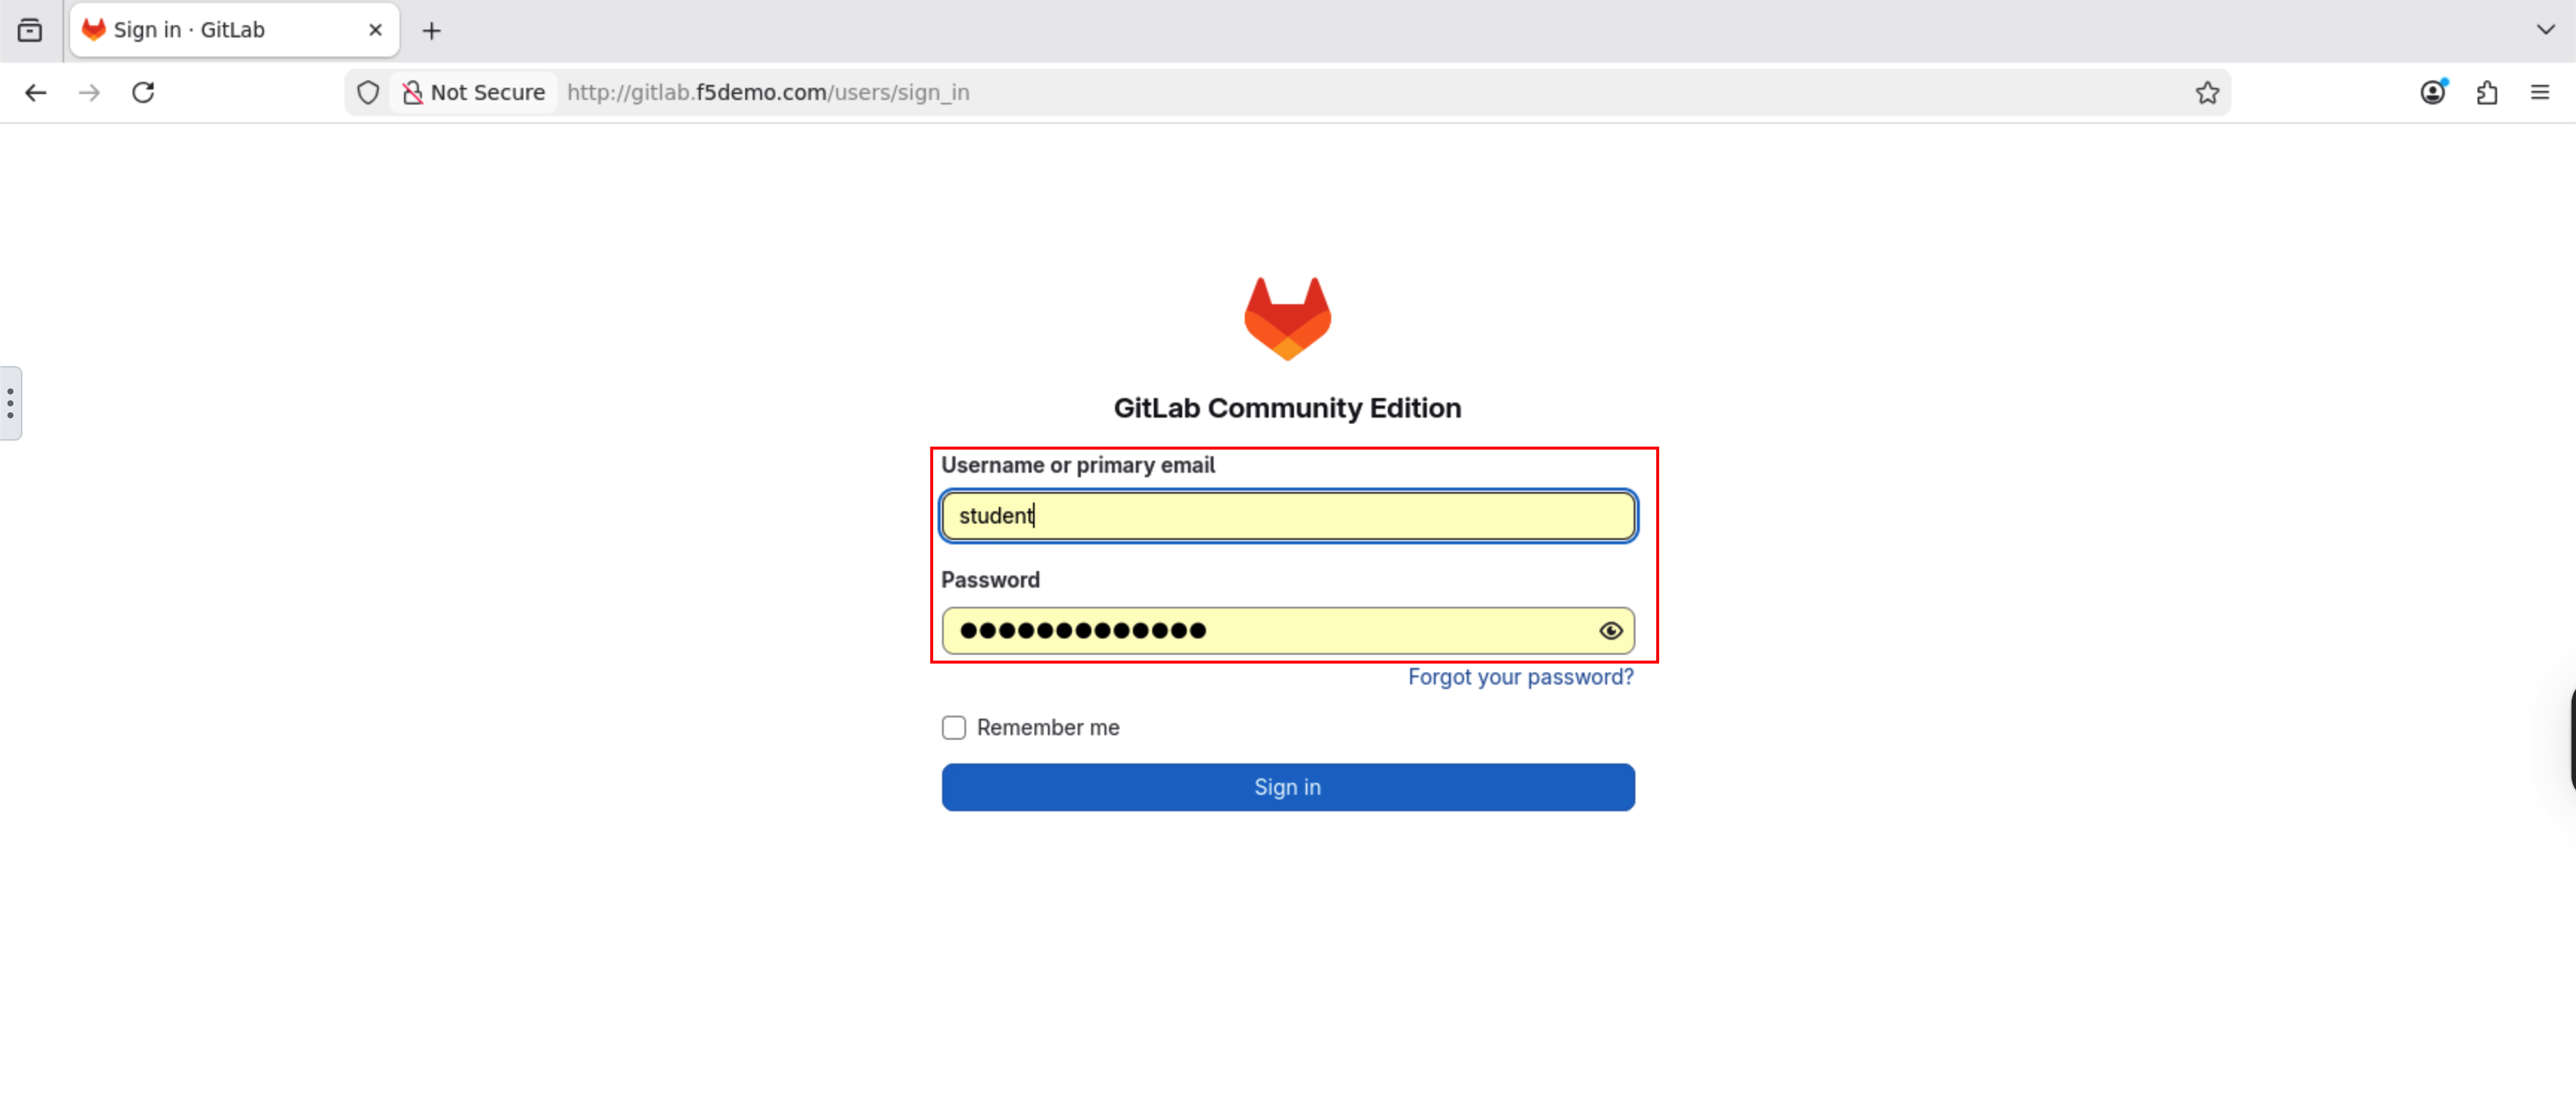
Log in to GitLab.
When the GitLab login page appears, enter the following credentials:
Username: student
Password: @ppW0rld2026!
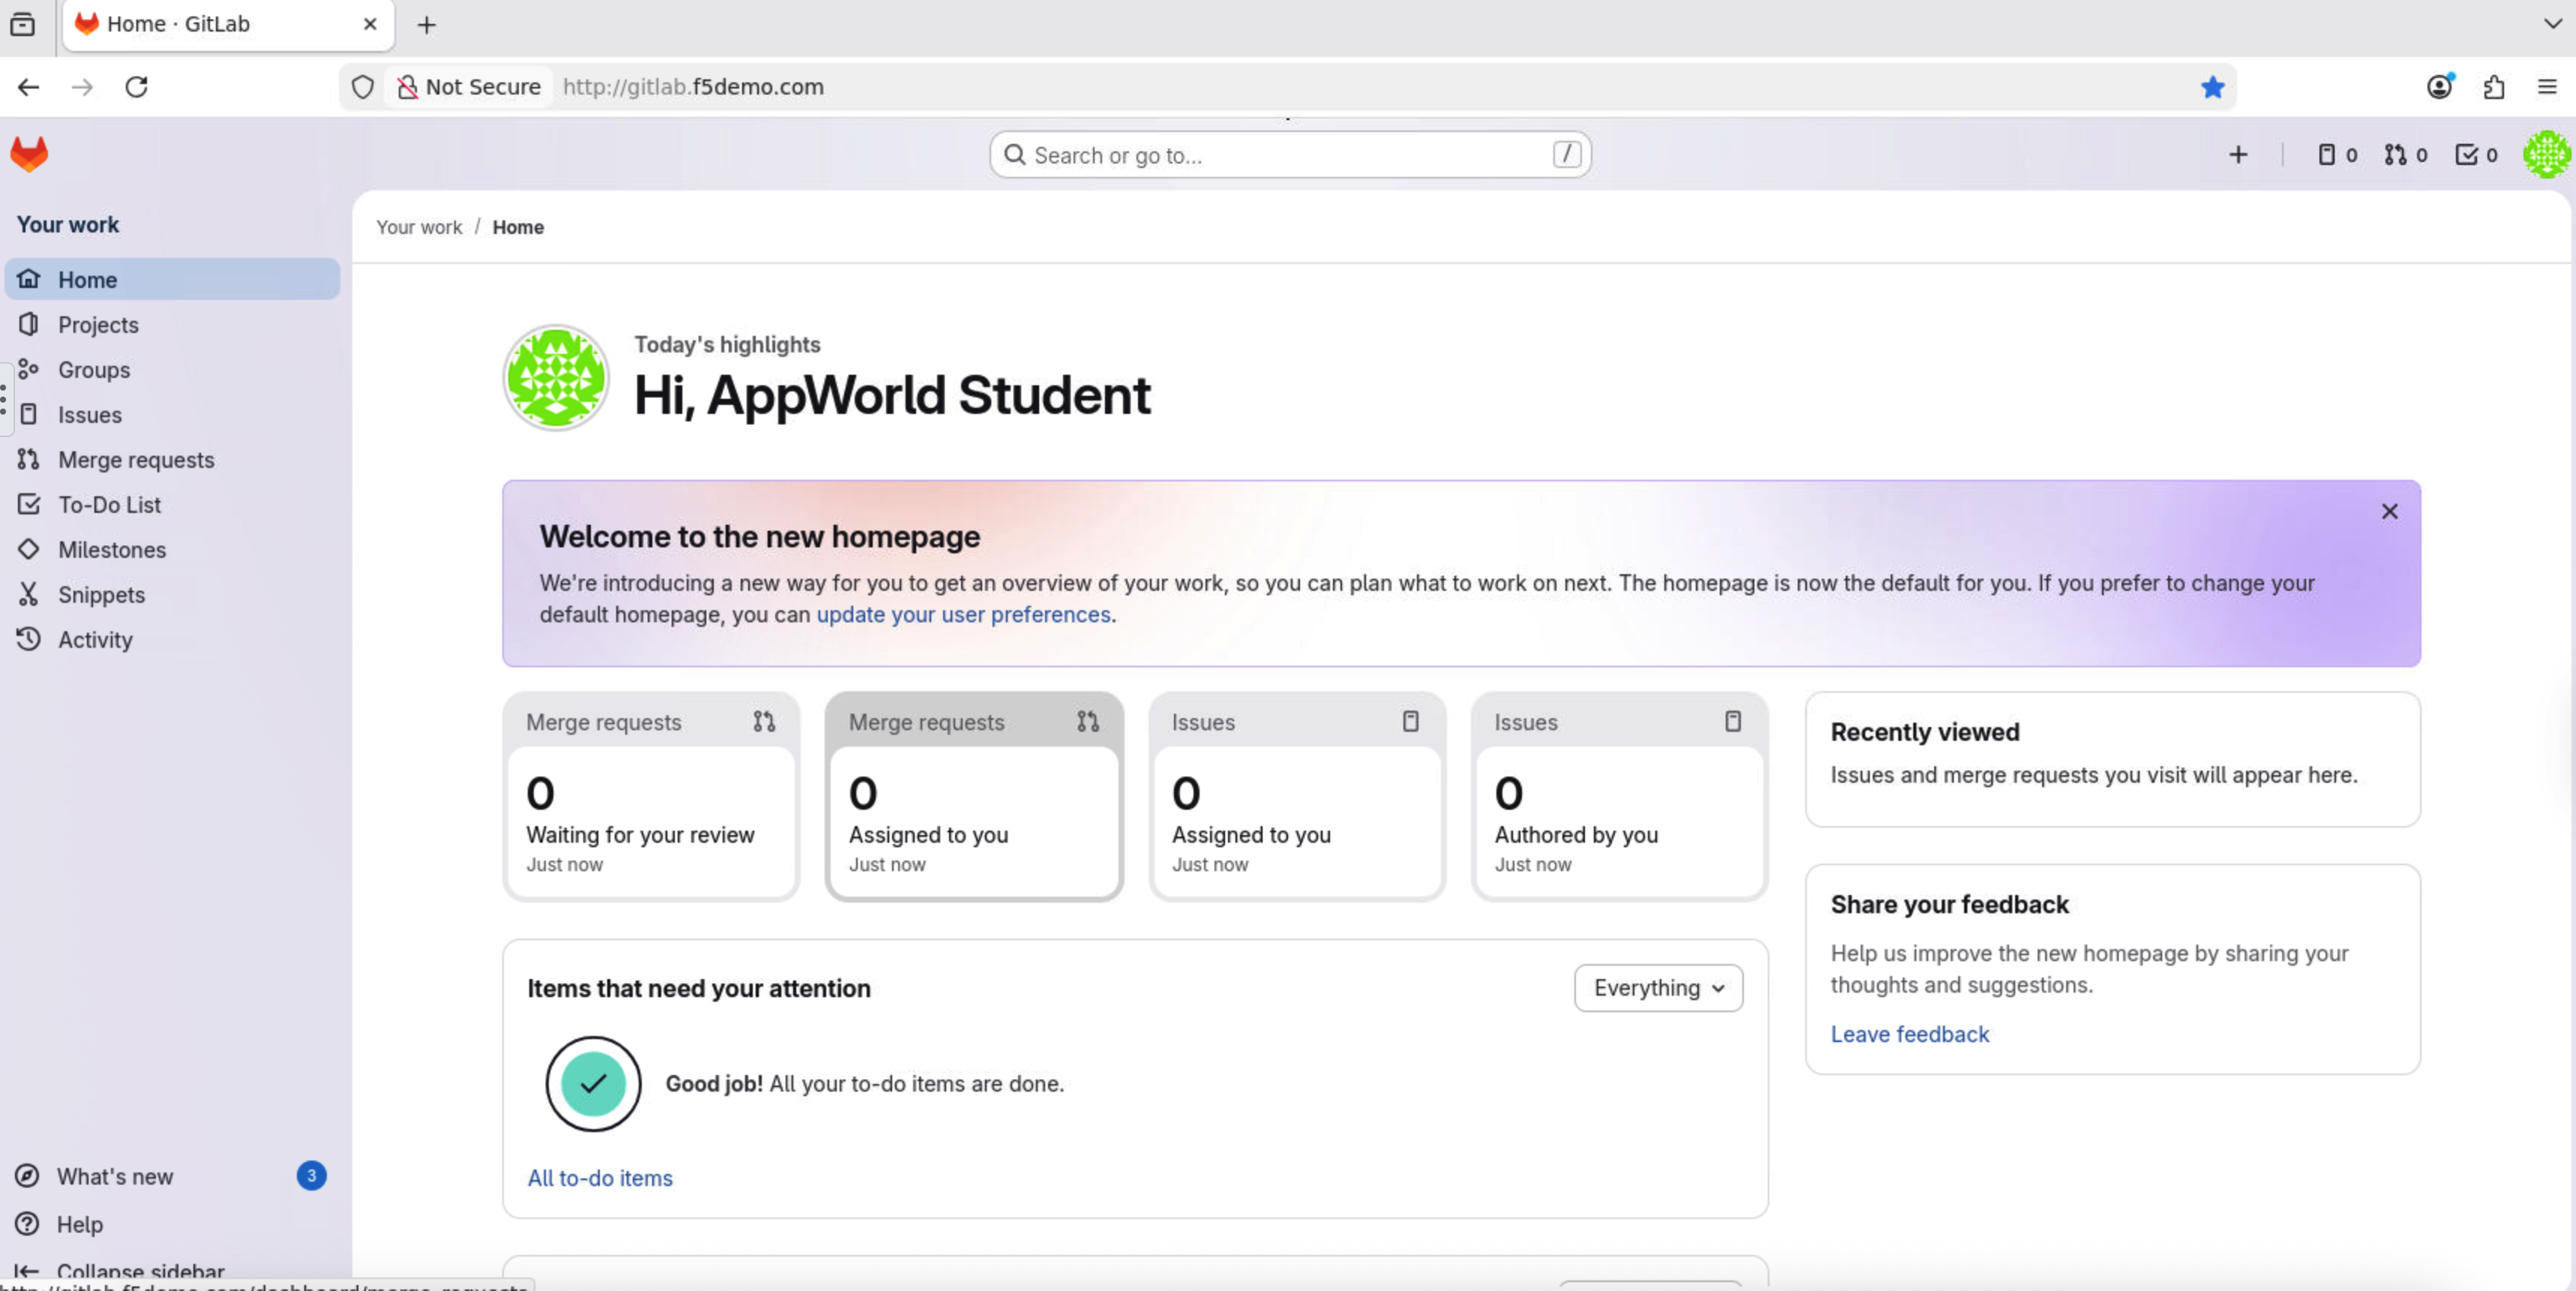
Confirm access to the GitLab home page.
After logging in, you should see the GitLab home page.
Configure GitLab Module 2 Project Variables
CI/CD variables are how GitLab securely passes secrets and environment-specific values into pipelines.
Open the Module 2 project.
Click Projects in the left navigation menu.
Select appworld2026 / module2-app from the project list.
Navigate to CI/CD variables.
Hover over Settings in the left navigation menu.
Click CI/CD.
Expand the Variables section.
Scroll down to view both Project and Group variables.
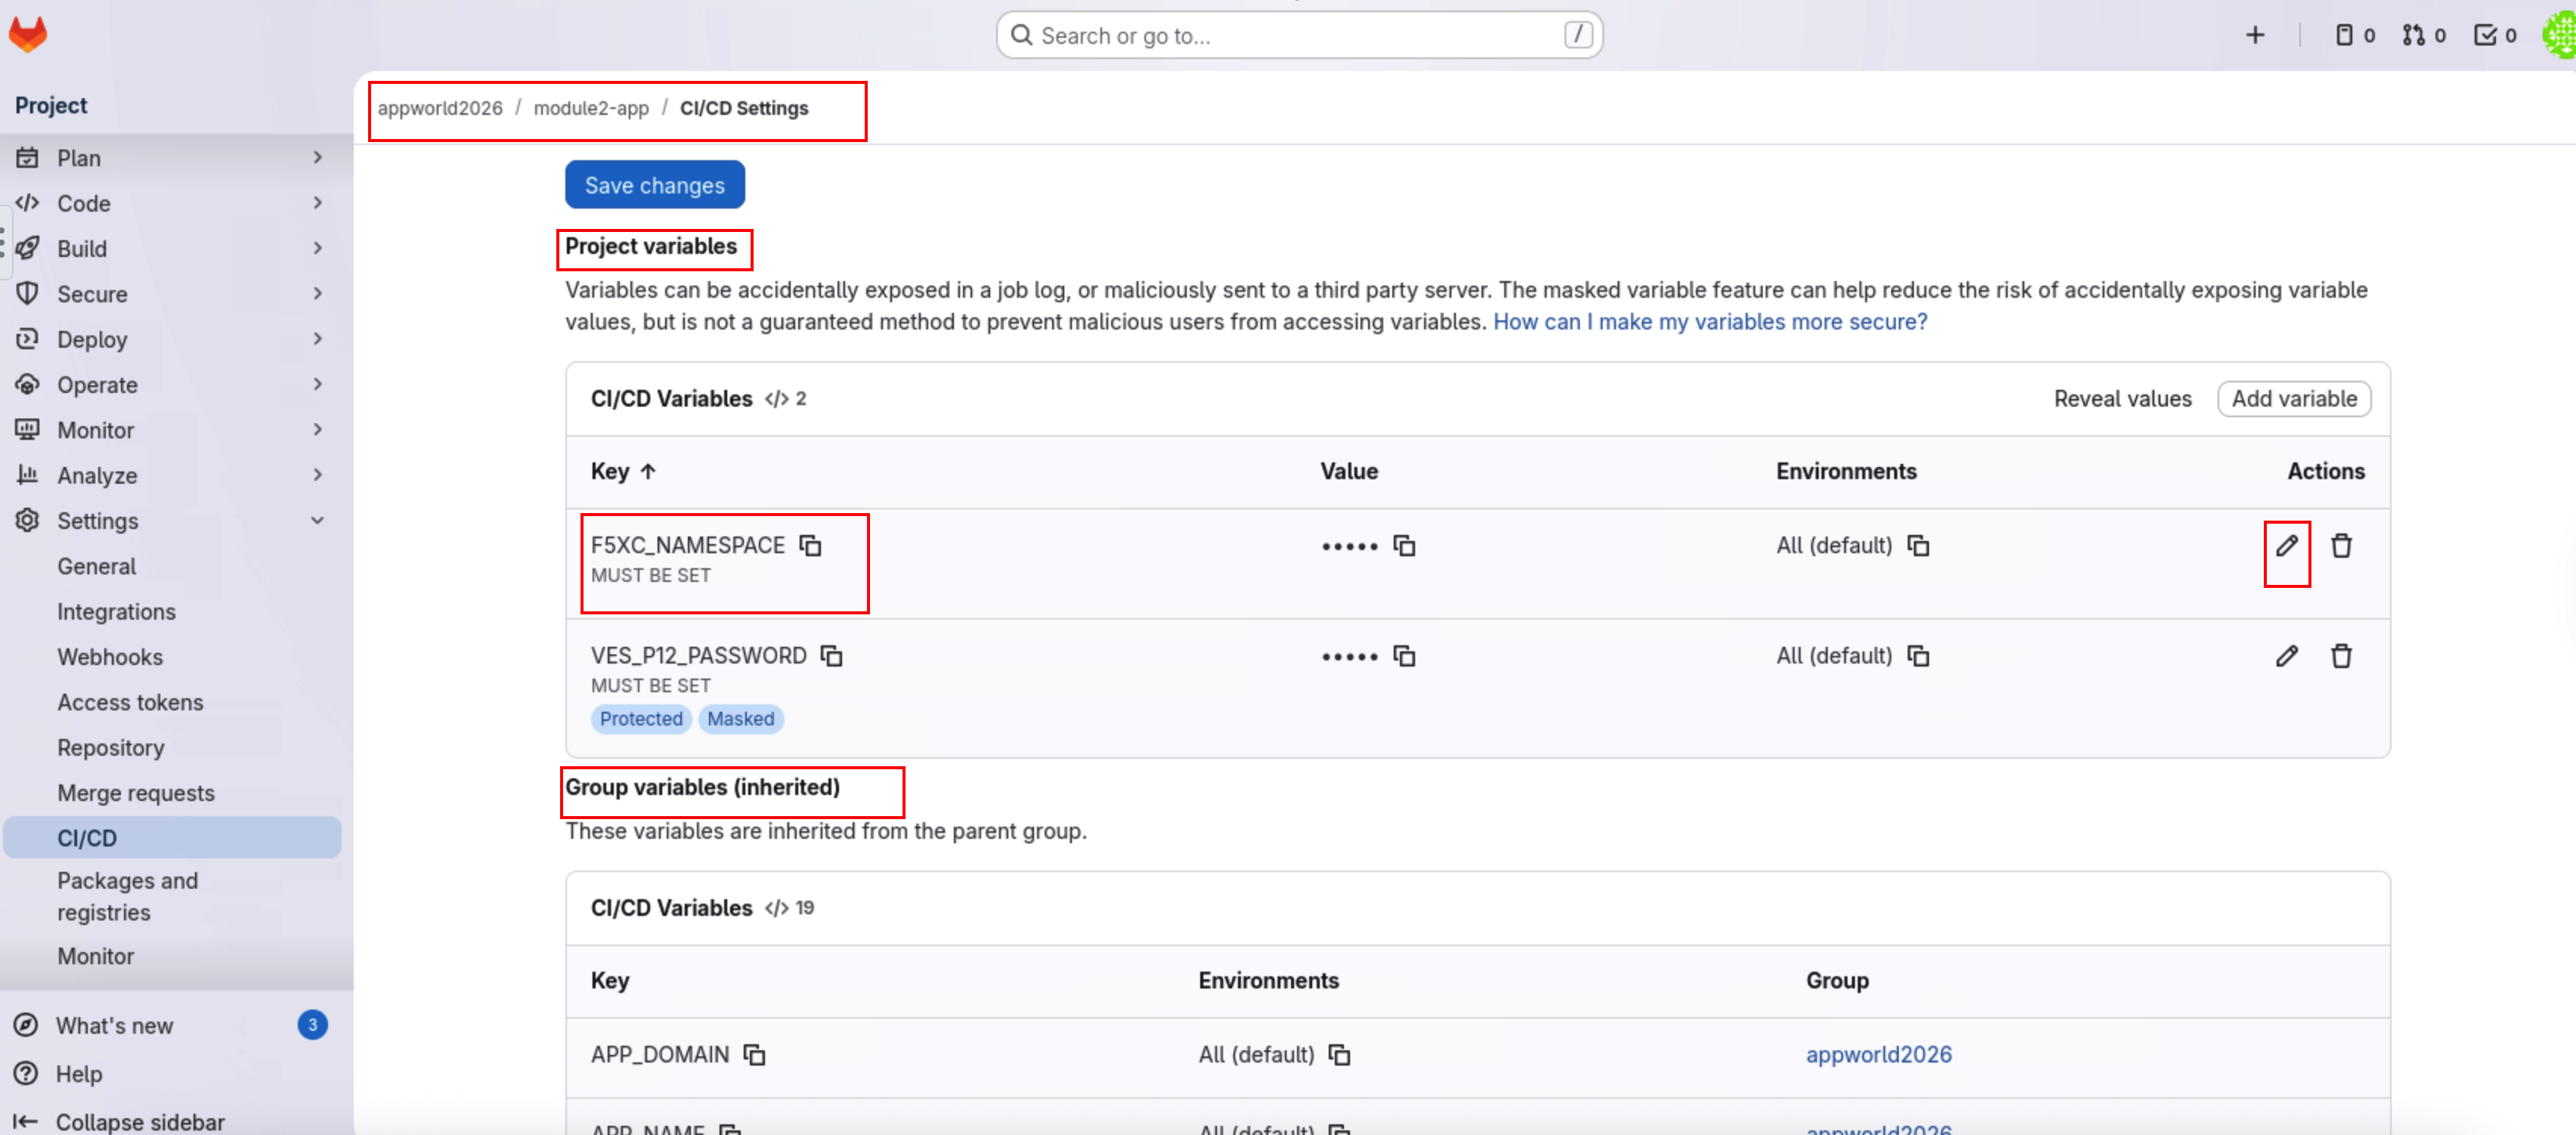
Note
The variables **VES_P12_PASSWORD* and F5XC_NAMESPACE are critical for the pipeline.* VES_P12_PASSWORD is preconfigured with the password used when generating the F5XC API certificate. If you used a different password, you must update this variable. F5XC_NAMESPACE is not preconfigured and must be set manually.
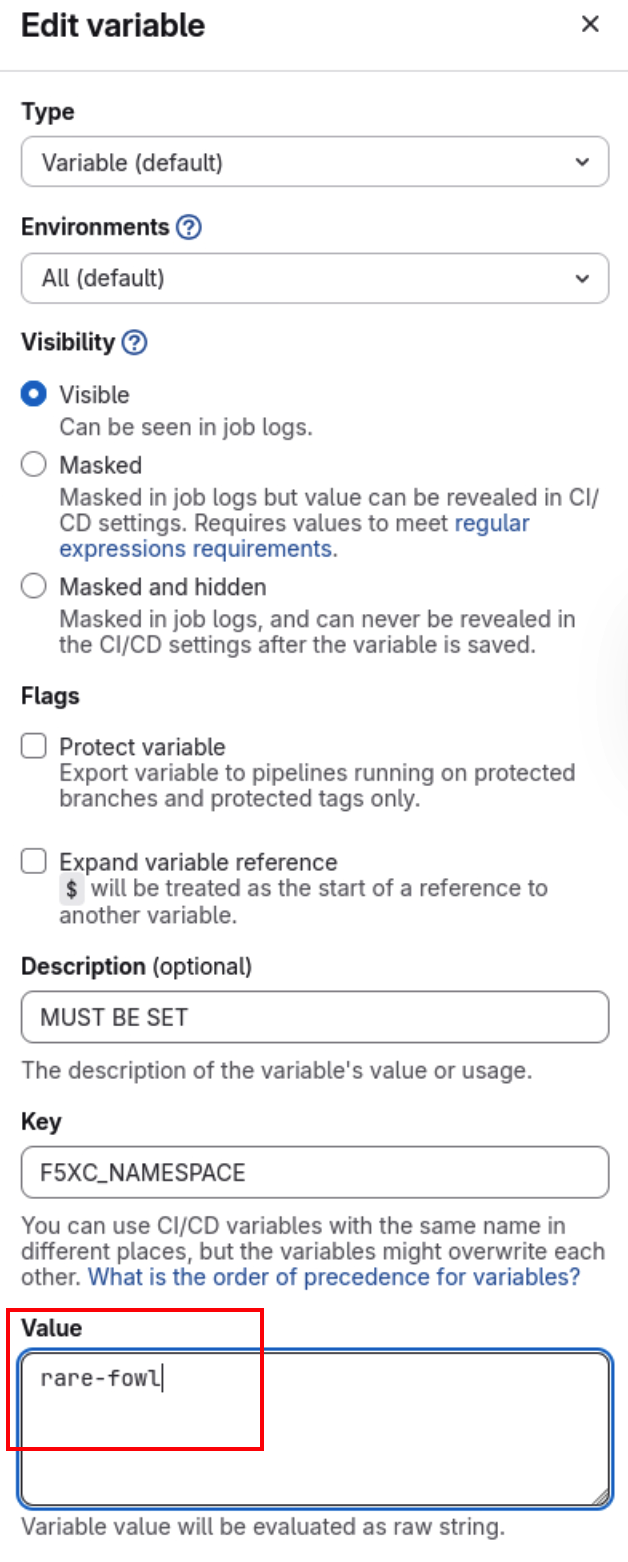
Set the F5XC namespace variable.
Click the Edit (pencil) icon next to F5XC_NAMESPACE.
Enter your assigned F5 Distributed Cloud namespace.
Click Save changes.
Close the variable edit view.
Return to the project main page.
Click the project name module2-app in the left navigation menu.
Upload F5XC P12 API Certificate
The CI/CD pipeline uses an API certificate to authenticate to F5 Distributed Cloud. This certificate must be uploaded to the GitLab server.
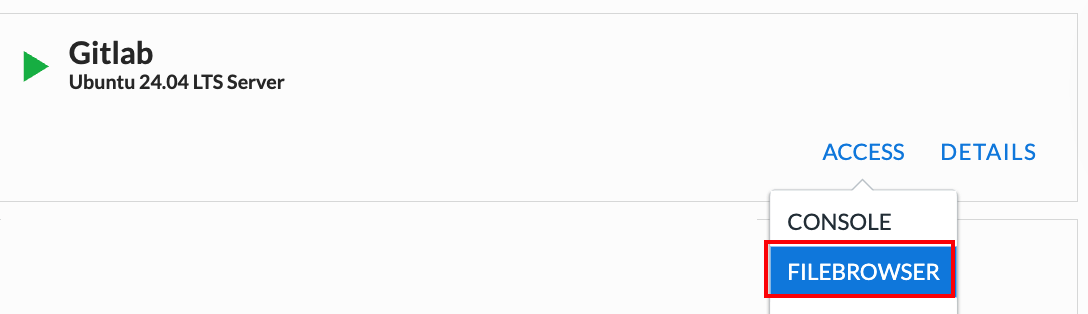
Access the Filebrowser service.
In your UDF deployment, locate the GitLab Server tile and click Access. Click on FILEBROWSER.
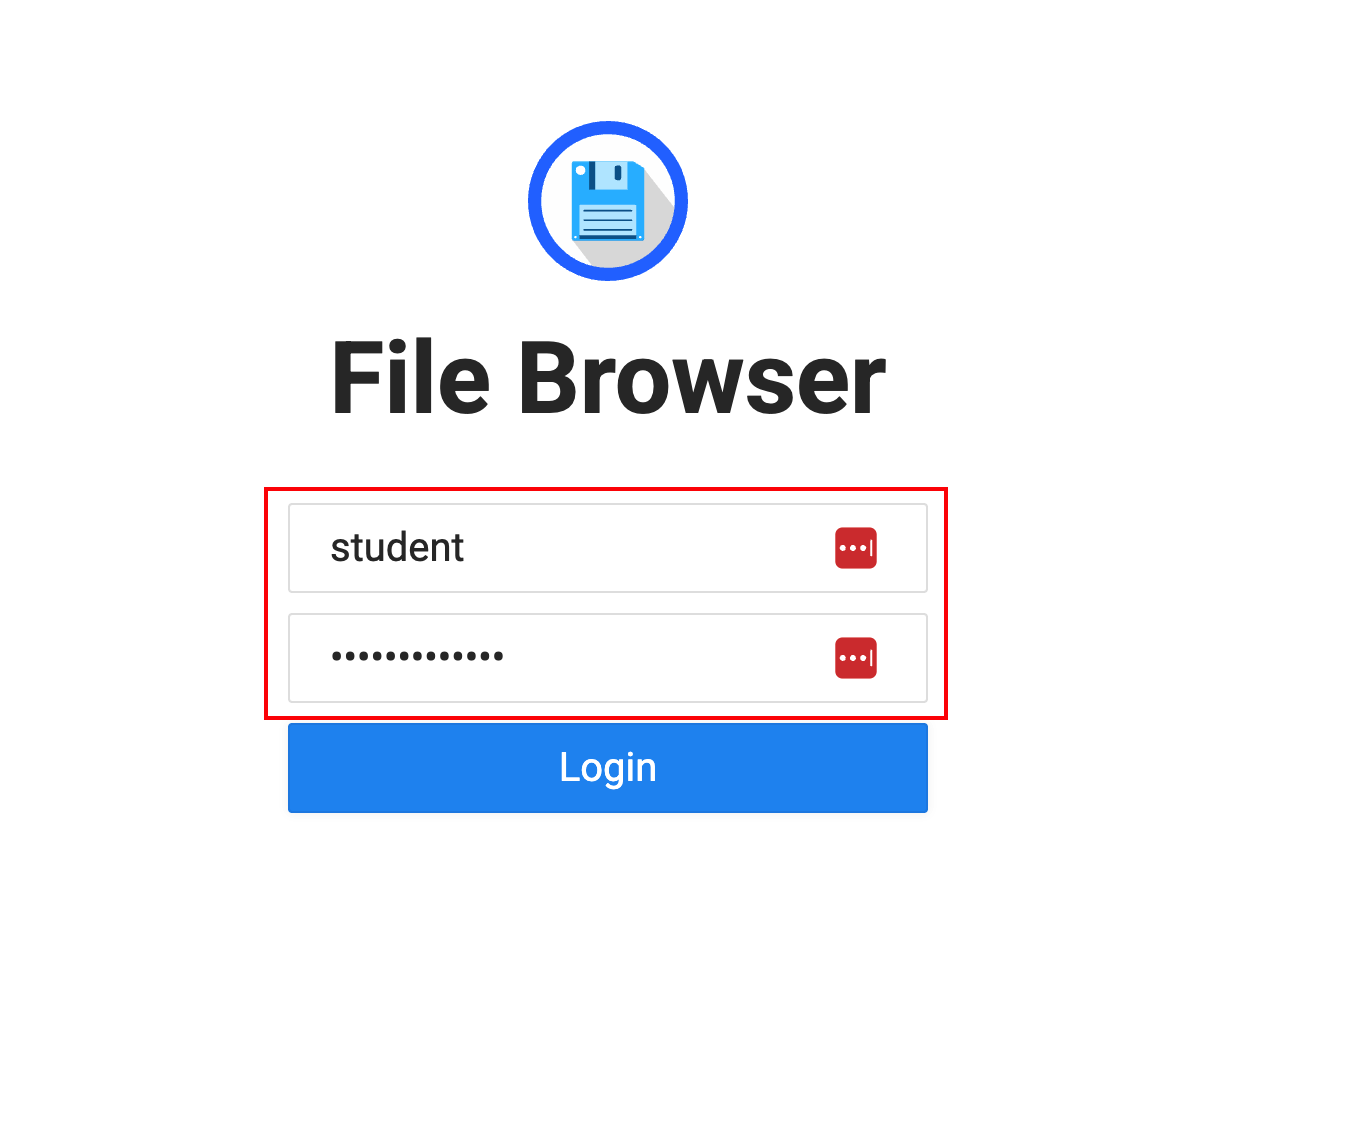
On the Filebrowser login page, enter the following credentials:
Username: student
Password: @ppW0rld2026!
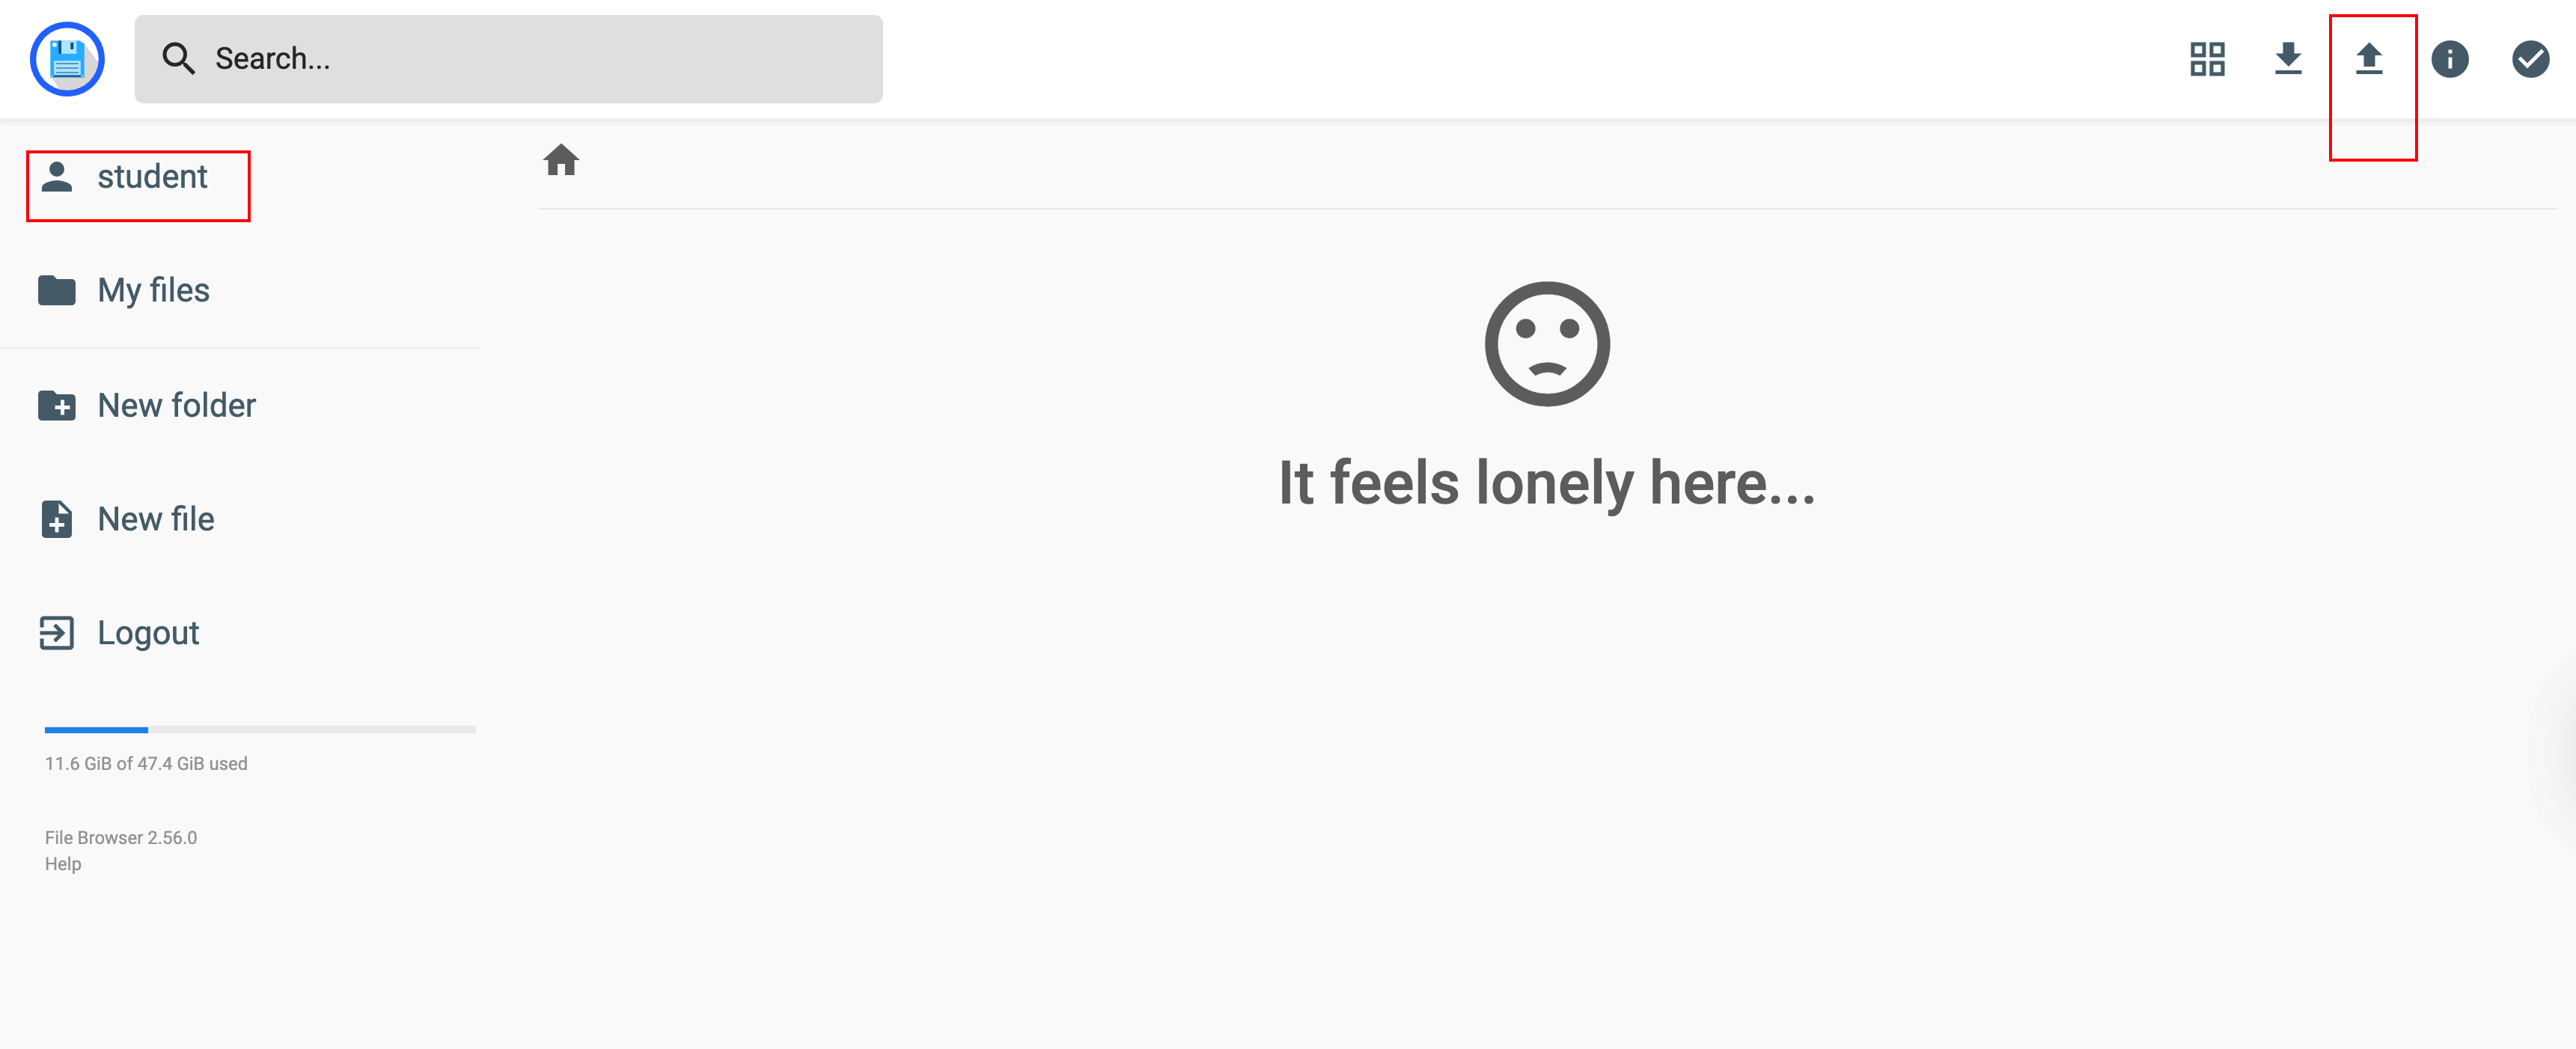
Open the upload interface.
After logging in, you should see the Filebrowser landing page. Click the Upload button in the top-right corner.
Note
The filename MUST be “f5-xc-lab-app.console.ves.volterra.io.api-creds.p12”. If you have an old file with the same name, please delete the old file and rename the new one. The pipeline expects the filename to be “f5-xc-lab-app.console.ves.volterra.io.api-creds.p12”
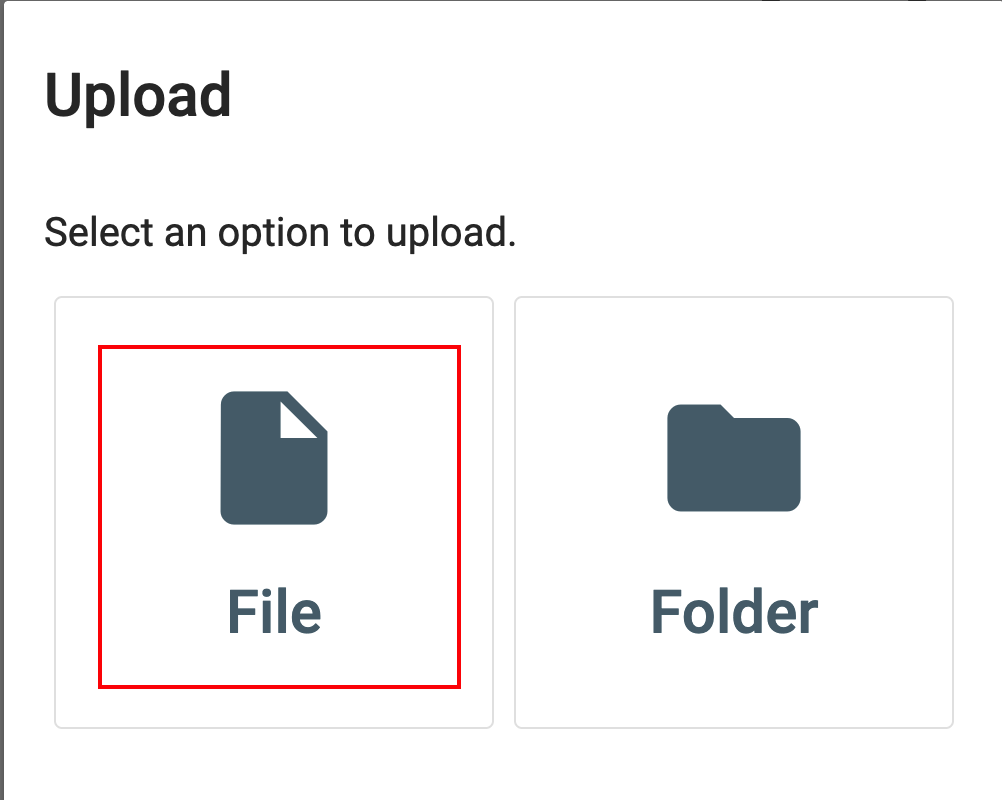
Upload the F5XC API certificate.
Click Select Files.
Navigate to your Downloads folder.
Select the file:
f5-xc-lab-app.console.ves.volterra.io.api-creds.p12
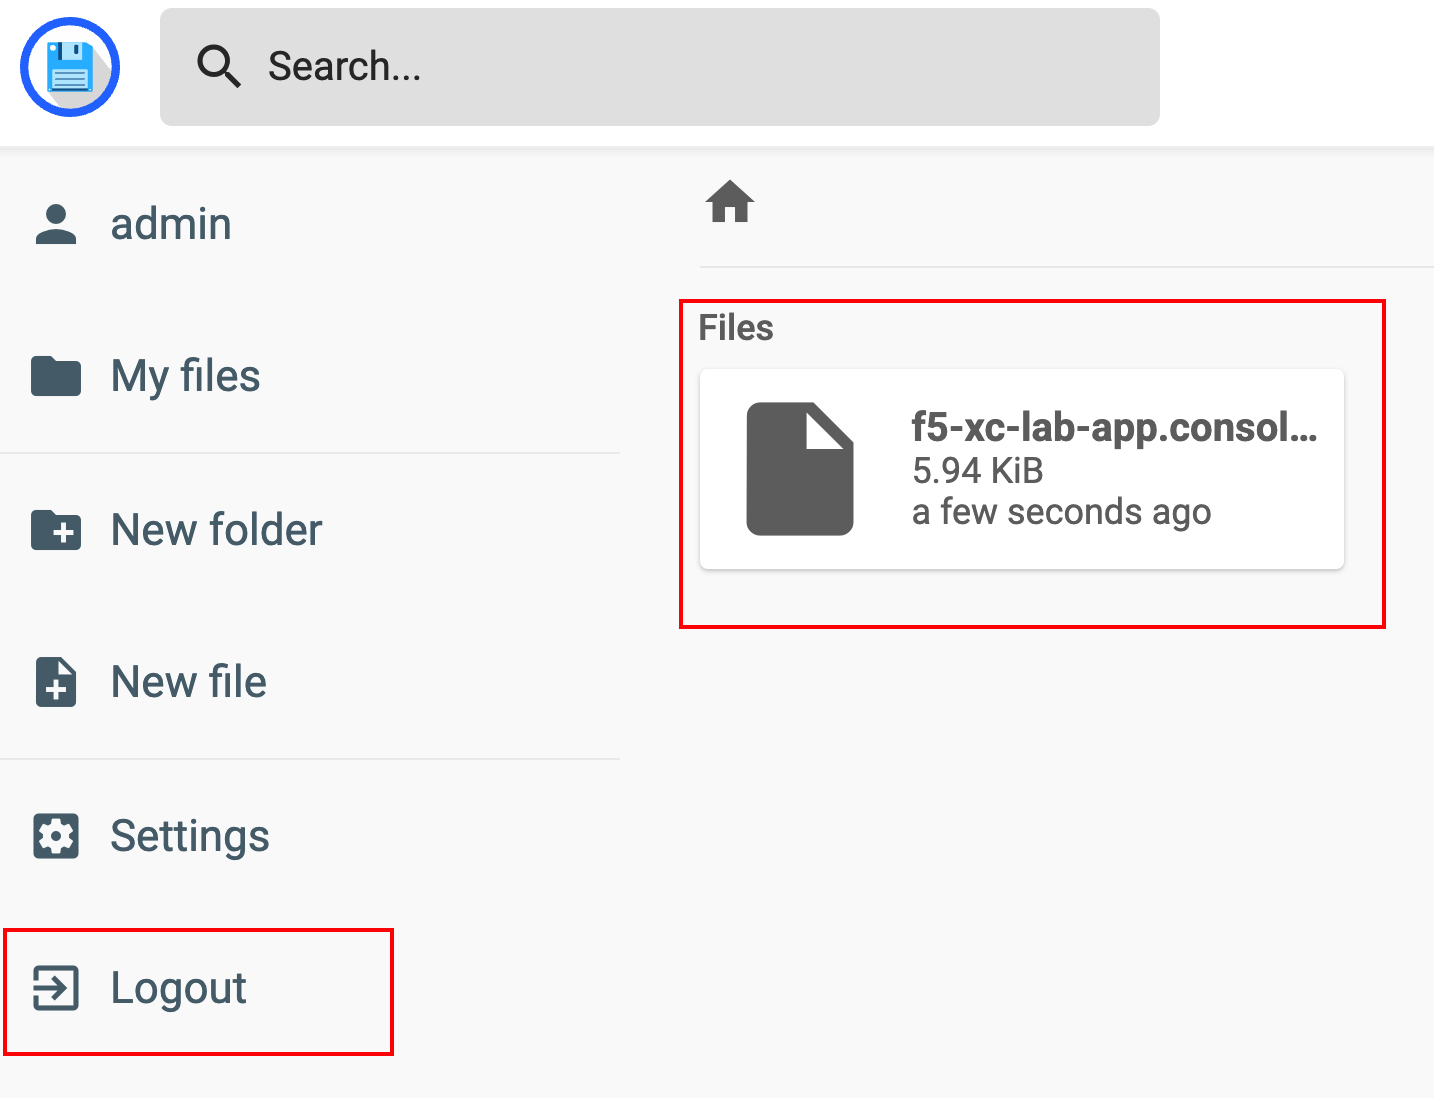
Click Upload to complete the upload.
Confirm the upload and log out.
- After the upload completes, verify that the file appears in the Filebrowser list.
Click Logout in the top-right corner to exit Filebrowser.
What to notice:
The certificate file is stored on the GitLab server.
The filename and password must match pipeline expectations.
Wrap-Up
At this point, you have:
Verified access to the GitLab server
Configured required CI/CD variables
Uploaded the F5 Distributed Cloud API certificate
GitLab is now fully prepared to drive automated builds, deployments, and security configuration in the next modules.
Next, you will begin committing code and observing how CI/CD enforces security controls.