F5 Distributed Cloud > F5 Distributed Cloud: Code, Secure, Repeat > Module 2 – CI/CD + Basic Runtime Security Source | Edit on
Task 1 - Deploy F5 AI-generated Application
In this task, you will review the pre-created F5 AI-generated application, introduce a security policy using policy-as-code, and commit your changes to GitLab. This commit intentionally triggers the CI/CD pipeline so you can observe how security controls influence whether an application is deployed.
For the best experience, keep VS Code Server and GitLab (opened using Firefox) visible side by side.
Access the GitLab Repository
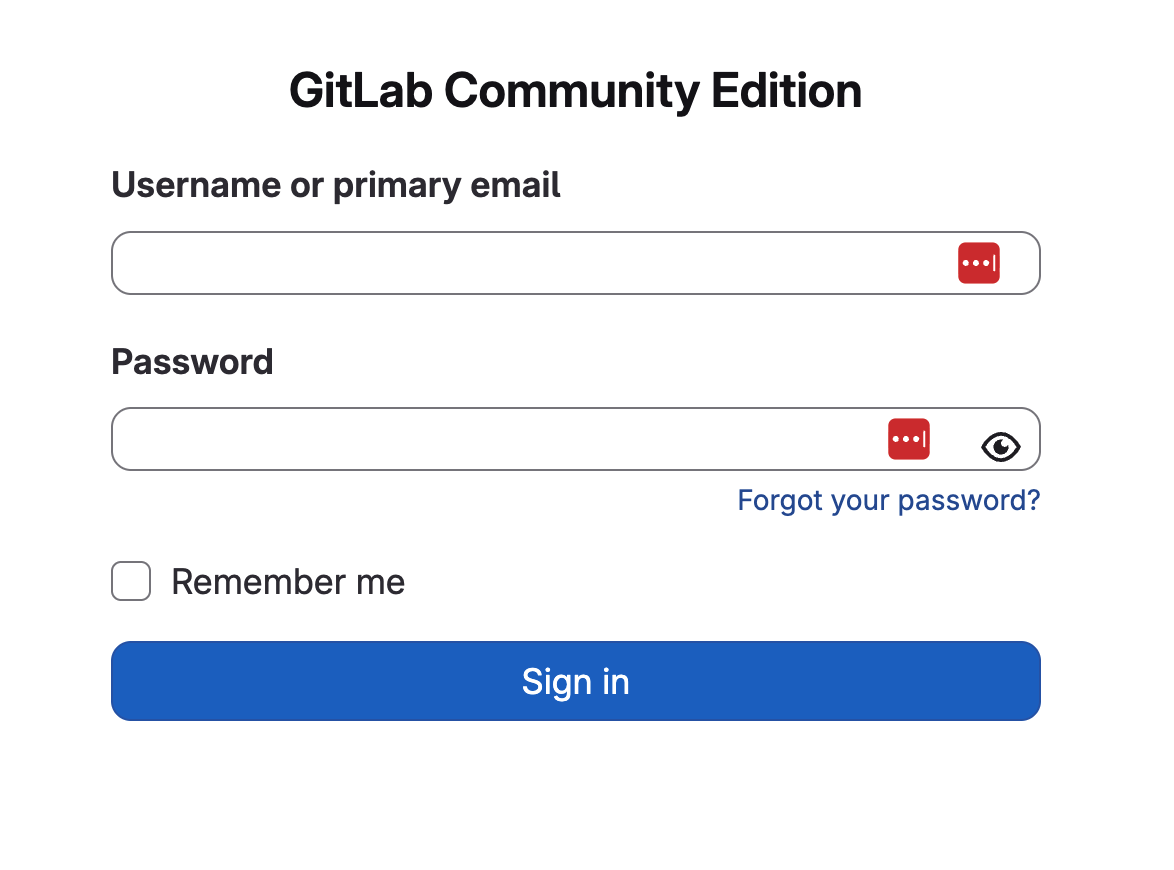
Log in to GitLab Community Edition using Firefox.
If you are not already logged in:
From your deployment, locate the Jump Host tile and click Access
Click FIREFOX
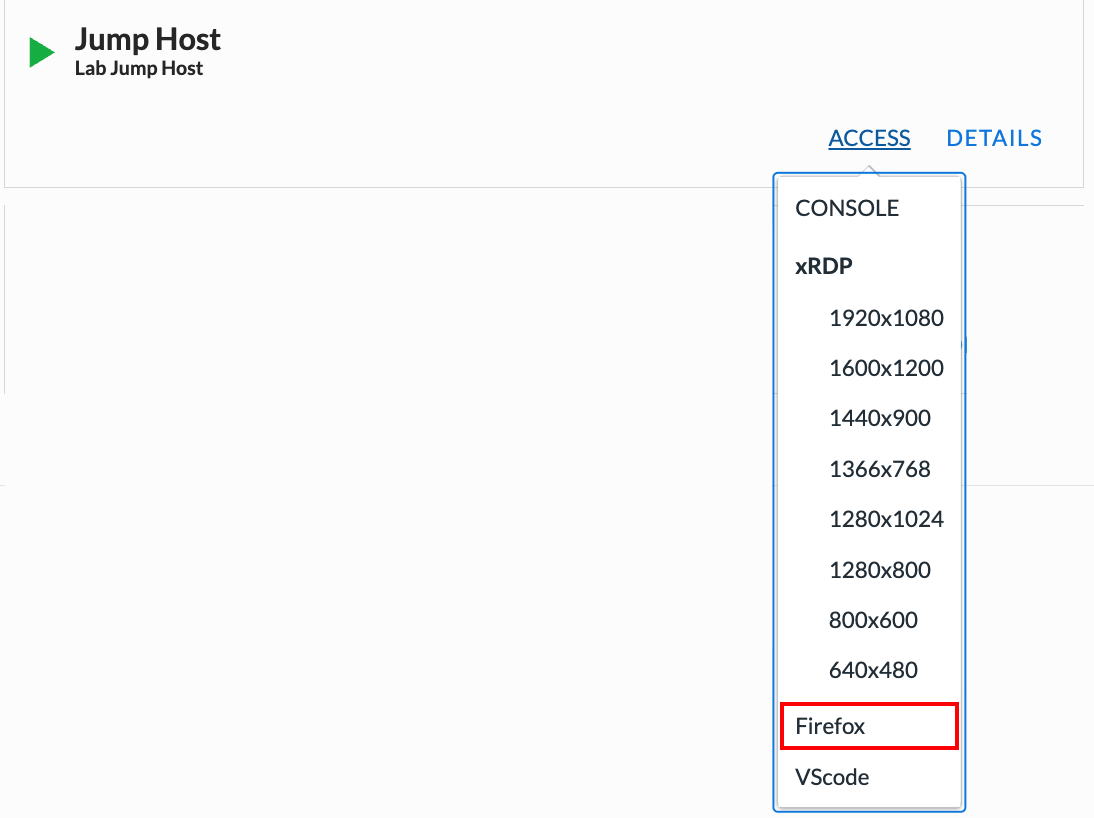
Click the GitLab bookmark in Firefox
When prompted, enter the following credentials:
Username: student
Password: @ppW0rld2026!
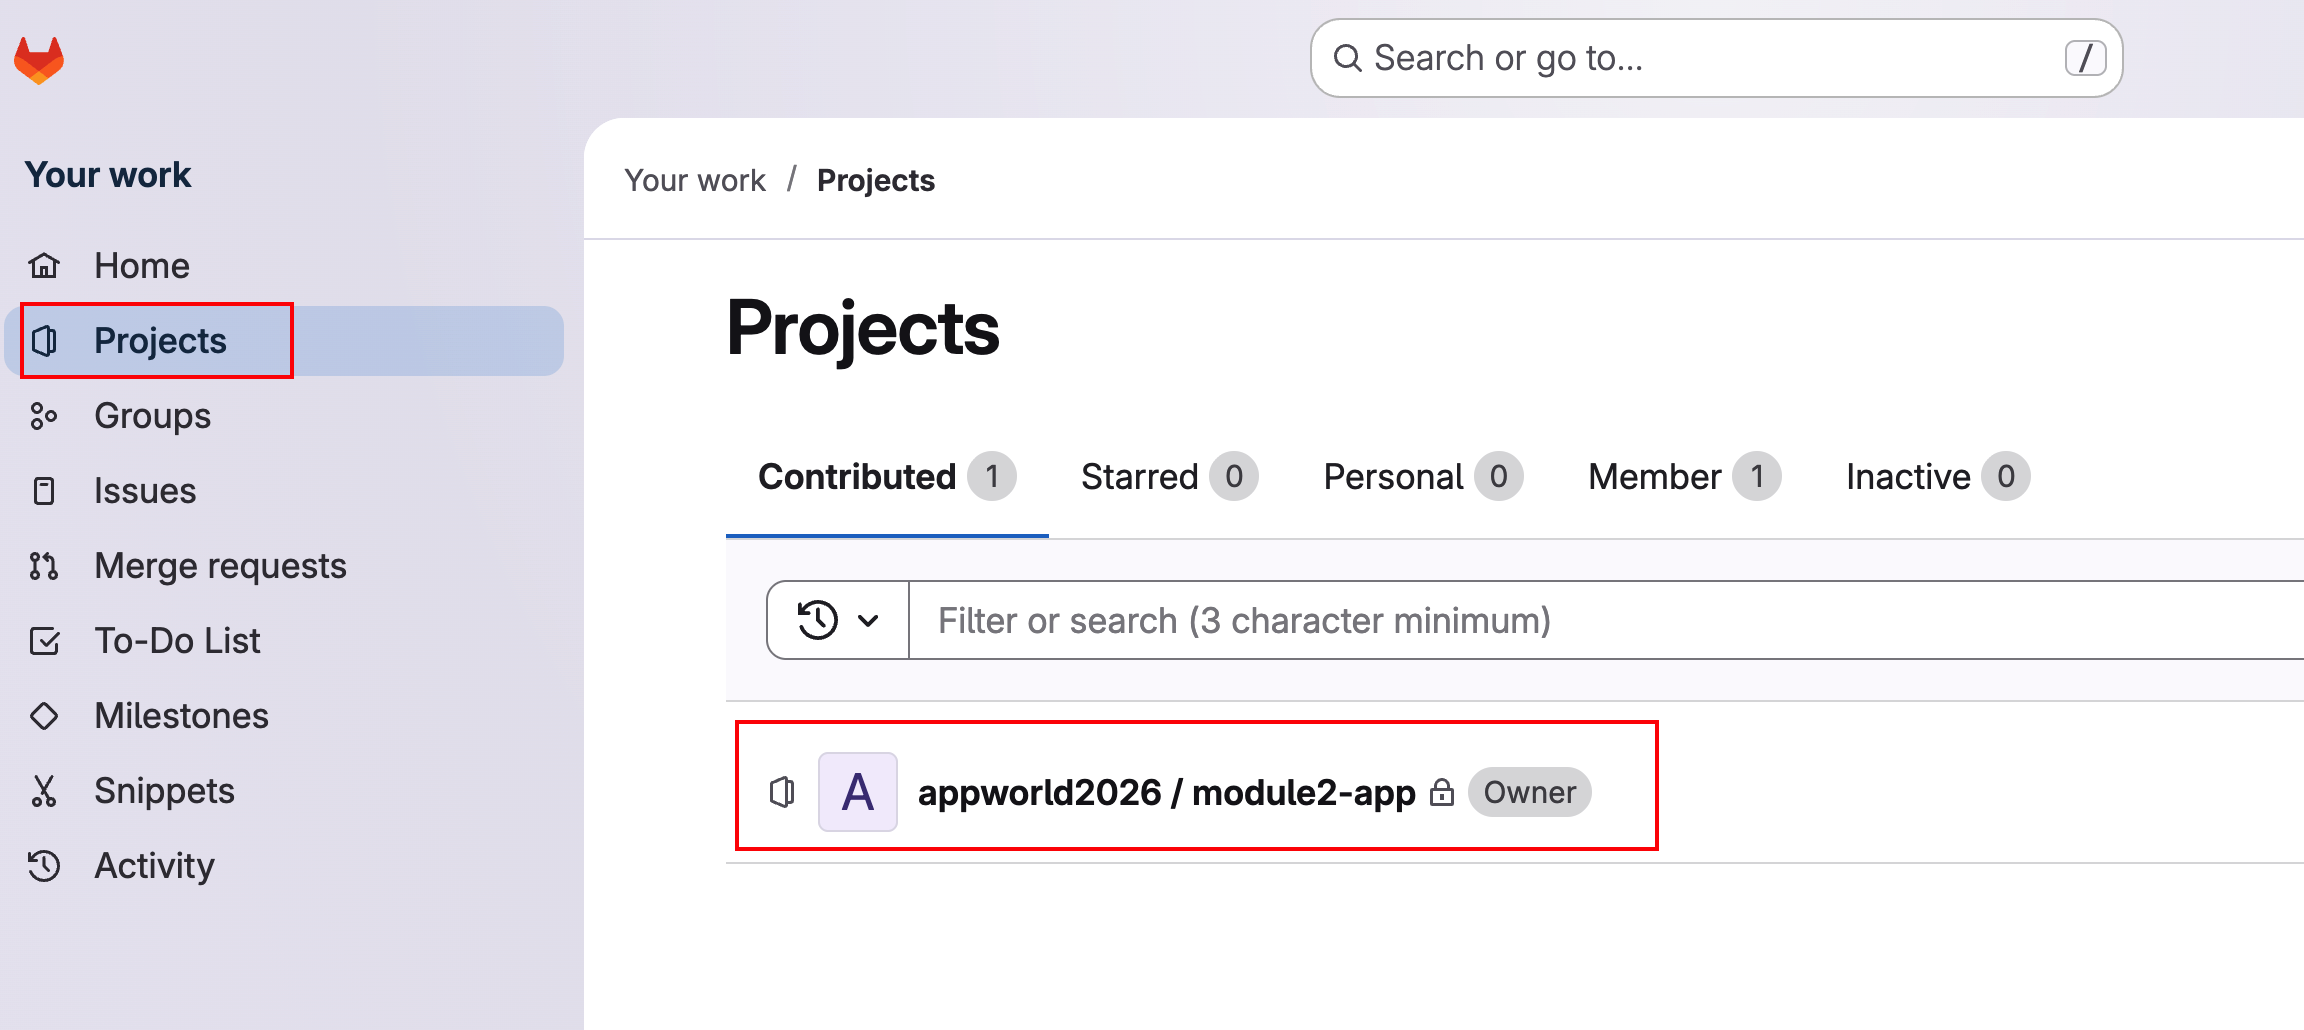
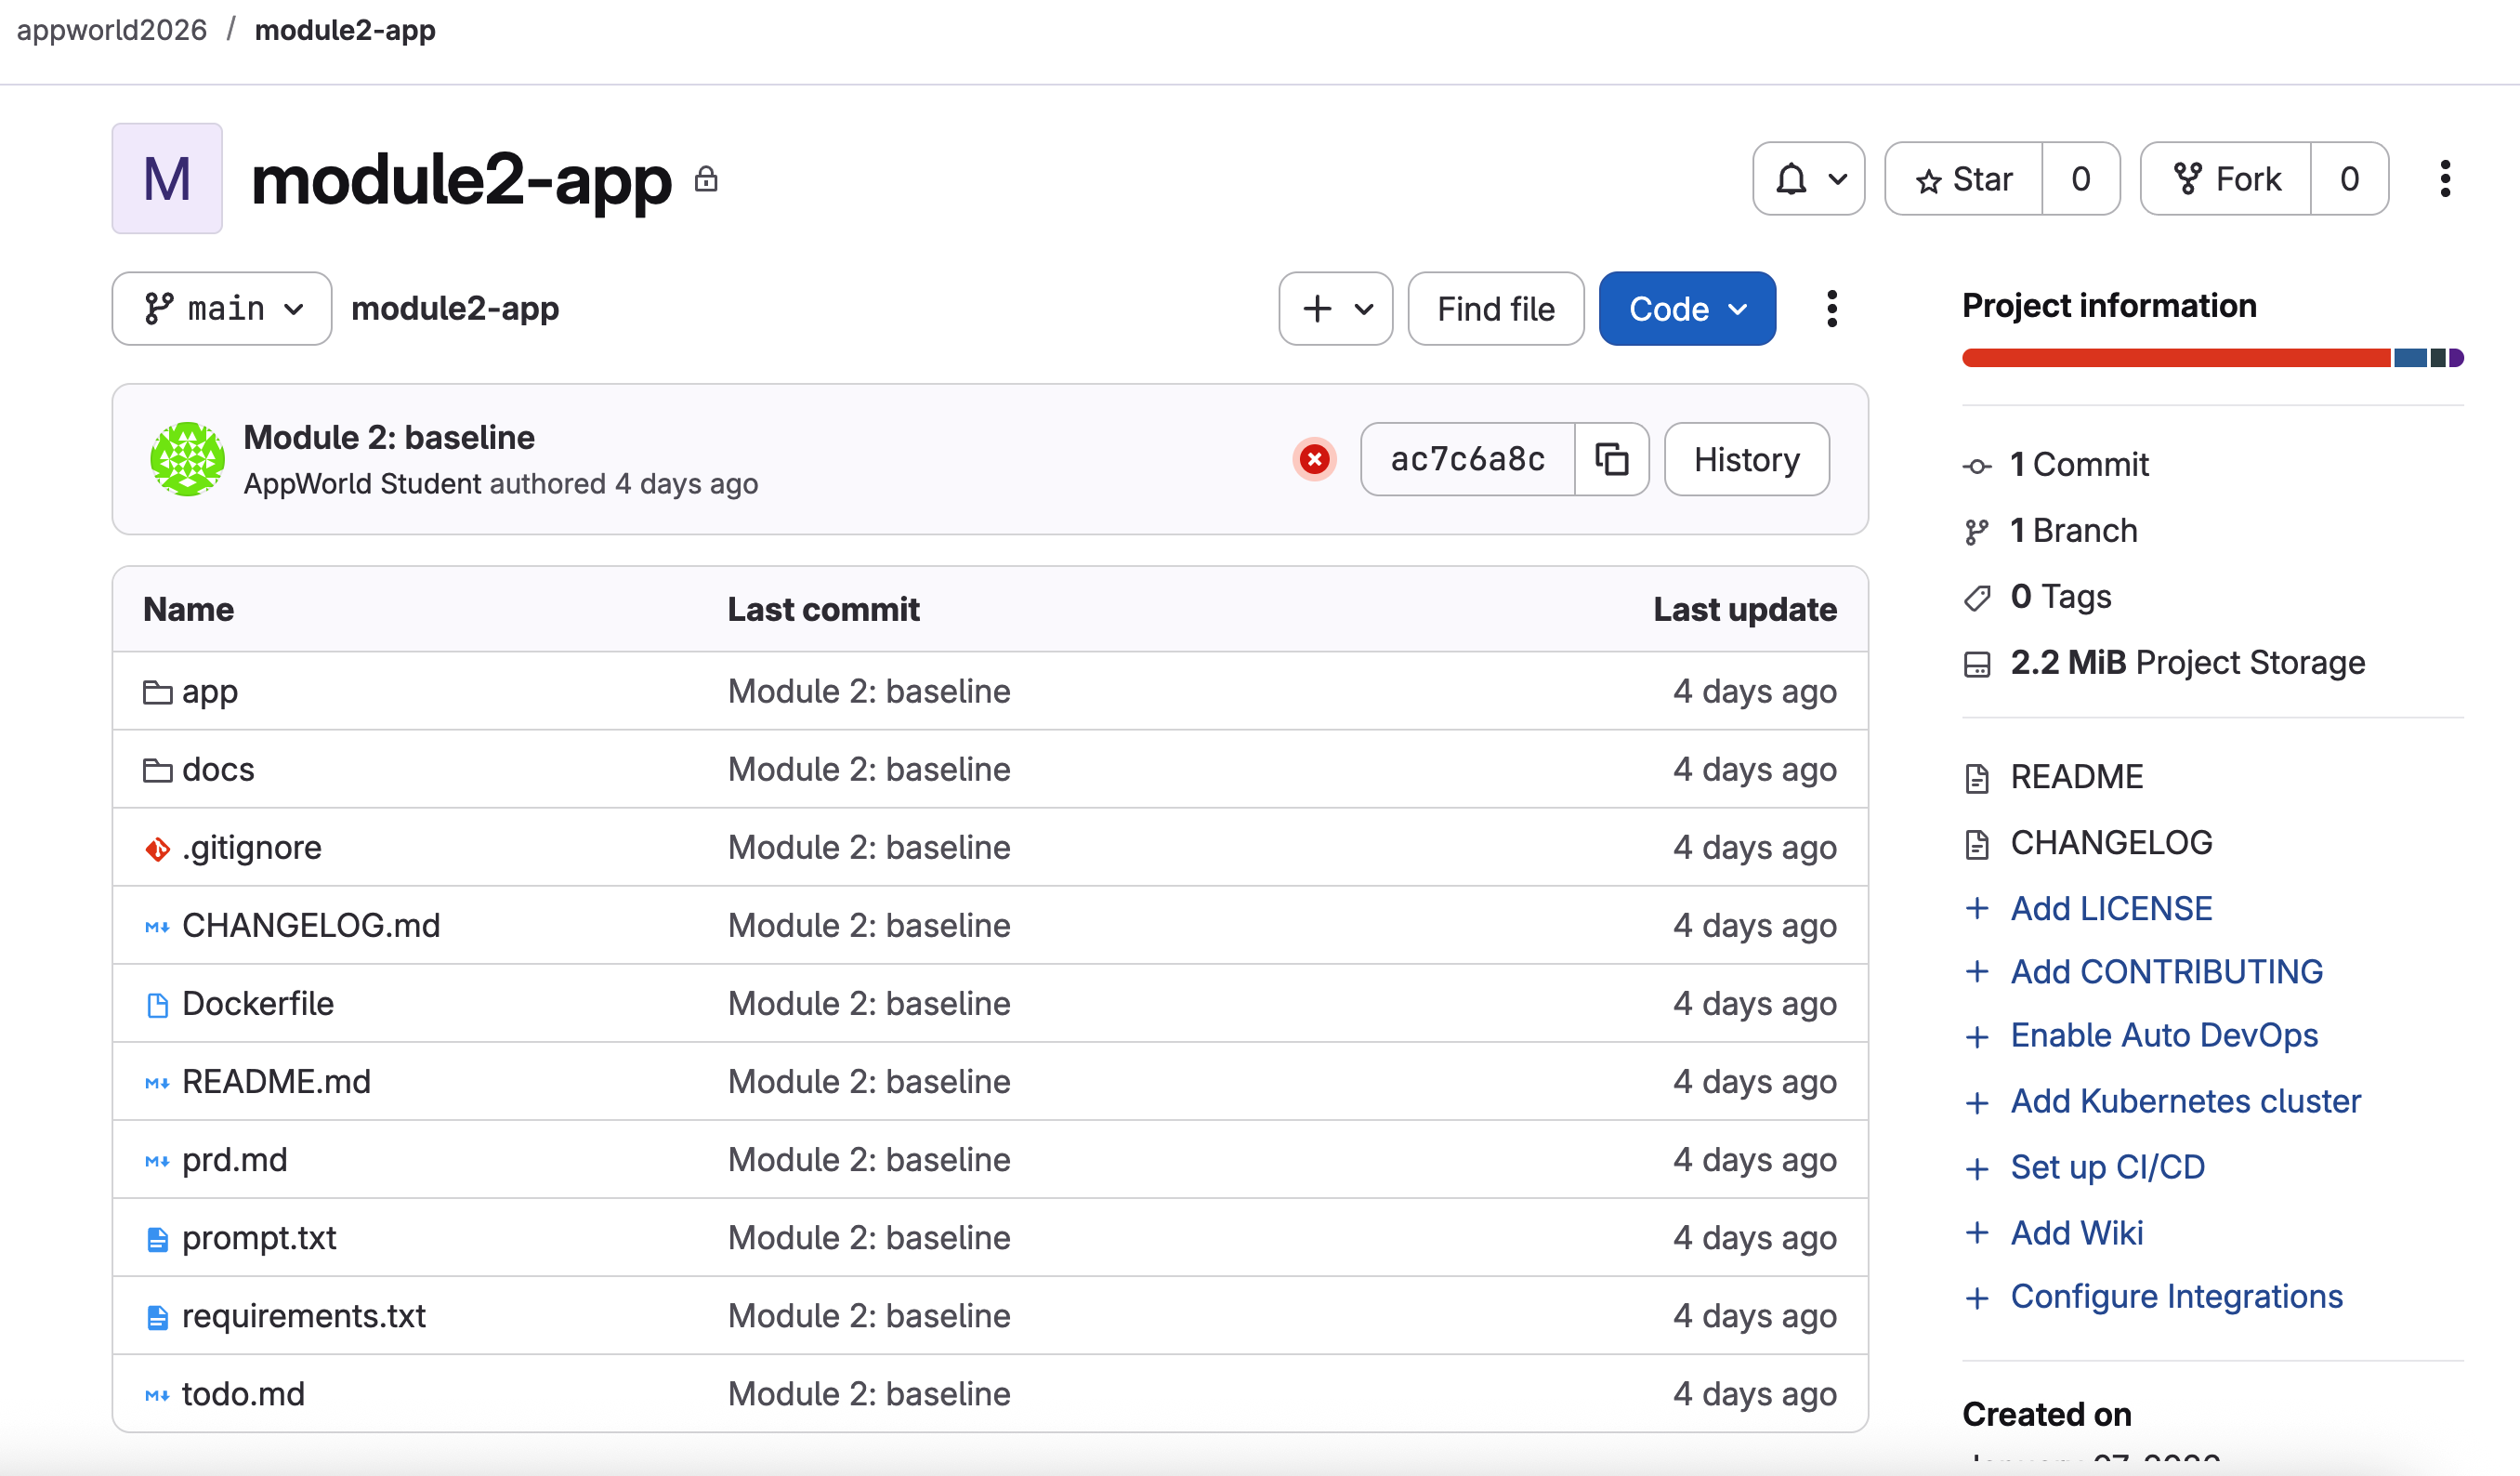
Open the Module 2 project.
In the left navigation menu, click Projects
Select appworld2026 / module2-app
What you’re seeing: This repository contains the AI-generated application source code and the CI/CD pipeline definitions used throughout Module 2.
Open the Module 2 Workspace in VS Code
Open the Module 2 workspace folder in VS Code Server.
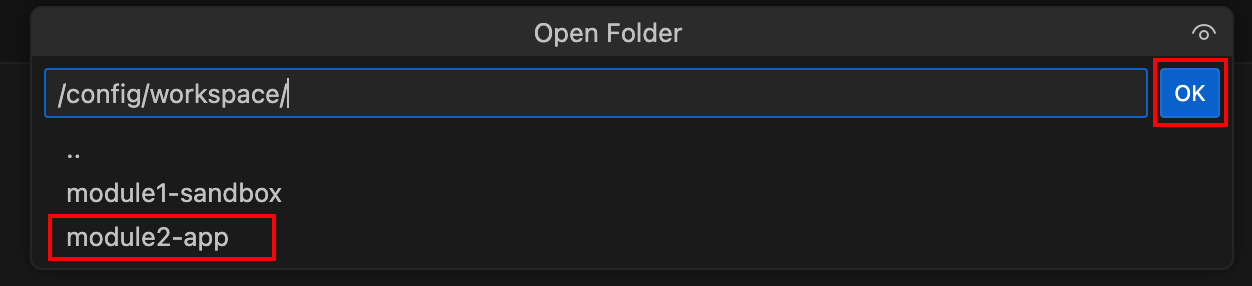
In VS Code, click File → Open Folder
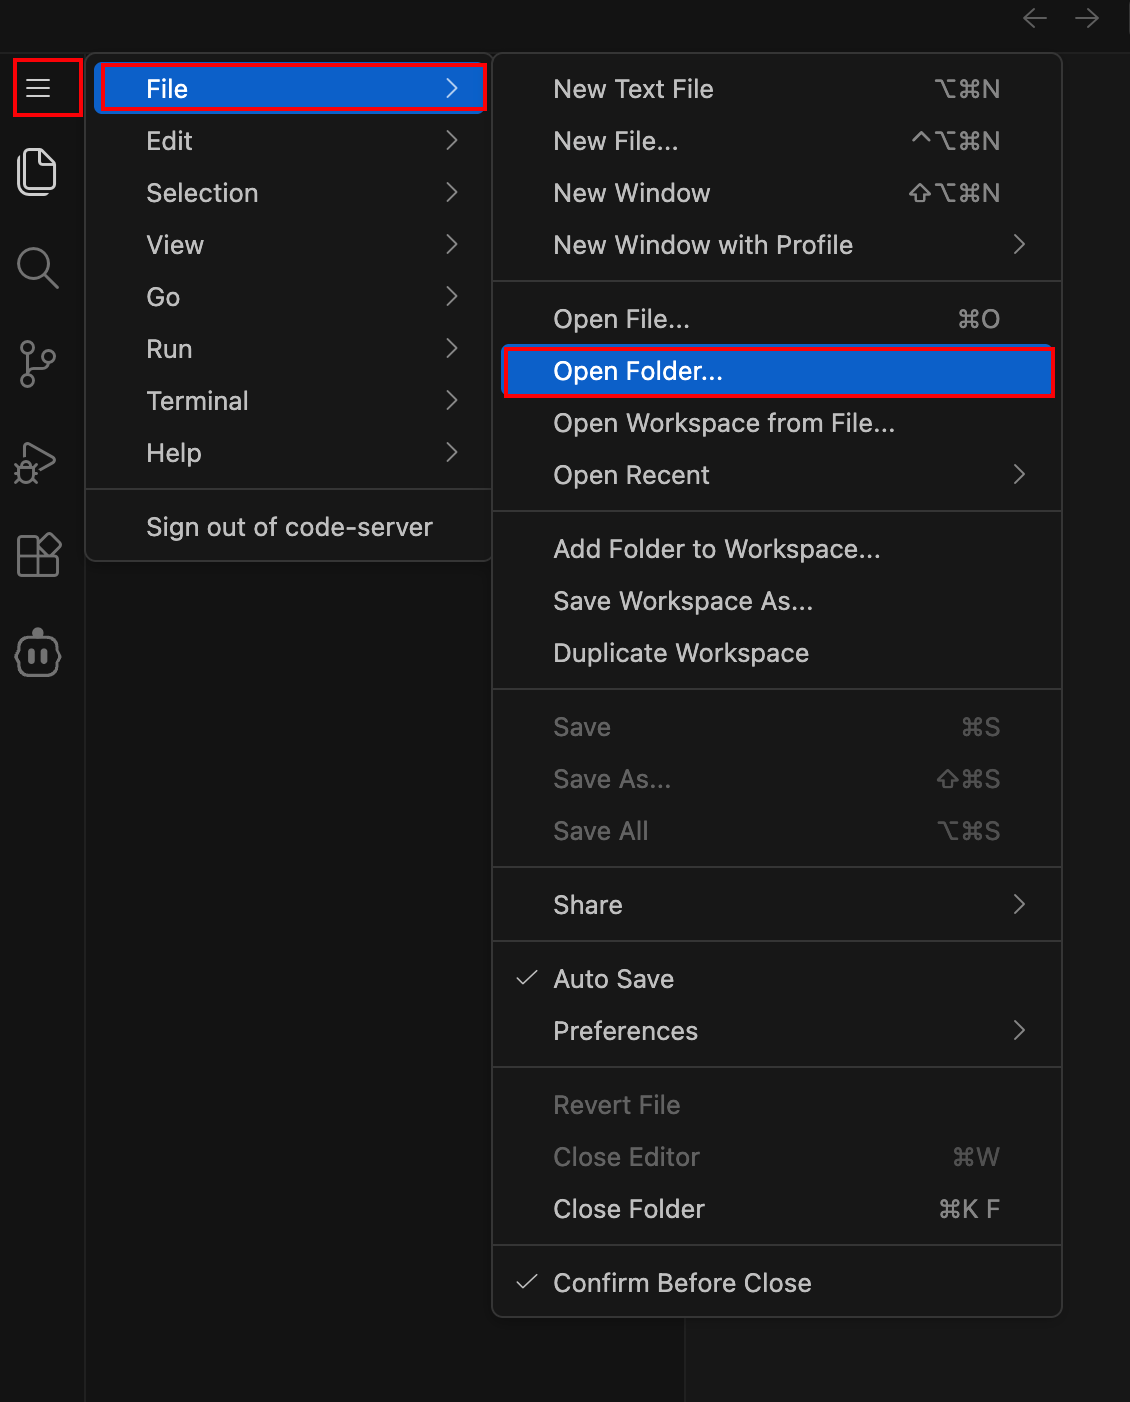
Select the folder named
module2-app
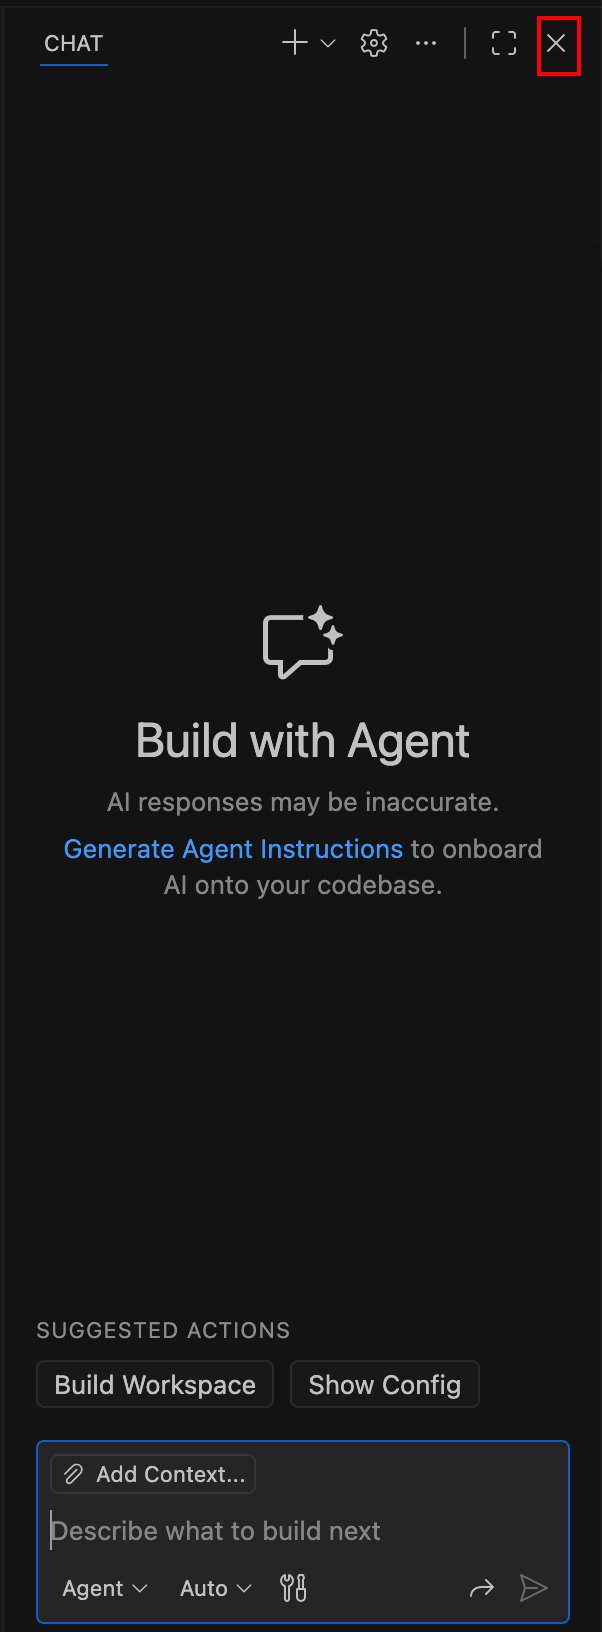
Close any open code assistant or AI popups.
What you’re seeing: This local workspace mirrors the GitLab repository. Any changes you make here can be committed and pushed to trigger the pipeline.
Create the Security Policy File
Create a new file named
security-controls.yamlin the Module 2 workspace.This file represents policy-as-code. Without it, the CI/CD pipeline will fail during the
policy_gatestage.Why this matters: This is the first enforcement point in the DevSecOps workflow. If an application does not meet minimum security requirements, it will not be deployed.
Click the New File (+) icon in the Explorer panel
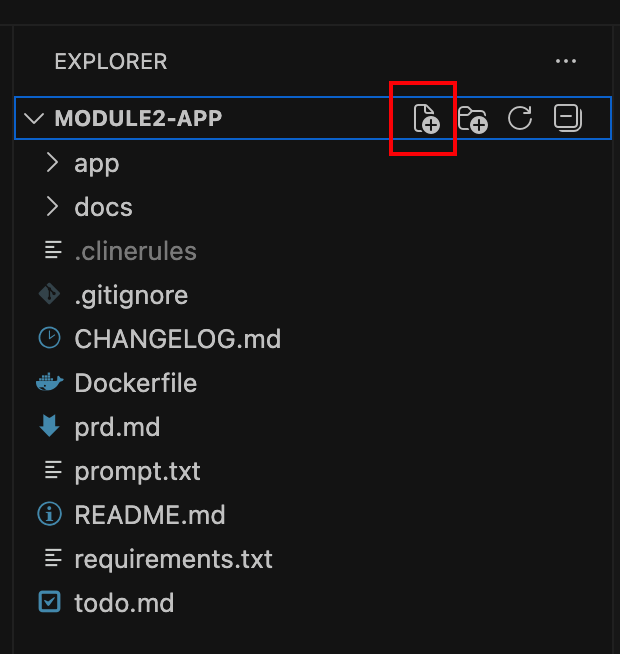
Name the file
security-controls.yaml
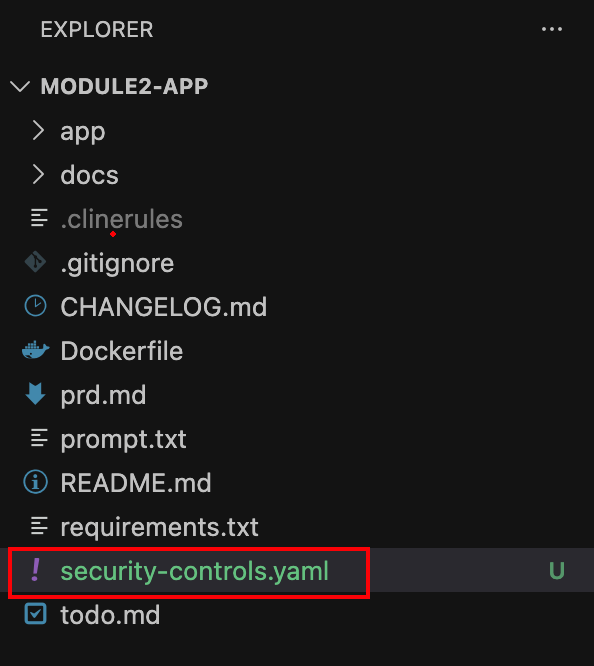
Note
Please make sure the file is created on the root folder of the application repo. If it is created somewhere else, the CI/CD pipeline will fail. Also make sure you are using the exact same filename and extension.
Add the initial security policy.
Copy and paste the following content into
security-controls.yaml:controls: waf: enabled: false api_discovery: enabled: false bot_advanced: enabled: false rate_limiting: enabled: false
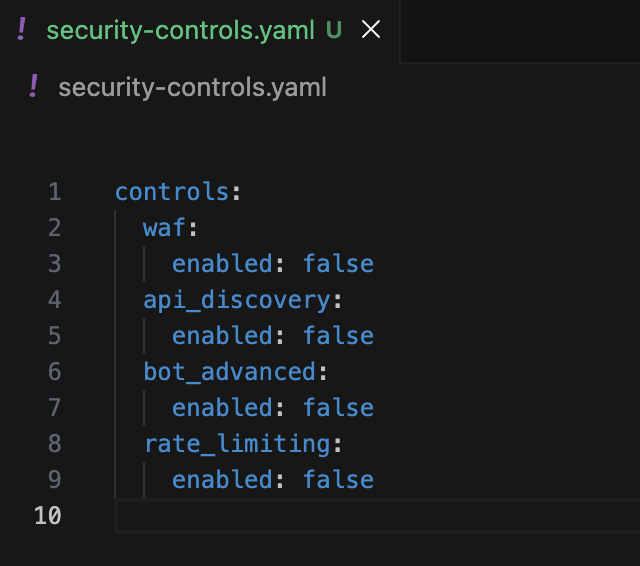
What this does: You are explicitly declaring which runtime security controls should be enabled. At this point, everything is disabled on purpose.
Commit and Trigger the Pipeline (First Run)
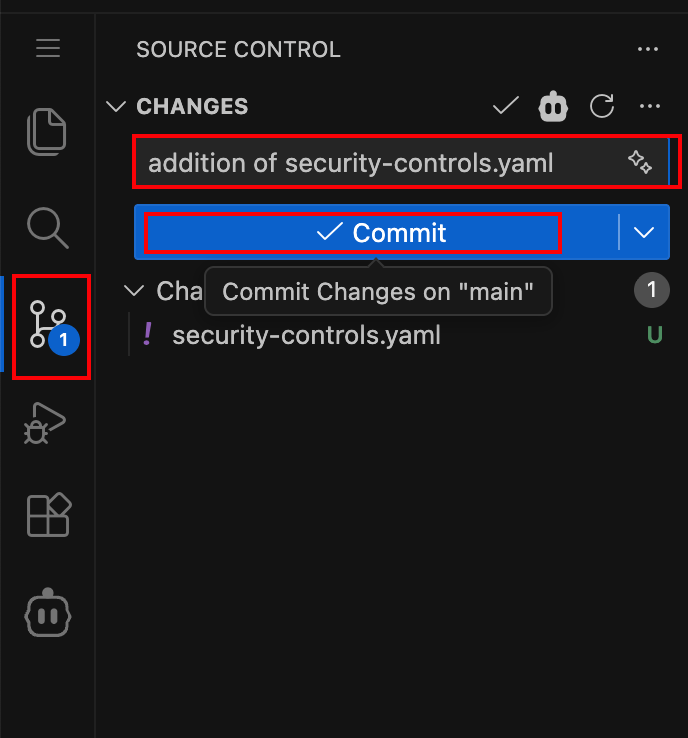
Commit and push the new policy file to GitLab.
Click the Source Control icon in VS Code
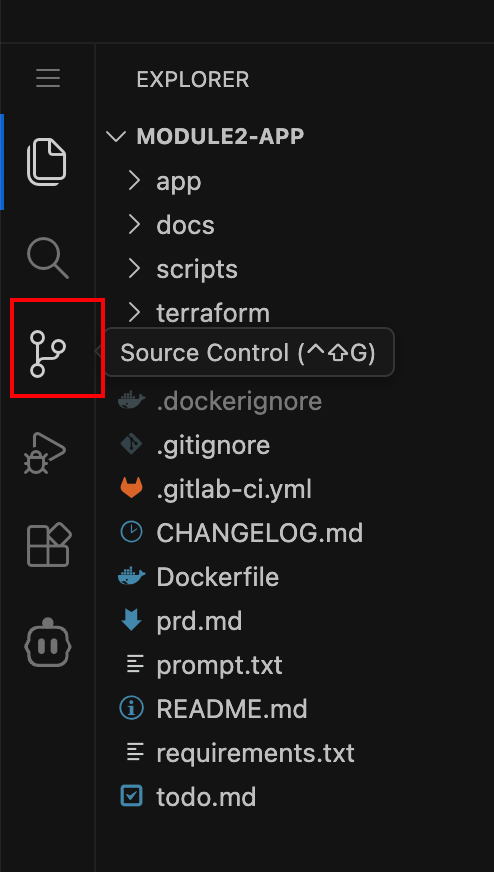
Click the checkmark icon to commit
Use the commit message: Commit Module 2 Task1 Run 1
If prompted for credentials:
Username: student
Password: glpat-U7a042D1cs3JdOgTuRKvD286MQp1OjQH.01.0w14lnkqb

Note
This password is a GitLab Personal Access Token. VS Code Server will cache it so you won’t need to re-enter it later.
If a warning appears, click Always
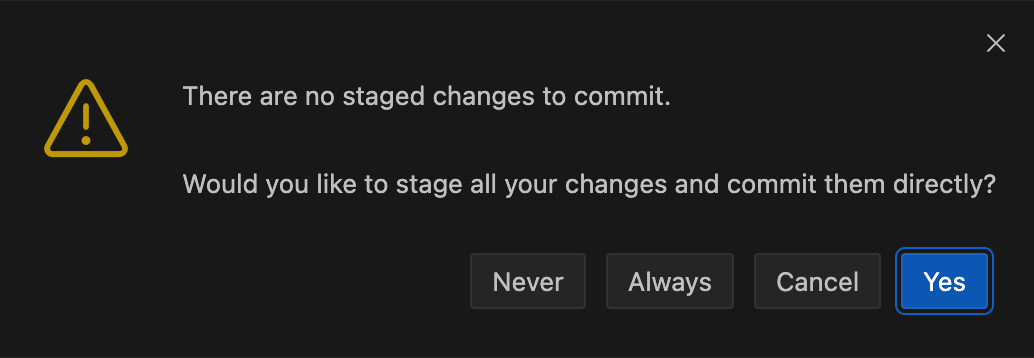
If a warning appears about staged changes, click Always and then sync again.
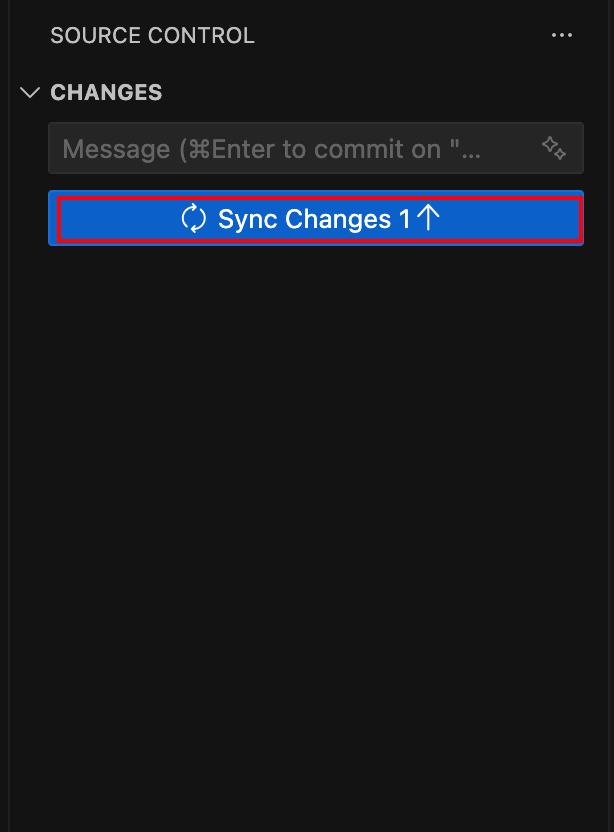
Click Sync Changes
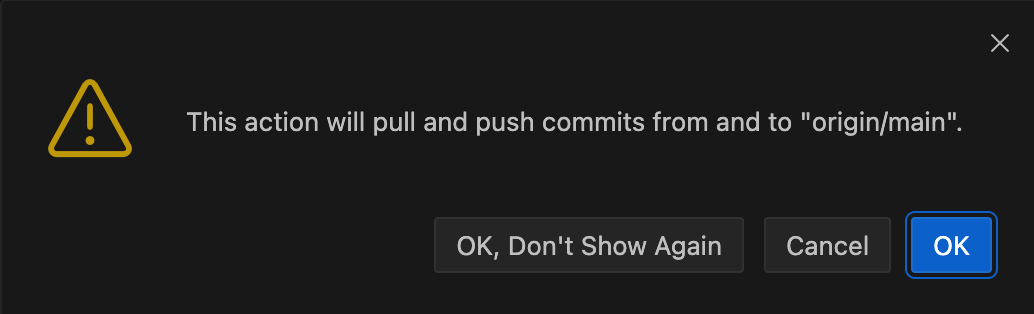
If a warning appears about pull and push commits, click OK.
Observe the Pipeline Failure
Watch the CI/CD pipeline start in GitLab.
Navigate back to the Gitlab appworld2026 / module2-app project. Then hover over Build and click Pipelines
GitLab → Projects → appworld2026 / module2-app → Build → Pipelines
The pipeline includes the following stages:
policy_gate– Validatessecurity-controls.yamltest– Runs automated SAST checksbuild– Builds and pushes the container imagedeploy– Deploys infrastructure and security controls using Terraform
Observe the pipeline “Commit Module 2 Task1 Run 1” status shows Failed.
The pipeline will fail at the
policy_gatestage.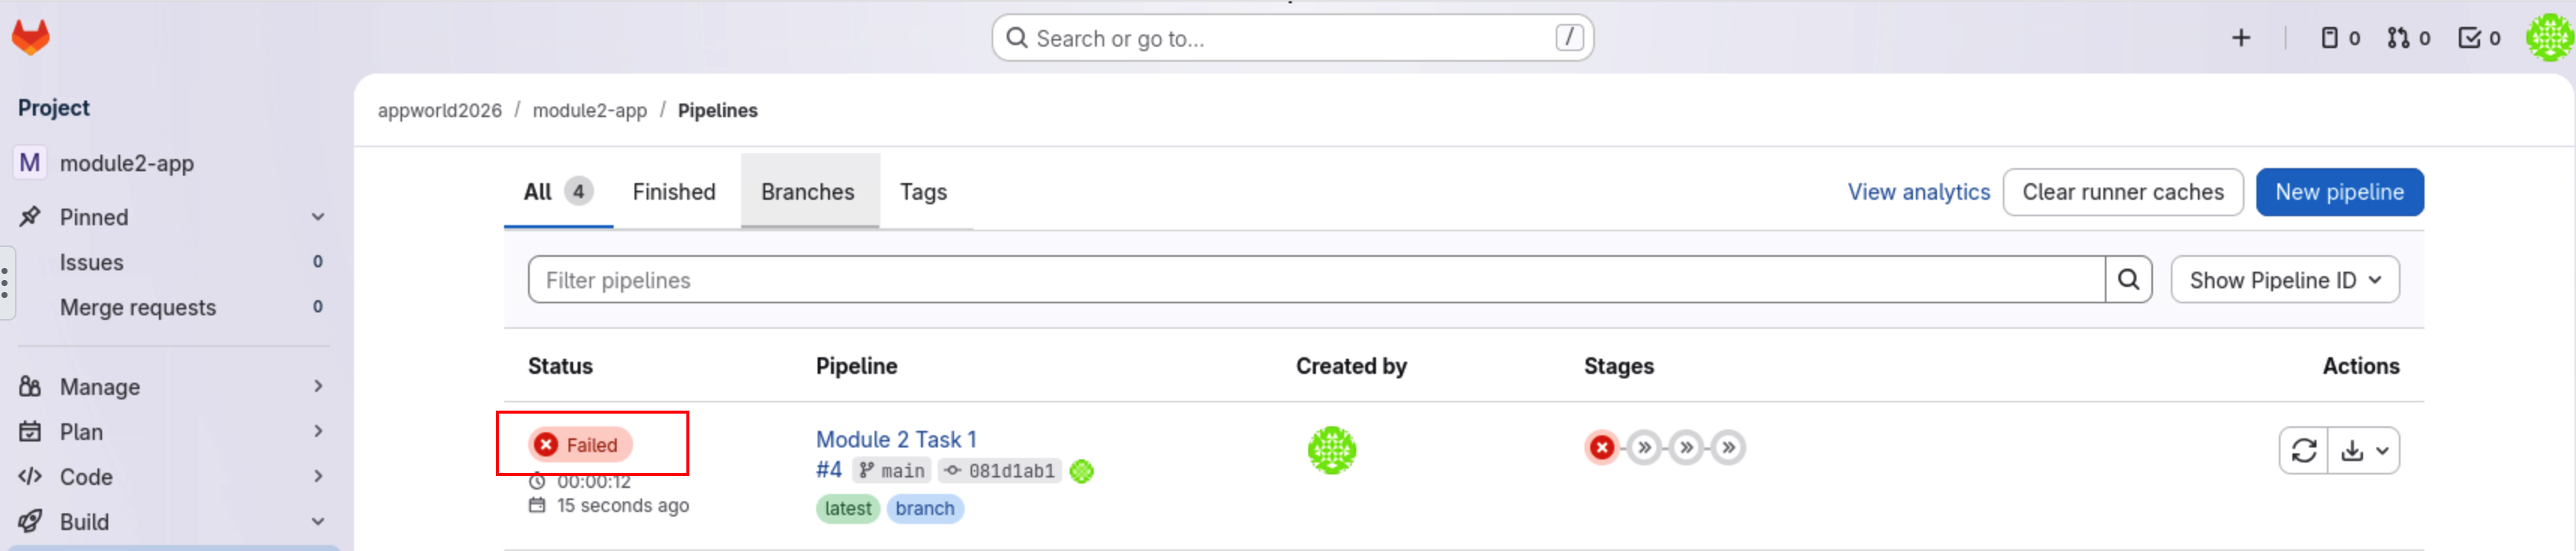
Click Failed to view details
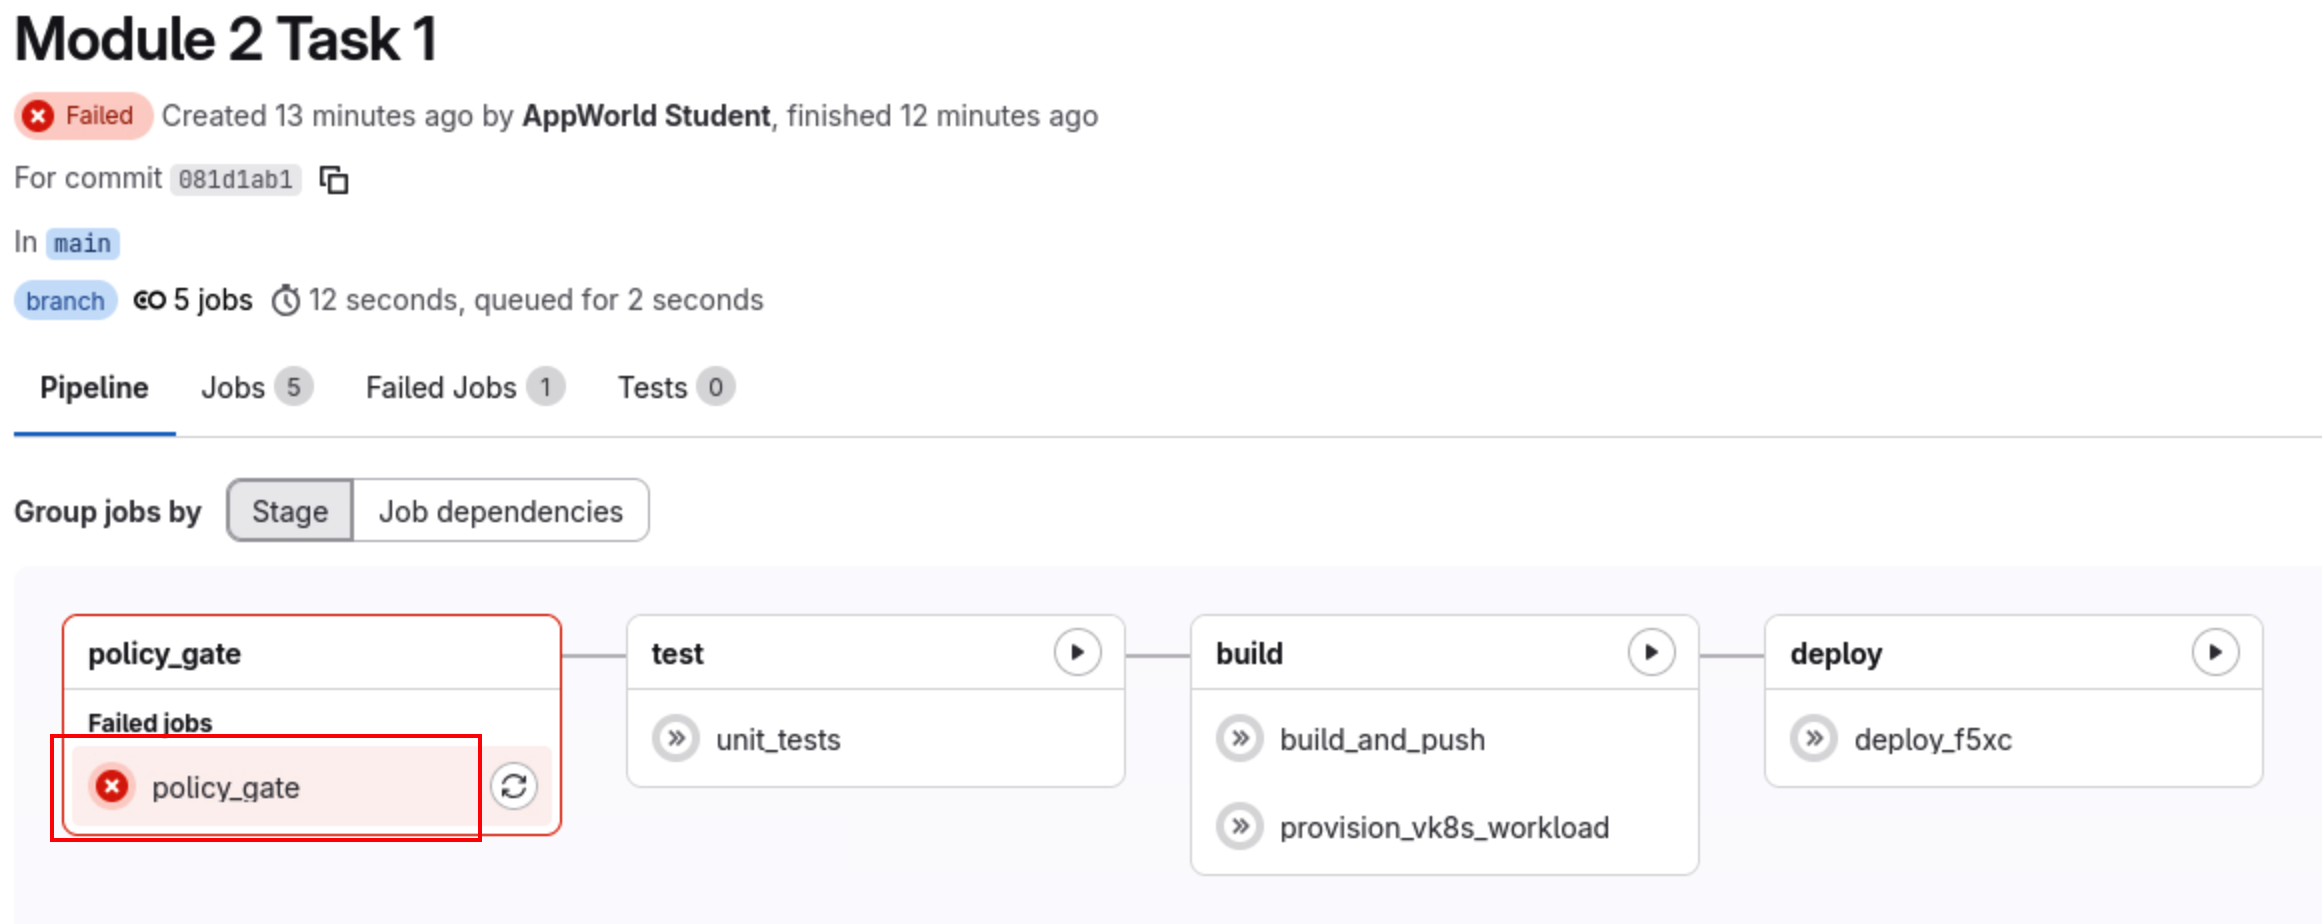
Open the policy_gate job. Double-click to view logs.
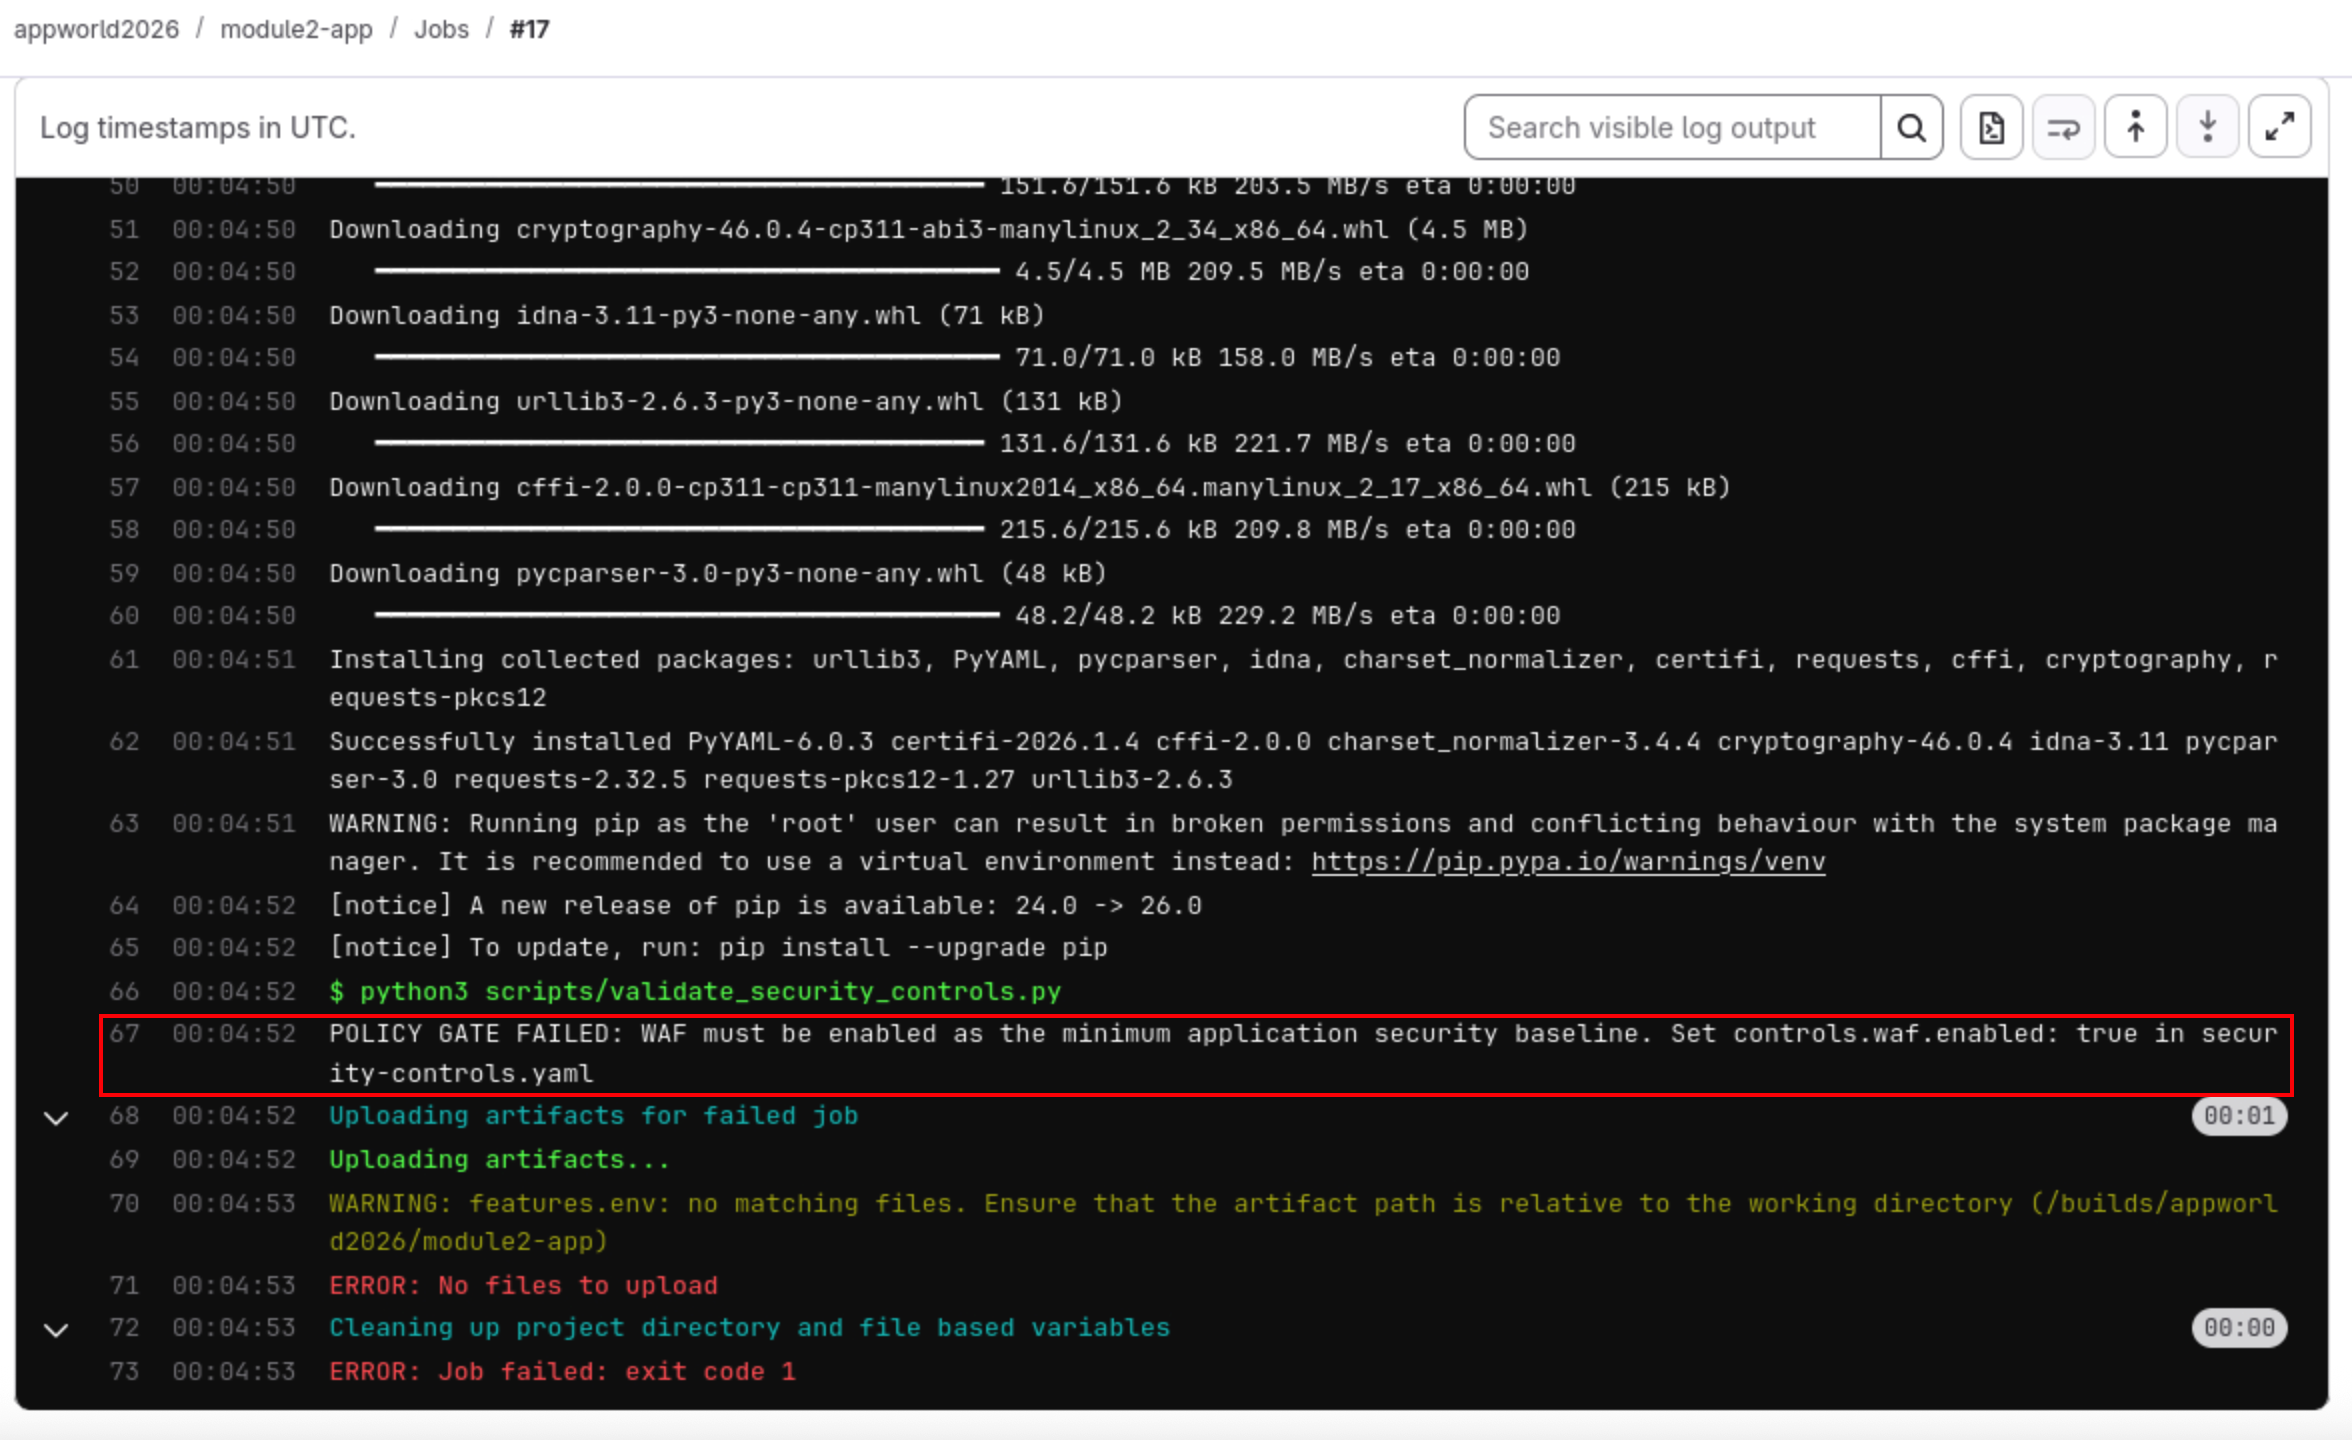
What happened: The pipeline enforces a minimum requirement: WAF must be enabled. Since it was set to
false, deployment was blocked.This is intentional—and your first real DevSecOps enforcement moment.
Fix the Policy and Re-run the Pipeline
Update the security policy to enable WAF.
Modify
security-controls.yamlso it looks like this:controls: waf: enabled: true api_discovery: enabled: false bot_advanced: enabled: false rate_limiting: enabled: false
Save the file, commit, and push again.
Commit message: Commit Module 2 Task1 Run 2
Push the changes to GitLab
Go back to the pipeline view in GitLab. Notice a new pipeline will automatically start.

This time, the pipeline should pass the
policy_gatestage and proceed to build and deploy the application with the WAF enabled.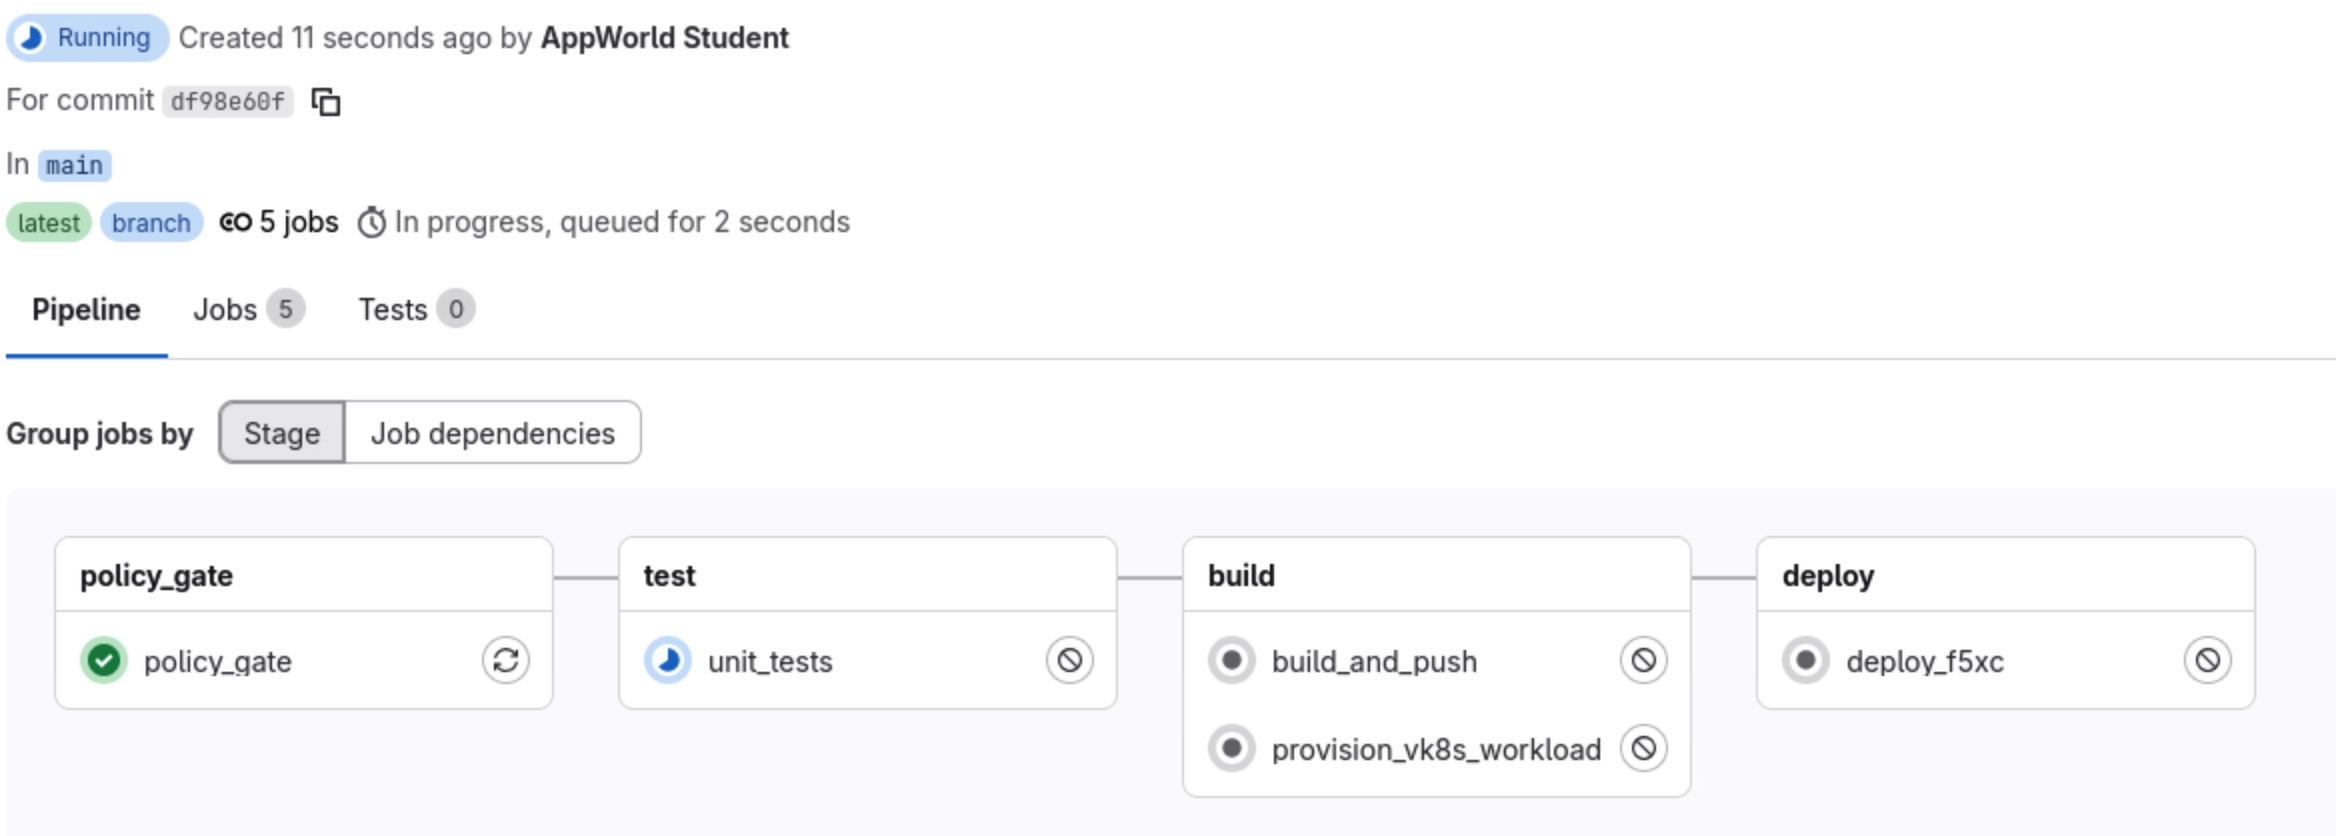
Confirm the pipeline succeeds.
As the pipeline progresses, all stages should complete successfully.
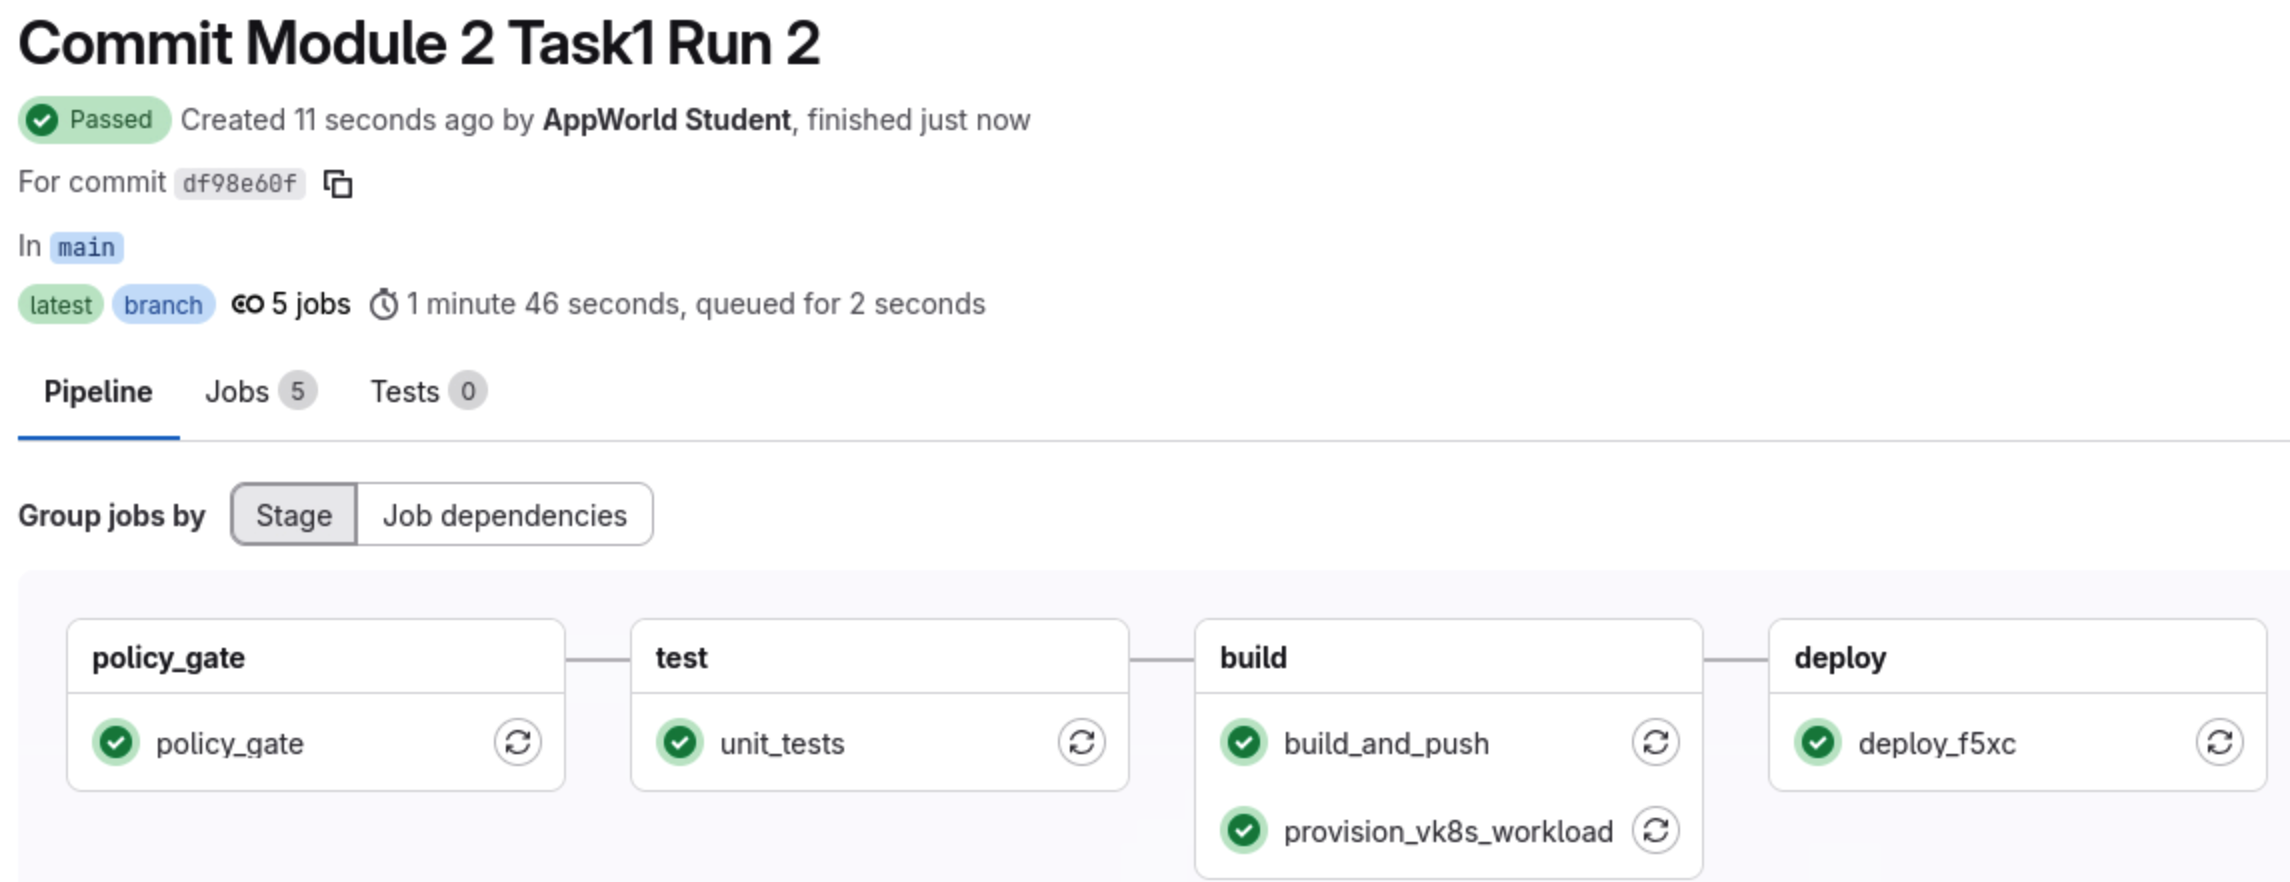
- What this means:
The application image was built and pushed
A vK8s workload was provisioned
An HTTPS Load Balancer and WAF were deployed
Runtime security is now active
Access the Application
Open the deployed application.
In a new browser tab, navigate to:
https://<NAMESPACE>-lb.lab-app.f5demos.com
Note
Replace <NAMESPACE> with your F5 Distributed Cloud namespace assigned at the beginning of the lab.
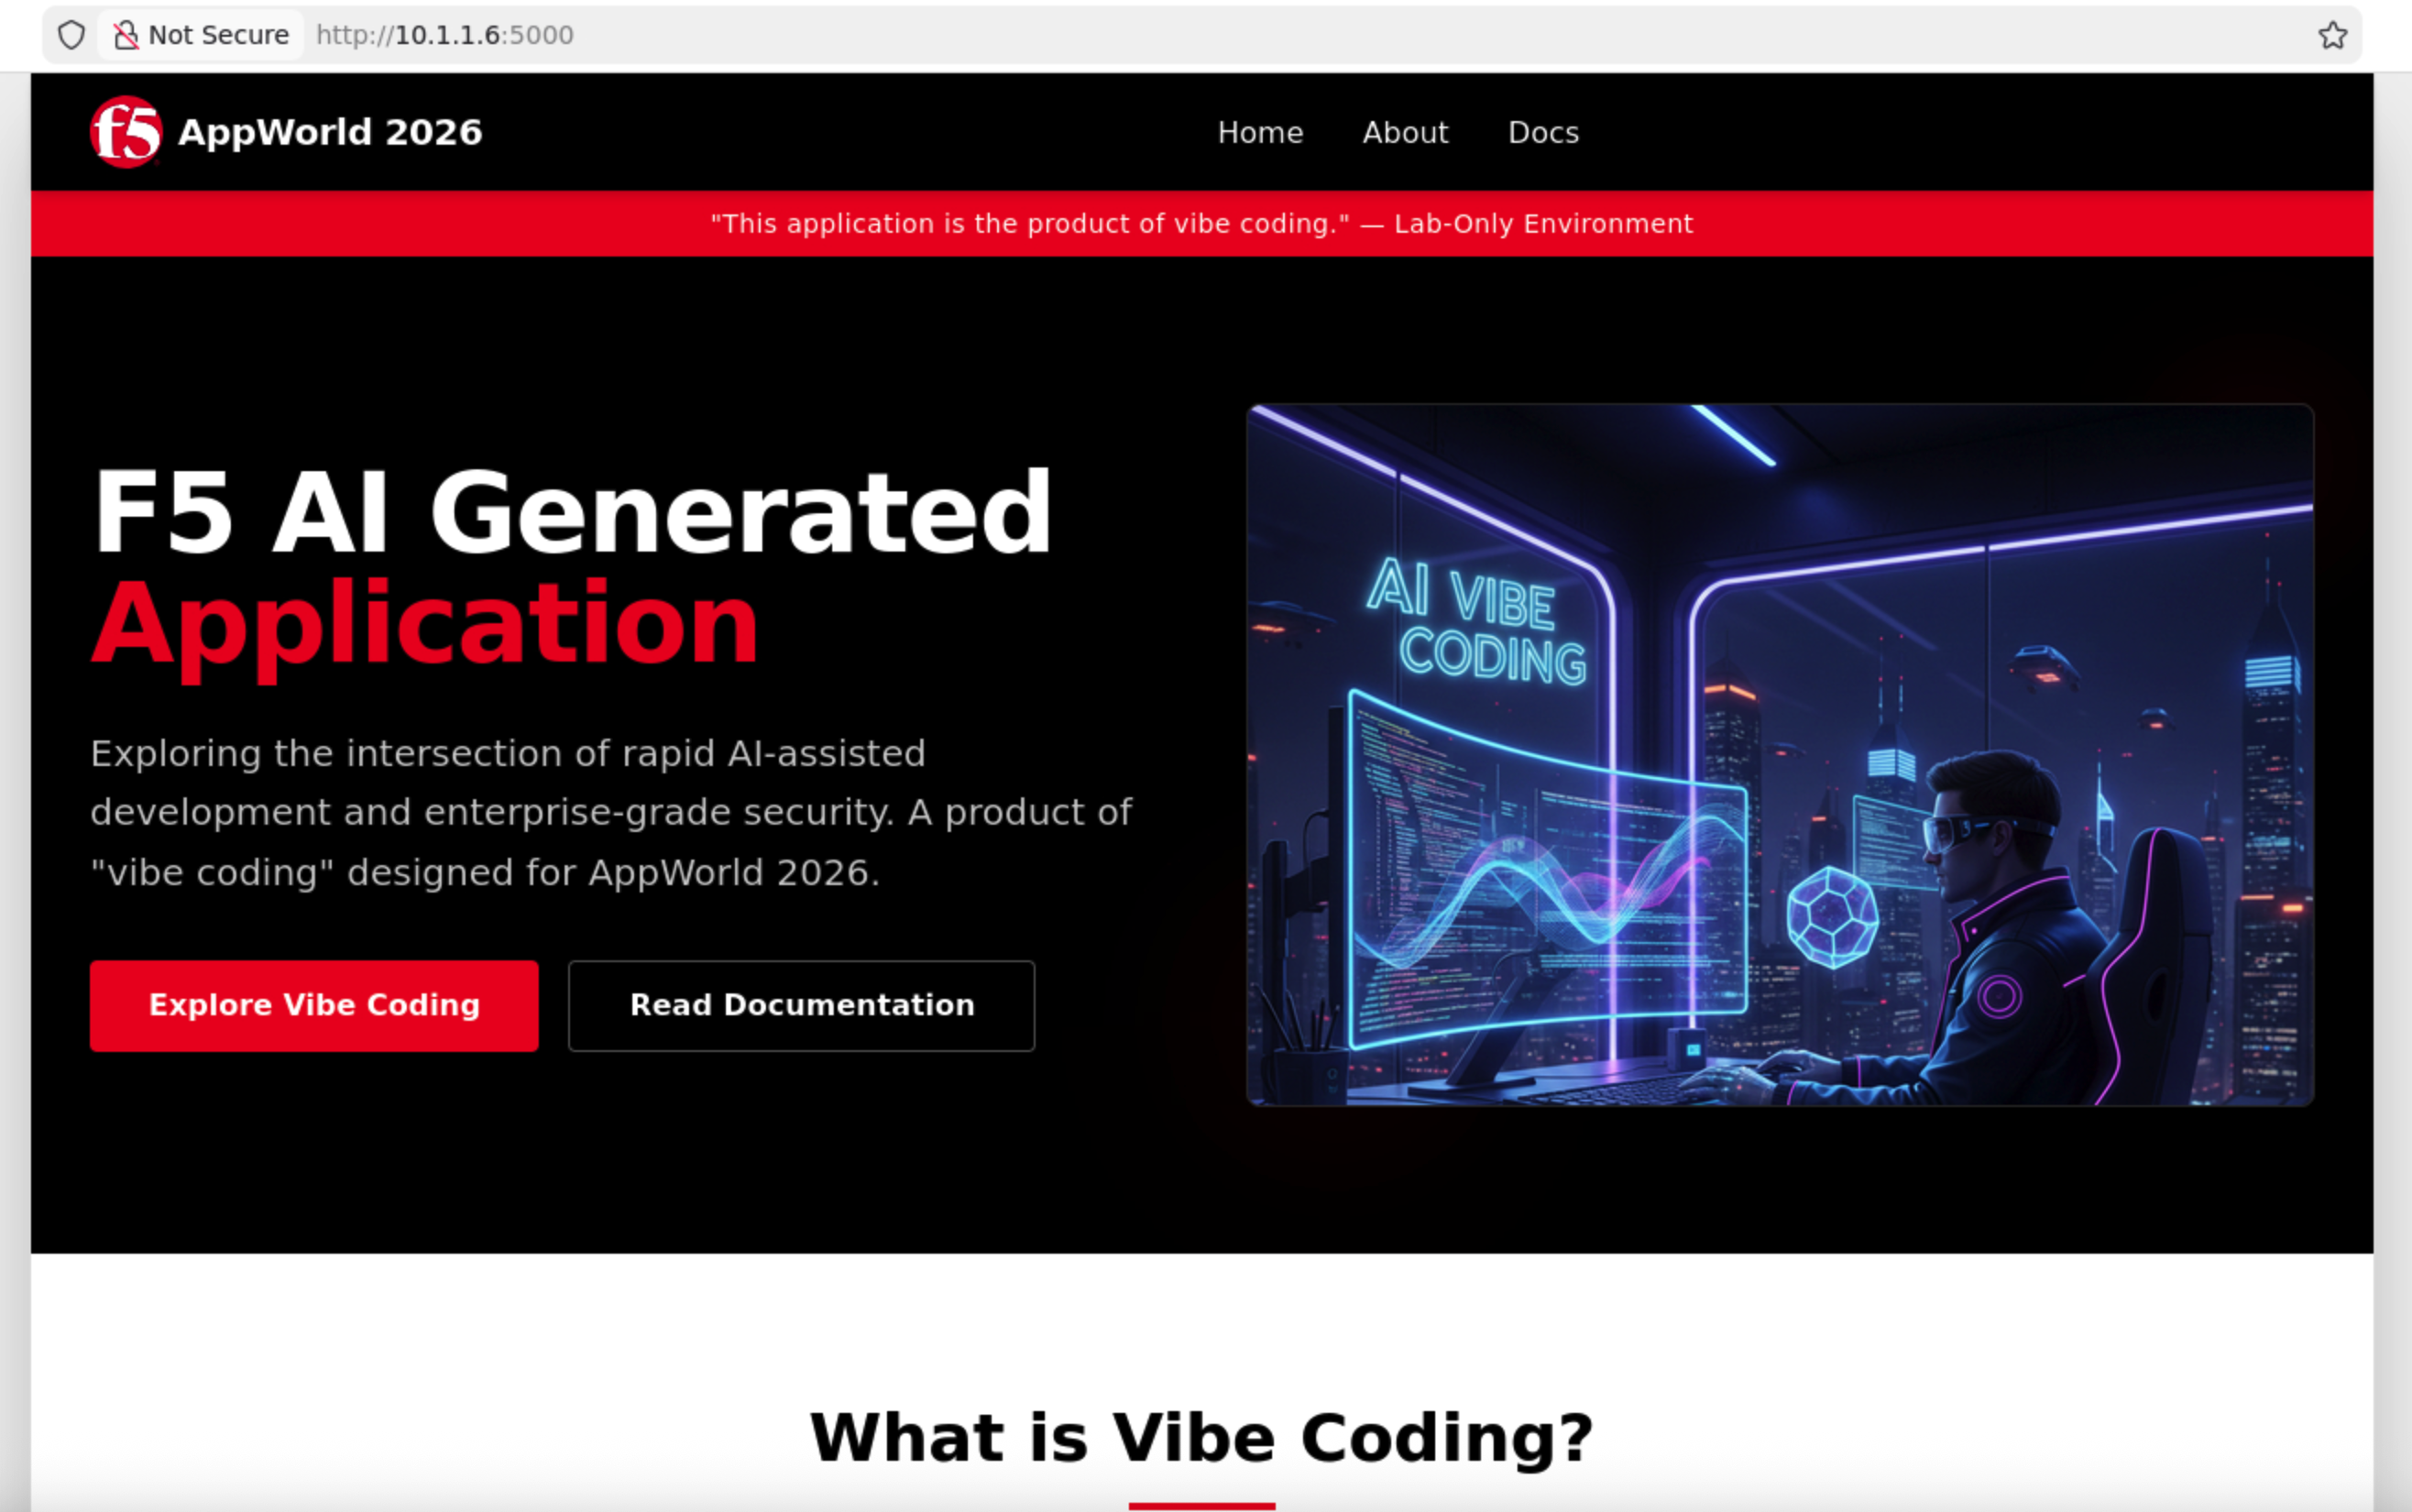
You should see the F5 AI-generated application running behind the F5 Distributed Cloud WAF.
Wrap-Up
You have successfully:
Introduced security policy using code
Triggered and observed CI/CD enforcement
Fixed a failed deployment by meeting security requirements
Deployed a protected application without manual infrastructure changes
In the next task, you will explore the deployed F5XC configuration and intentionally generate security events to see these controls in action.