F5 Distributed Cloud > F5 Distributed Cloud: Code, Secure, Repeat > Module 3 – Deploy Advanced Runtime Security Source | Edit on
Task 2 – Enable F5 Bot Protection on Login and Contact Pages
In this task, you will extend the application with user-facing pages and enable Bot Defense using policy-as-code. This demonstrates how CI/CD can enforce behavioral protections—not just vulnerability protections—without manual security configuration.
You will add new pages using AI-assisted coding, declare bot protection in code, and observe how GitLab automatically deploys the updated controls.
Extend the Application with User-Facing Pages
Open the Module 2 application workspace in VS Code Server.
Ensure you are working in the
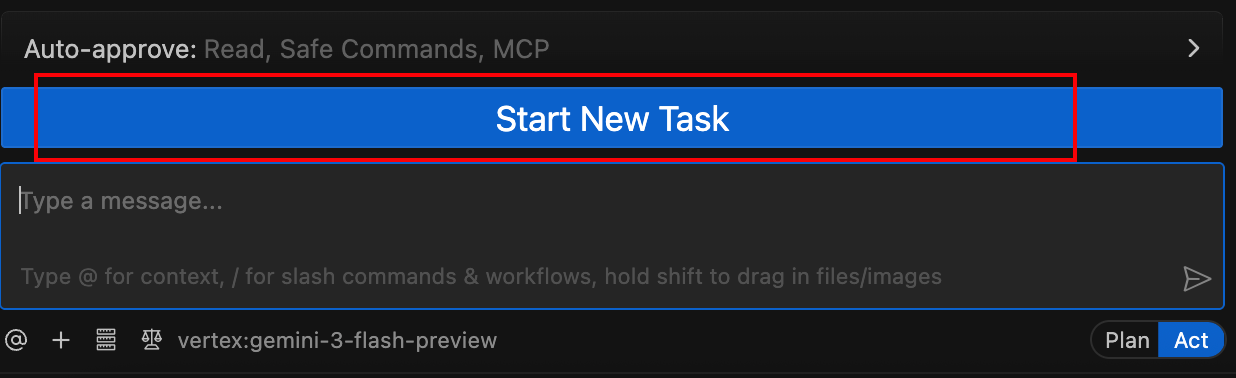
module2-appfolder and that the previous pipeline from Module 3 Task 1 completed successfully.Start a new task with Cline and use the provided pre-canned prompt to generate a login page and contact page.
Using the Cline extension, copy the instructor-provided prompt to add: - A login page - A contact page
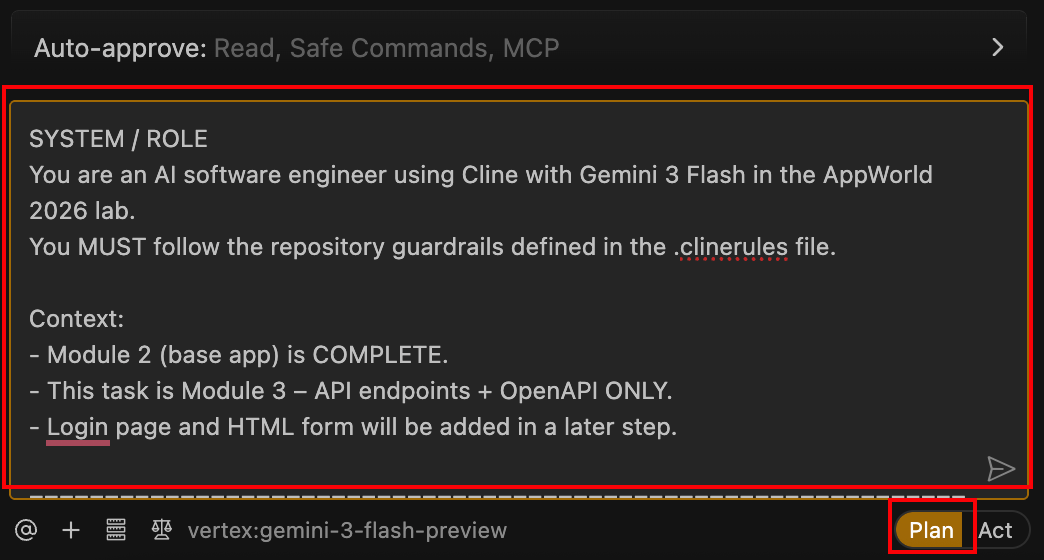
SYSTEM / ROLE
You are an AI software engineer using Cline with Gemini 3 Flash in the AppWorld 2026 lab.
You MUST follow the repository guardrails defined in the .clinerules file for Modules 2 and 3.
This prompt highlights only what is CRITICAL for this task and for CI/CD success.
Do NOT restate or reimplement rules already enforced by .clinerules.

====================================================================
MODULE 3 – TASK 2
Add Login + Contact Pages (Bot Protection Enablement)
====================================================================

You are now working on **Module 3 – Task 2**.

The API work and `openapi/openapi.json` file were completed in the previous task.
**CRITICAL CI/CD NOTE**:
- `openapi/openapi.json` MUST remain present and valid JSON.
- Do NOT rename, delete, move, or regenerate this file.
- The CI/CD pipeline explicitly checks for this file when API Discovery is enabled.

This task focuses ONLY on:
- Login page
- Contact page
- Navigation updates required to expose them

Nothing else.

====================================================================
CI/CD FEATURE DETECTION (DO NOT BREAK)
====================================================================
The pipeline will FAIL if these files do not exist at the exact paths:

- app/templates/login.html
- app/templates/contact.html

Do NOT rename these files.
Do NOT move them.
Do NOT gate them behind conditionals.

They must exist in the repository after this change.

====================================================================
SCOPE (STRICT)
====================================================================
You MAY:
- Add Flask routes for:

- GET /login
- POST /login
- GET /contact
- POST /contact
- Create the two templates listed above
- Update the top navigation to include Login and Contact
- Add minimal demo-only logic to support form submission

You MUST NOT:
- Modify existing API endpoints
- Modify `openapi/openapi.json`
- Refactor unrelated Module 2 or Module 3 code
- Add databases, auth frameworks, OAuth, or external services

This is a **lab-only demo app**.

====================================================================
LOGIN PAGE – UX + BEHAVIOR
====================================================================
Design the login page to visually match the provided reference image:

Visual characteristics:
- Centered login card
- F5 logo at the top
- Title text similar to:
“Sign in to your account”
- Subtext indicating:
“LAB ENVIRONMENT – MODULE 3”
- Username and password fields
- “Remember me” checkbox (UI only)
- “Forgot your password?” link (non-functional)
- Primary red “Sign In” button
- Demo credentials visible at the bottom:
f5user / f5password

Functional requirements:
- Route:
- GET /login → render page
- POST /login → validate credentials
- Authentication:
- Single demo user:
   - username: f5user
   - password: f5password
- Password MUST be stored as a hash (not plaintext)
- Use a simple flat file for credentials
- On success:
- Show a logged-in state (e.g., “Welcome, f5user”)
- Use Flask sessions only (demo-only)

Security constraints:
- No rate limiting
- No CAPTCHA
- No MFA
These characteristics are intentional for Bot Protection demonstrations.

====================================================================
CONTACT PAGE – UX + BEHAVIOR
====================================================================
Design the contact page to visually match the provided reference image:

Layout requirements:
- Two-column card layout
- Left panel (dark):
- “Contact Us” header
- Supporting text about AppWorld 2026 lab
- Email: lab-support@f5.com
- Location: Las Vegas, NV (AppWorld 2026)
- Right panel (light):
- First Name
- Last Name
- Email Address
- Message textarea
- Red “Send Message” button

Functional requirements:
- Route:
- GET /contact → render page
- POST /contact → accept submission
- Validation:
- Required fields present
- Email loosely validated (simple check)
- Handling:
- Log submission to stdout OR store in memory
- Return a friendly confirmation message
- No email sending
- No database
- No file uploads

====================================================================
NAVIGATION UPDATES (BASE TEMPLATE)
====================================================================
Update the top navigation to include:
- “Contact” link (next to Docs)
- Links to GET /contact
- “Login” button on the right
- Links to GET /login
- Styled as a primary red CTA

Navigation must appear consistently across pages using the base template.

====================================================================
TESTING (REQUIRED FOR CI)
====================================================================
Update or add pytest tests to validate:
- GET /login returns HTTP 200
- GET /contact returns HTTP 200
- POST /login with valid credentials succeeds
- POST /contact returns confirmation

All tests MUST pass.
Do NOT weaken assertions or skip tests.

====================================================================
DOCUMENTATION UPDATES
====================================================================
Update README.md:
- Add Module 3 section:
- Login page (demo-only)
- Contact page (demo-only)
- Document demo credentials:
- f5user / f5password
- Clearly state credentials are lab-only and hashed

Update CHANGELOG.md:
- Add a Module 3 entry noting:
“Added login and contact pages for Bot Protection demo”

====================================================================
REMINDERS
====================================================================
- Minimal changes
- Predictable behavior
- CI/CD compliance is more important than polish
- This task exists to enable **F5 Bot Protection visibility**

Proceed with implementation now.
Make sure Cline is on Plan mode
Note
Let Cline work through the pytest loop. If tests fail, it will update the code and re-run pytest until it passes (or exits after repeated failures).
Switch to Act mode to allow Cline to implement changes.
Toggle Cline from Plan to Act mode to begin file creation and code changes.
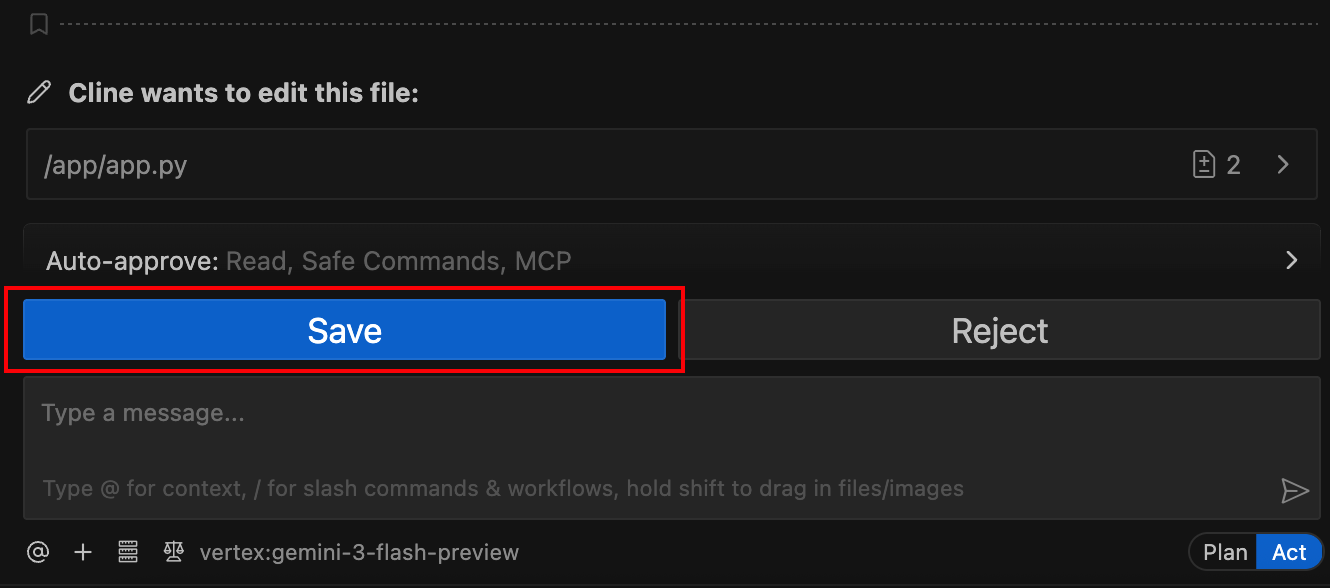
Save files as Cline generates them.
As Cline completes each file update, VS Code will prompt you to save before it continues (If you enabled Auto-Approve settings on previous tasks this will not require manual approval).
Cline will run Pytest again as described in Module 0:

If tests pass, you’ll see a successful run:

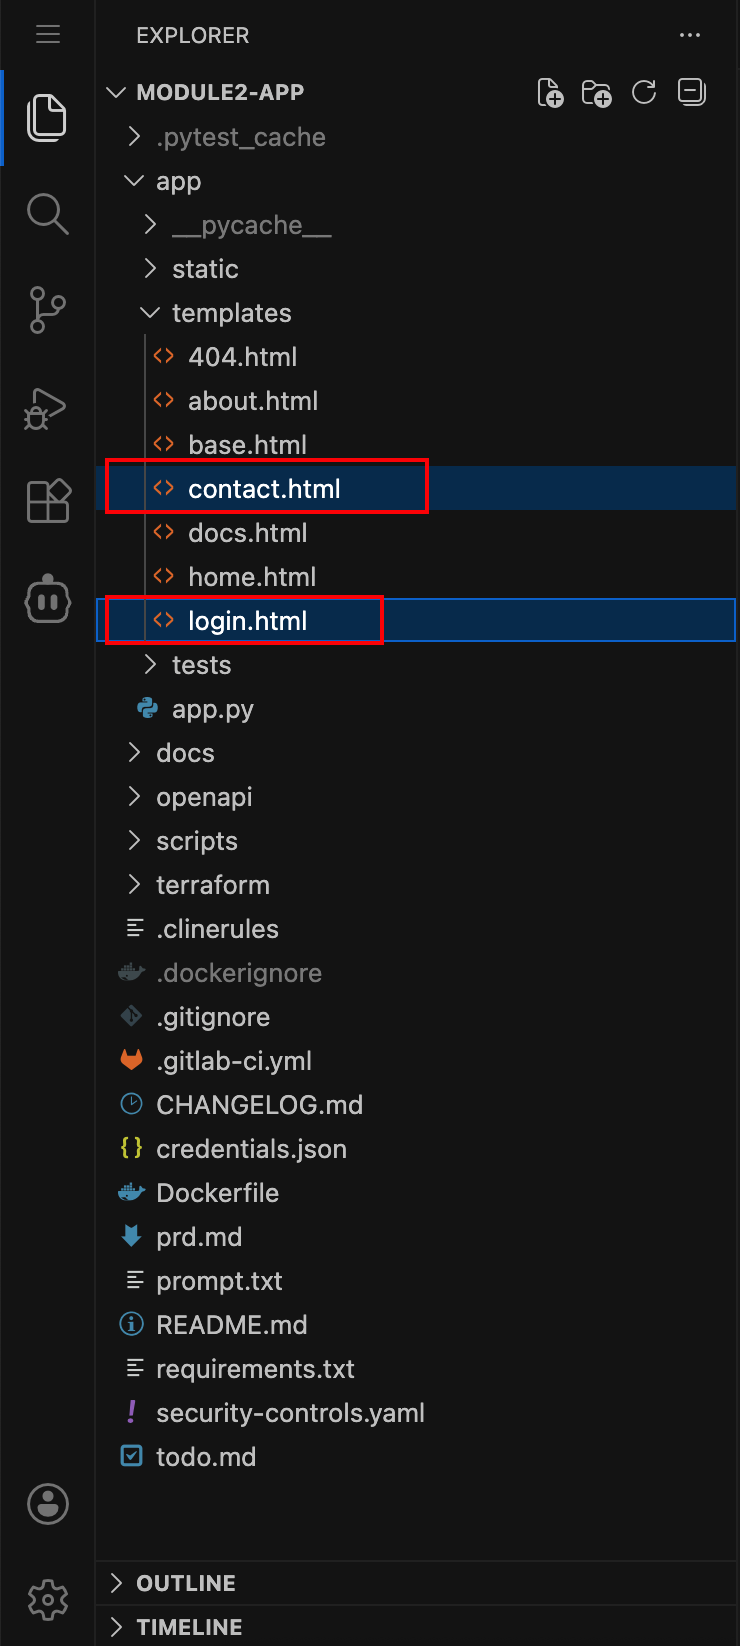
Verify that the required template files were created.
In the VS Code Explorer, confirm the following files exist:
app/templates/login.html
app/templates/contact.html
Why this matters:
These pages represent high-risk bot interaction points.
The CI/CD pipeline requires these files when Bot Defense is enabled.
Missing files will cause the pipeline to fail.
Enable Bot Defense Using Policy-as-Code
Open the
security-controls.yamlfile.This is the same policy file used to enable WAF and API Discovery.
Enable Bot Defense in the security policy.
Update the file so it looks like this:
controls:
   waf:
      enabled: true
   api_discovery:
      enabled: true
   bot_advanced:
      enabled: true
   rate_limiting:
      enabled: false
Commit and Push the Changes
Save your changes and commit them to GitLab.
Use the Source Control panel in VS Code Server and commit your changes with a message similar to:
Commit Module 3 Task2 – Enable Bot Defense
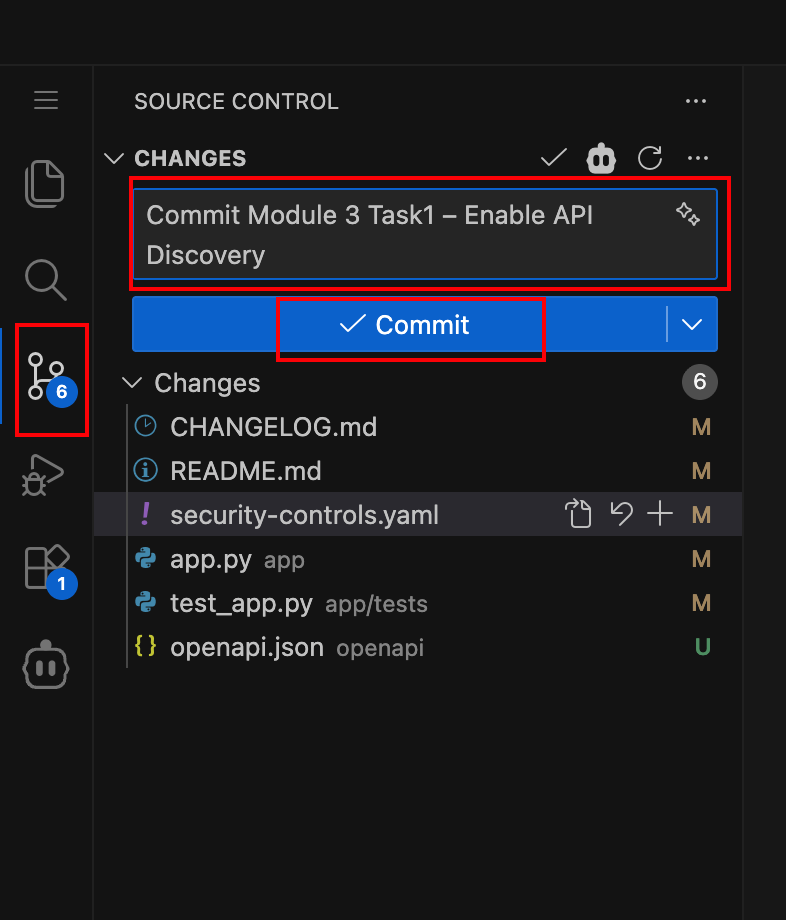
Push the commit to save the changes. GitLab CI/CD detects the changes and starts a new pipeline run.
Observe the CI/CD Pipeline
Navigate to the pipeline in GitLab.
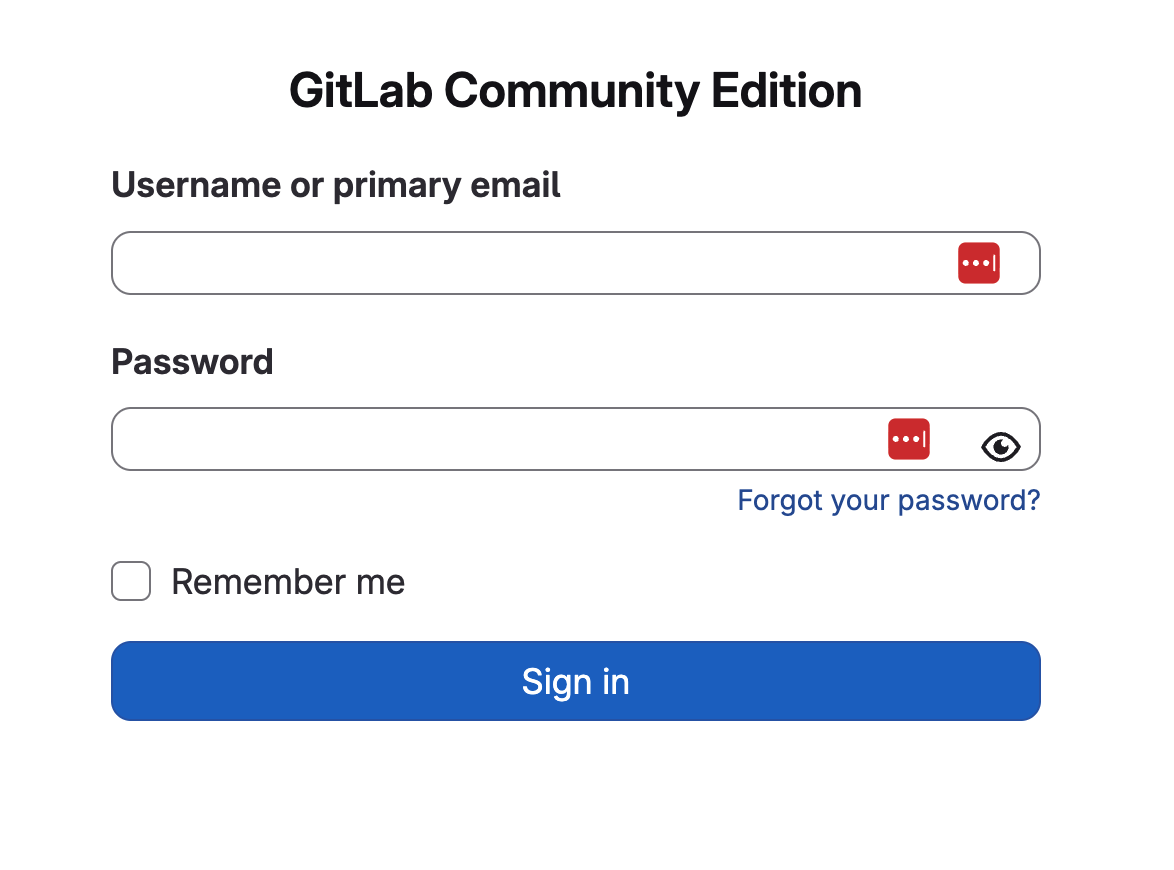
If you are not already logged in:
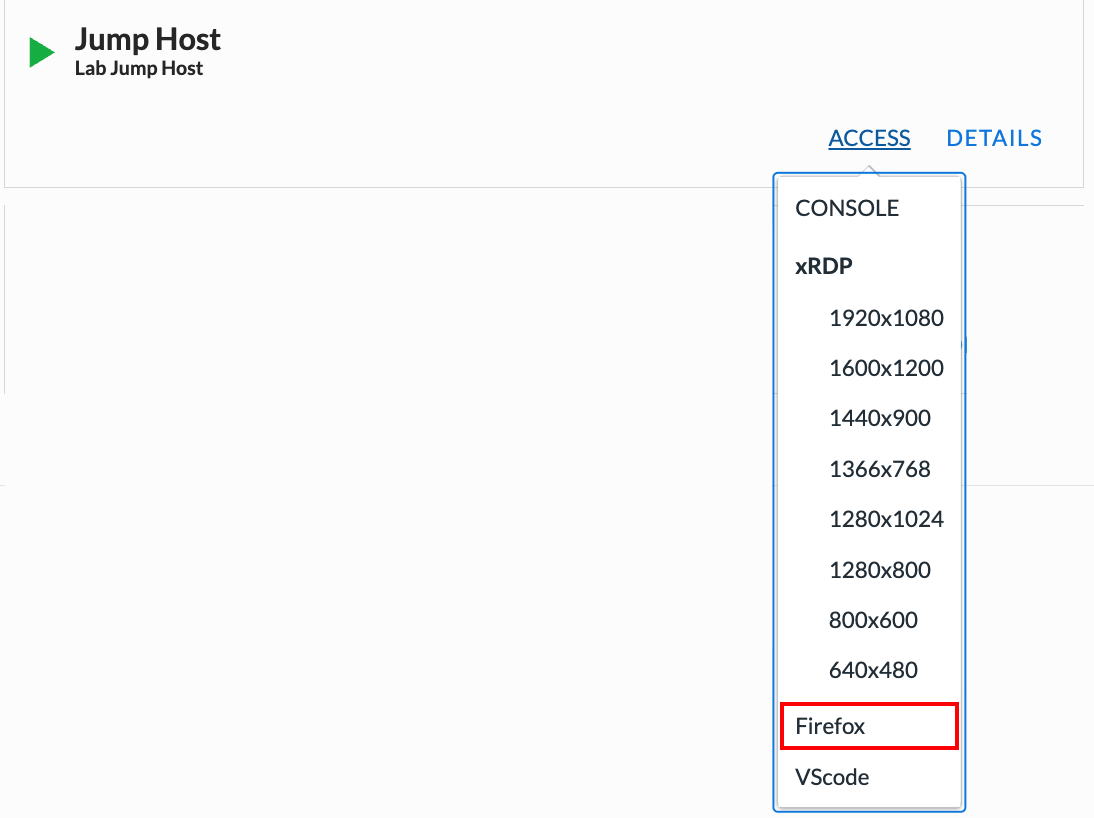
From your deployment, locate the Jump Host tile and click Access
Click FIREFOX
Click the GitLab bookmark in Firefox
When prompted, enter the following credentials:
Username: student
Password: @ppW0rld2026!
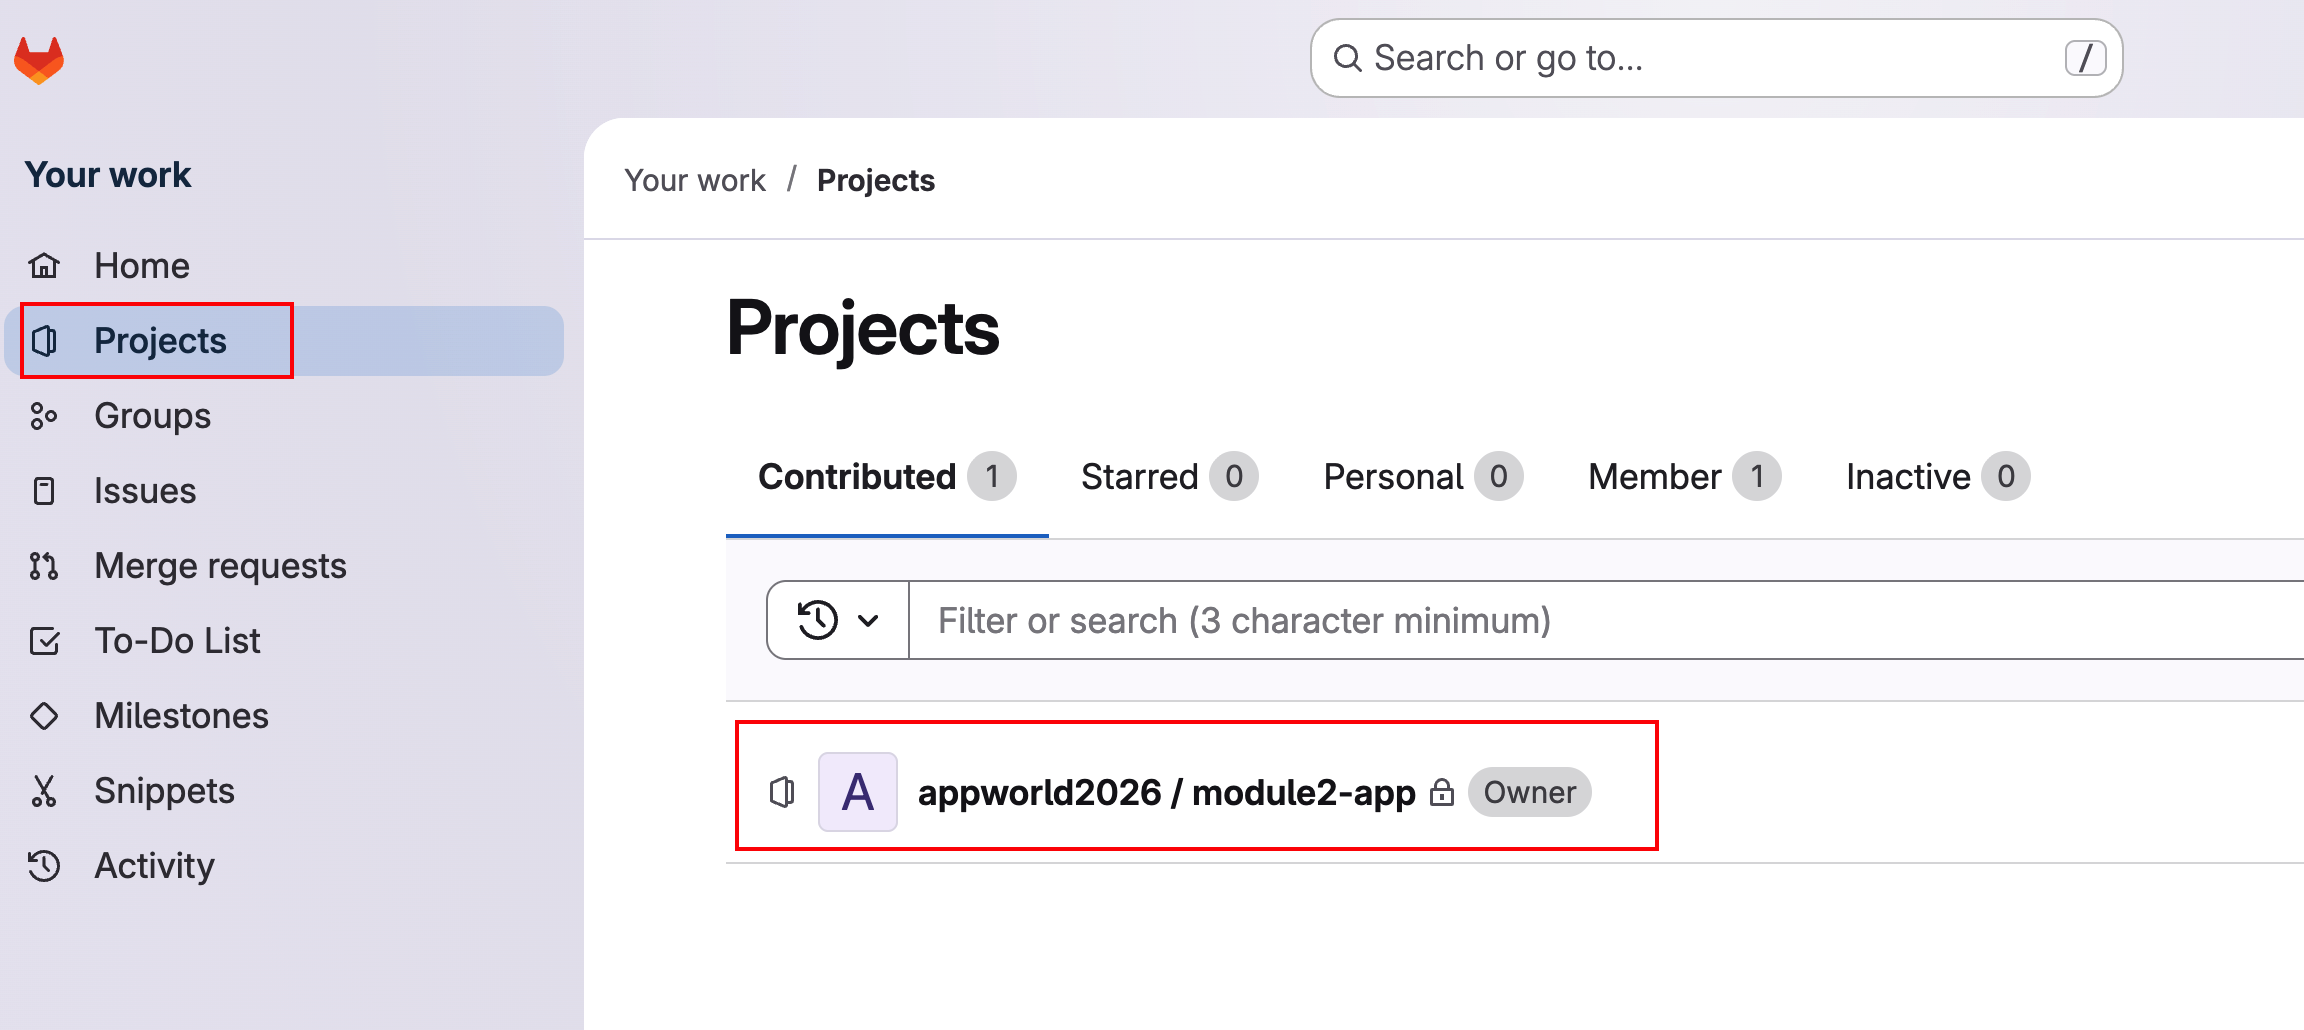
In the left navigation menu, click Projects
Click on project appworld2026 / module2-app
Then In the left navigation menu, hover over Build and then click Pipeline
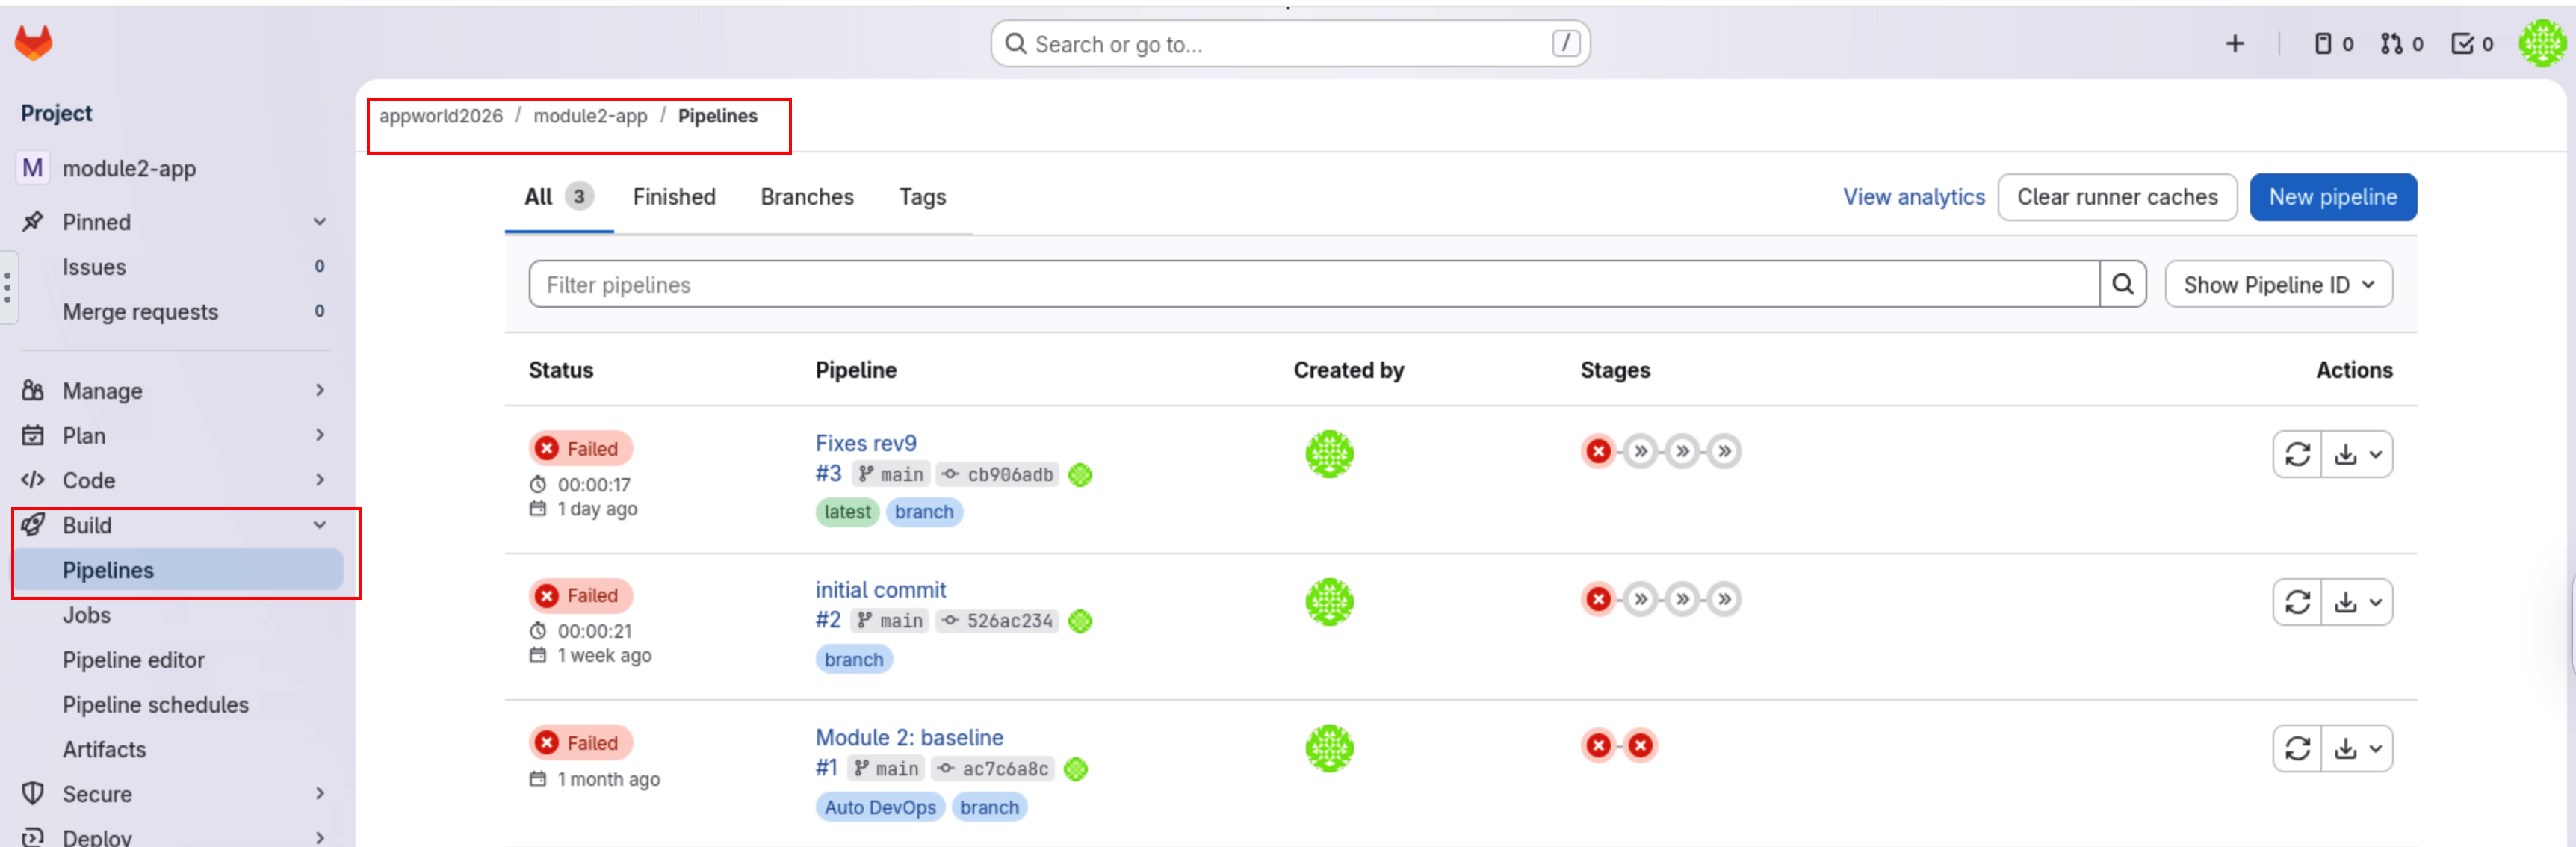
Open the most recent pipeline run.
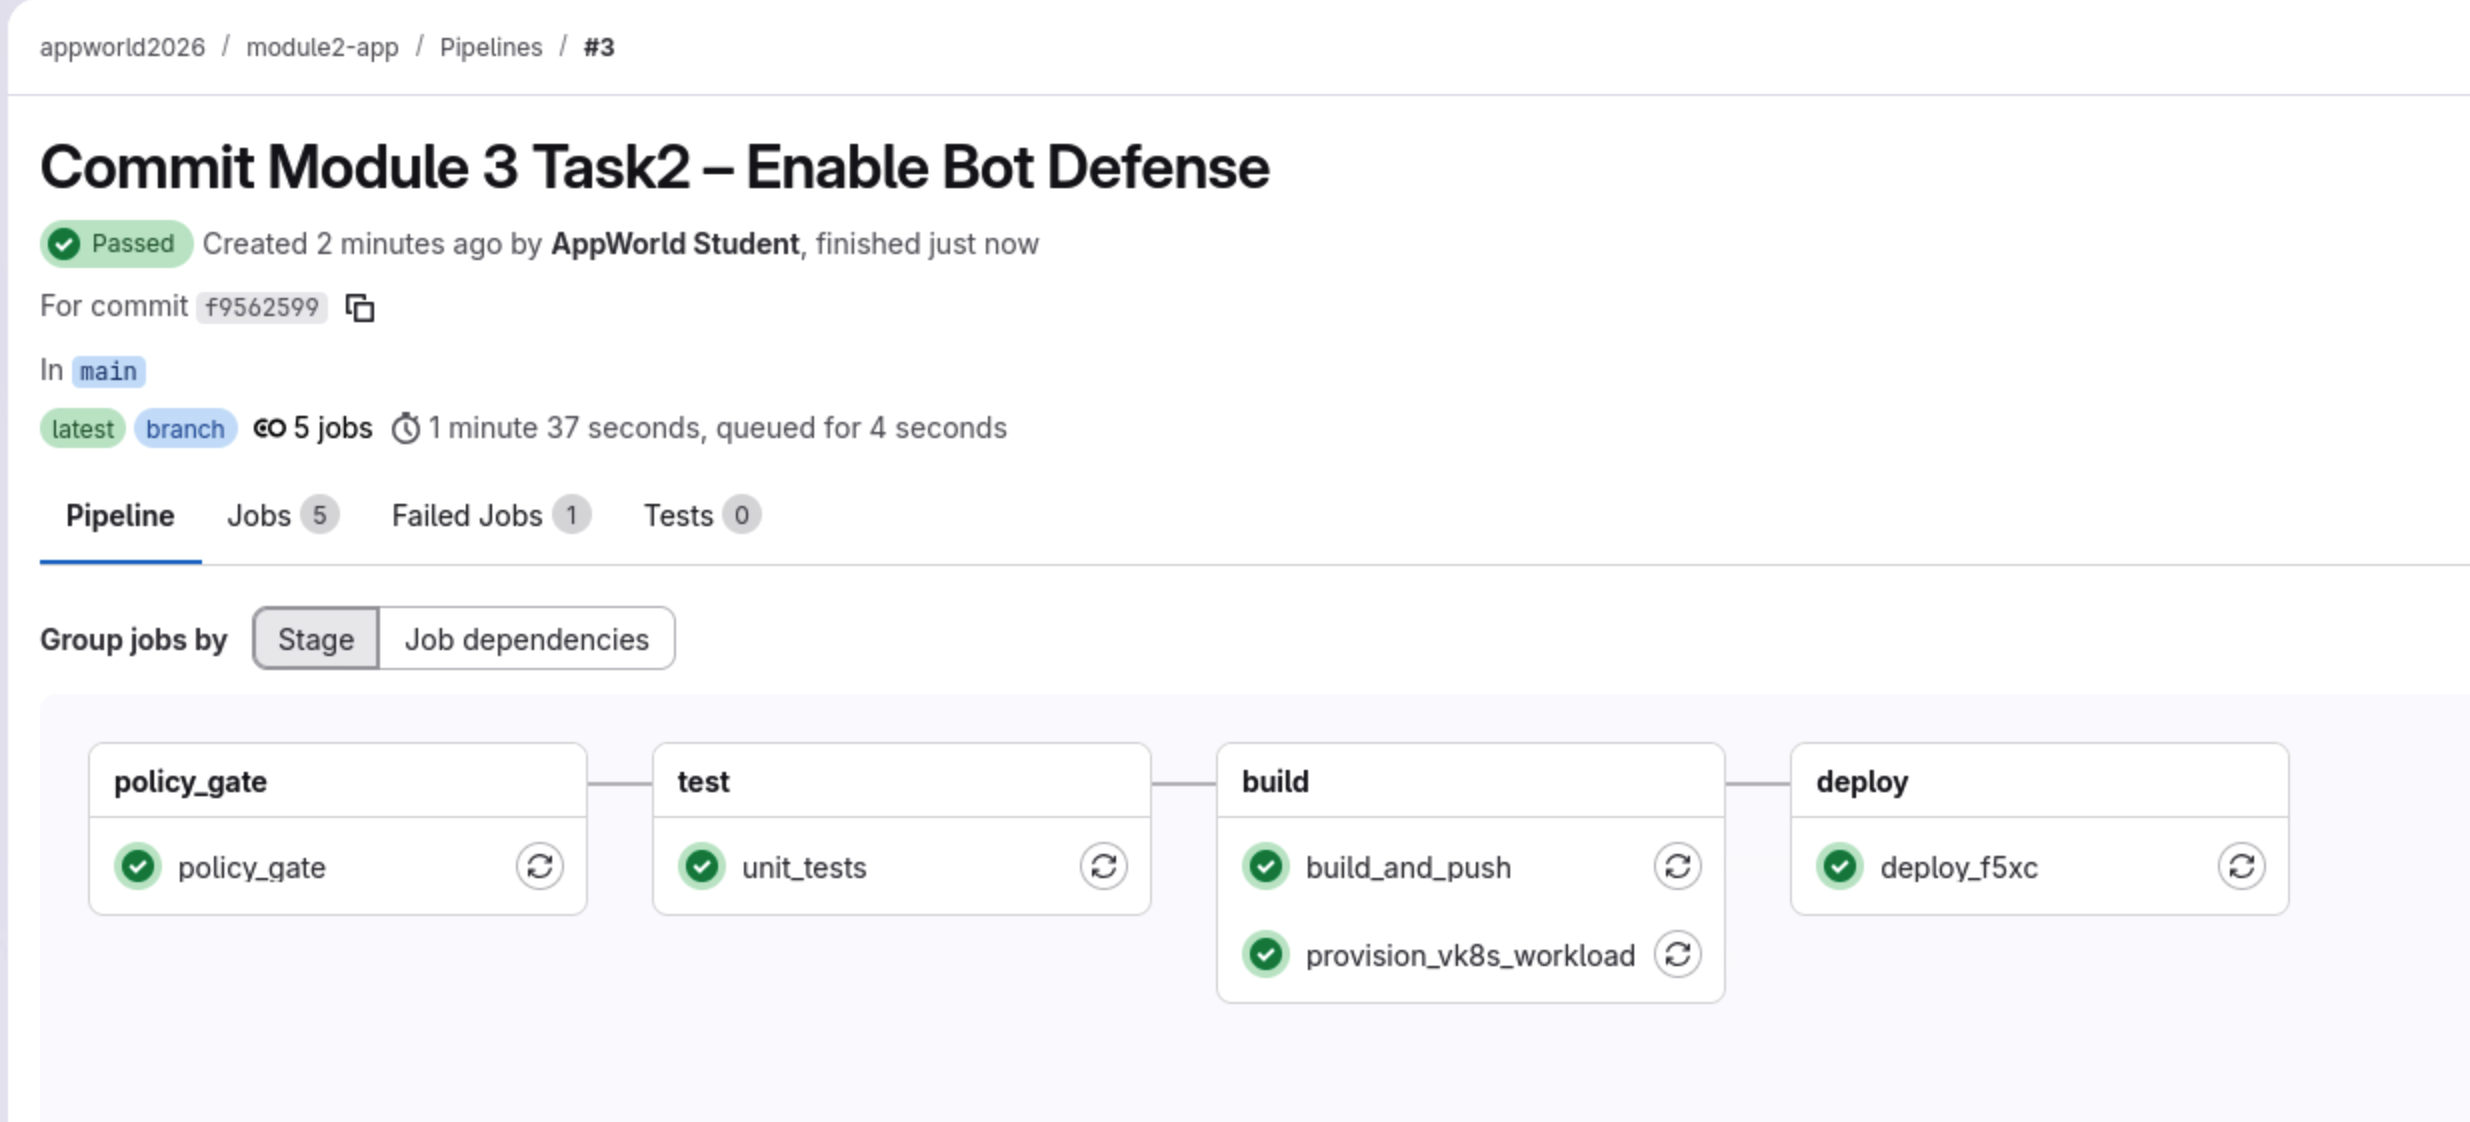
What to notice as it progresses:
The
policy_gatestage validates that Bot Defense is enabled and that the required templates exist.The
teststage runs and validates login/contact routes.The
buildstage creates a new image version (v1.2) and pushes it to the container registry.The
deploystage applies updated F5XC configuration for Bot Defense Standard on the/loginand/contactpaths.
Confirm that all stages complete successfully.
What this means:
Application image version v1.2 is running in vK8s.
Bot Defense is configured on the HTTPS Load Balancer.
Login and contact pages are now protected from automated abuse.
Test Bot Defense in Browser vs curl (Why Results Differ)
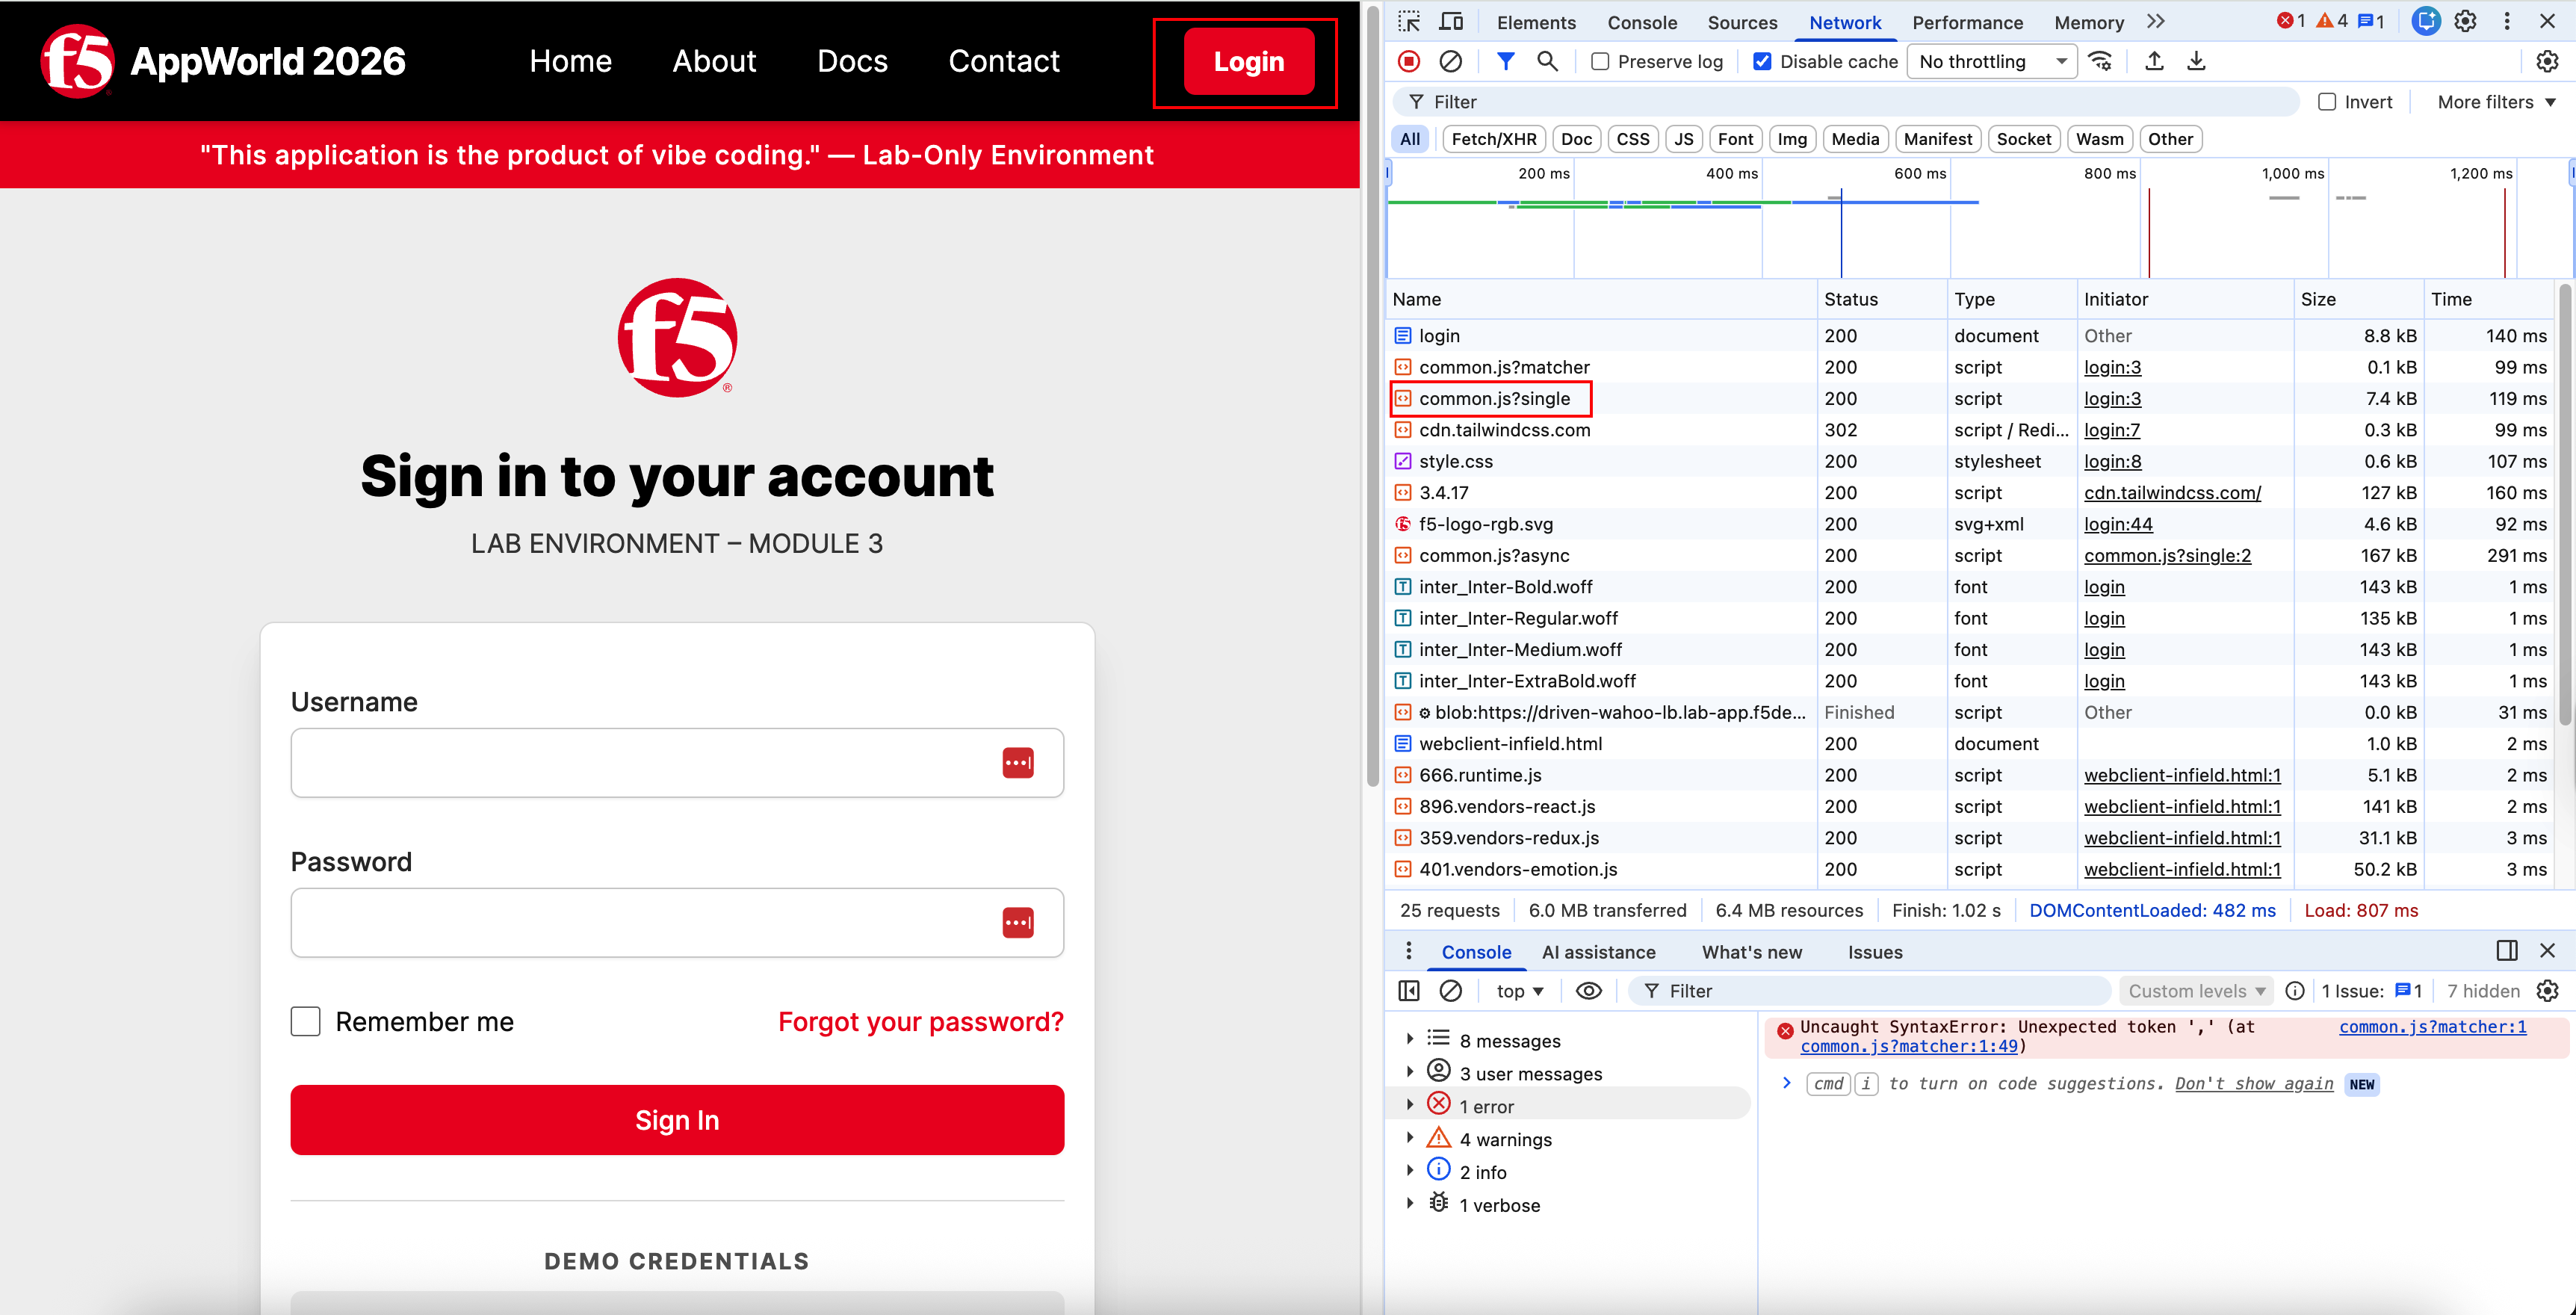
Open the login page in a browser and observe the bot protection behavior.
https://<NAMESPACE>-lb.lab-app.f5demos.com/login
Note
Replace <NAMESPACE> with your F5 Distributed Cloud namespace assigned at the beginning of the lab.
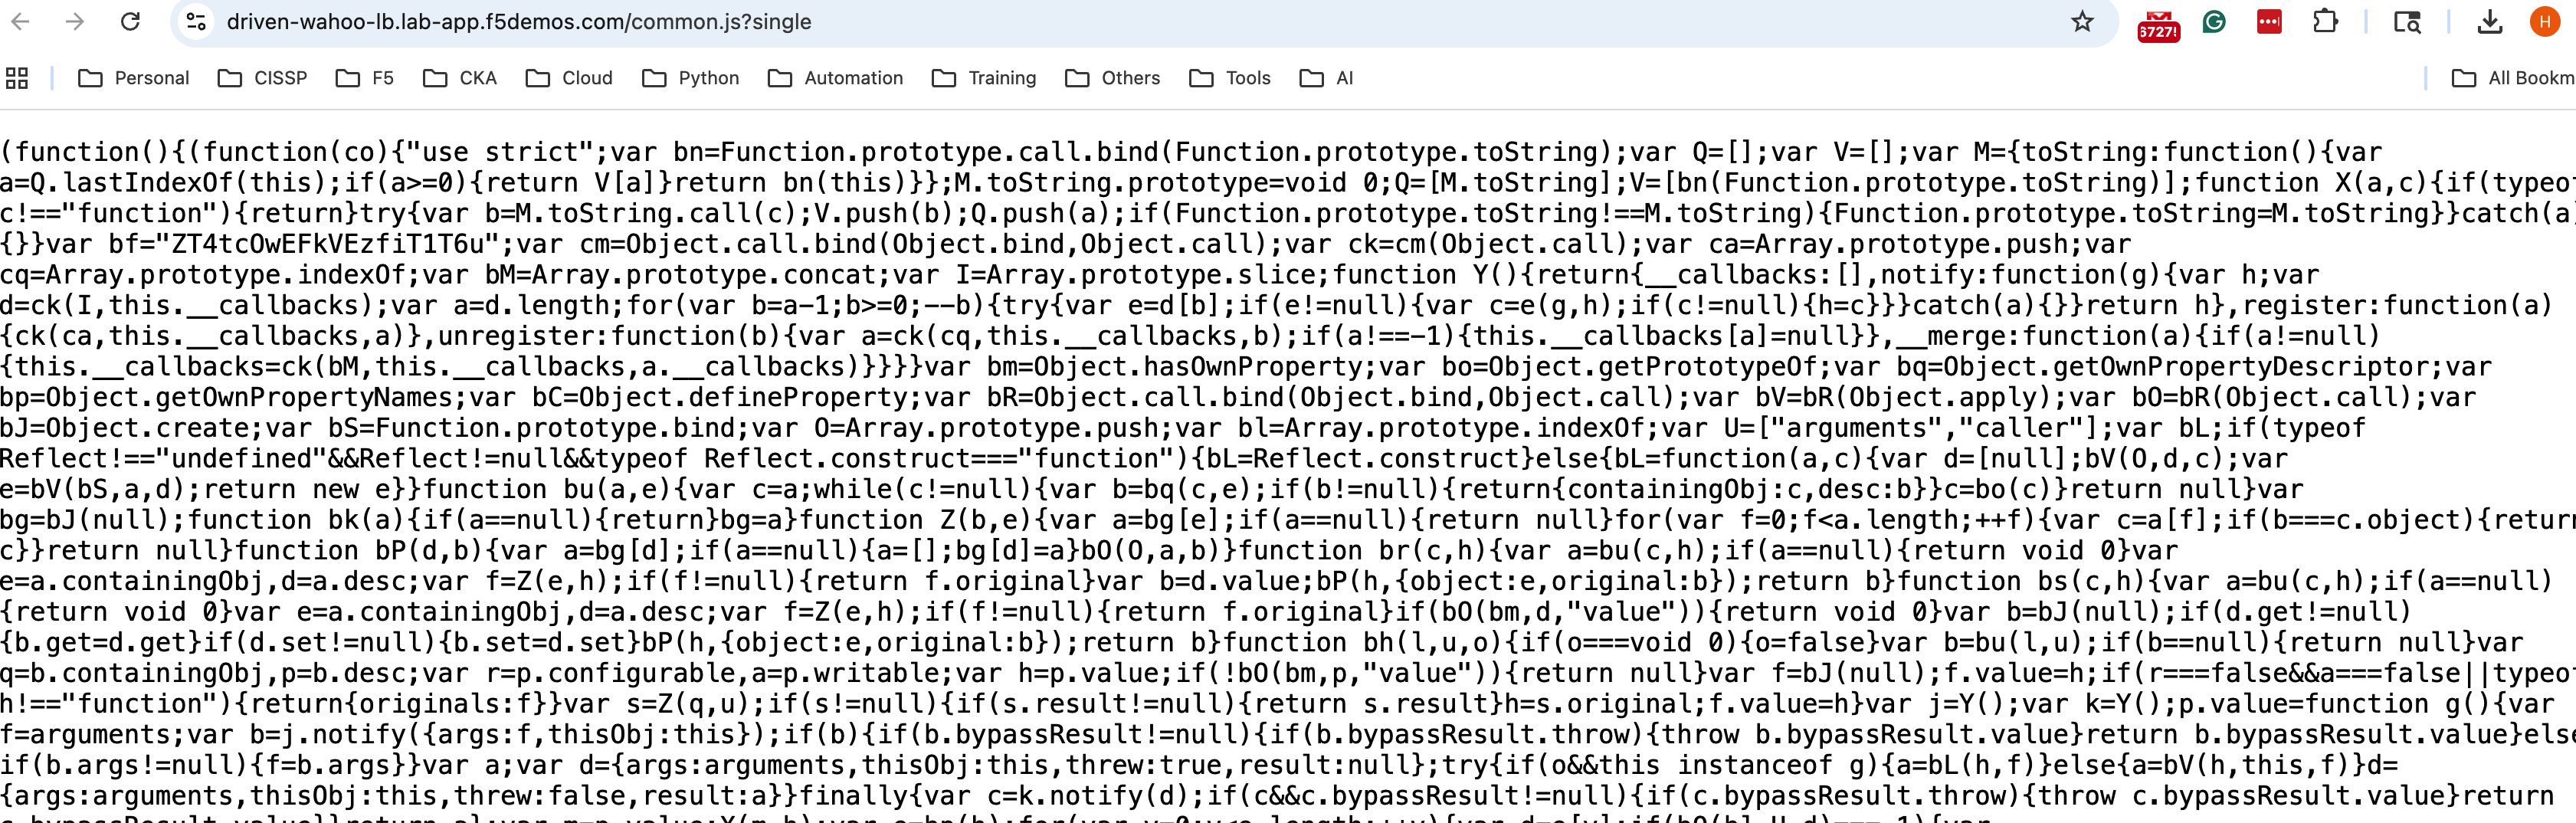
When F5XC Bot Defense is enabled, the browser experience will include an injected JavaScript challenge (or additional client-side signals).
After the CI/CD pipeline updates the app and F5XC, navigate to the login or contact page in your application. This will trigger the JavaScript injection.

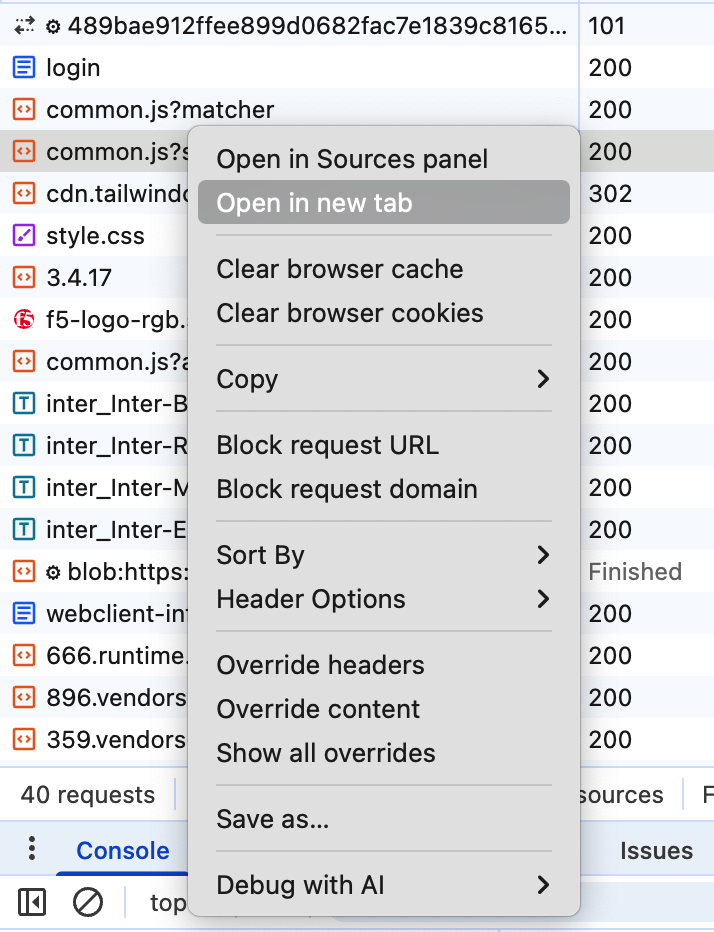
Depending on your browser, please open the development tools to explore the JavaScript injection. This step is OPTIONAL.
What this means:
Real browsers can execute JavaScript and provide client signals.
Bot Defense uses these signals to distinguish browsers from automation.
This is why browser access can be allowed while scripted clients are blocked.
Generate simulated bot traffic using curl from the VScode Terminal (expected to be blocked).
Open a new terminal in VS Code and run the following commands to send non-browser, automated POST requests to protected pages.
Note
Update the URLs below with your namespace.**TIP:* create a new text file in VScode to edit the curl commands. There is no need to save the file*
Login Page Test
curl -s https://<NAMESPACE>-lb.lab-app.f5demos.com/login \
  -d "username=test&password=test" \
| sed -n 's/.*<body>\(.*\)<br>.*/\1/p'
Contact Page Test
curl -s https://<NAMESAPCE>-lb.lab-app.f5demos.com/contact \
  -d "name=test&email=test@test.com&message=hello" \
| sed -n 's/.*<body>\(.*\)<br>.*/\1/p'
What this means:
curl does not execute JavaScript or provide browser telemetry.
The request is classified as automation and is blocked.
The response shows a block outcome (or block message).

Review Bot Defense in F5 Distributed Cloud
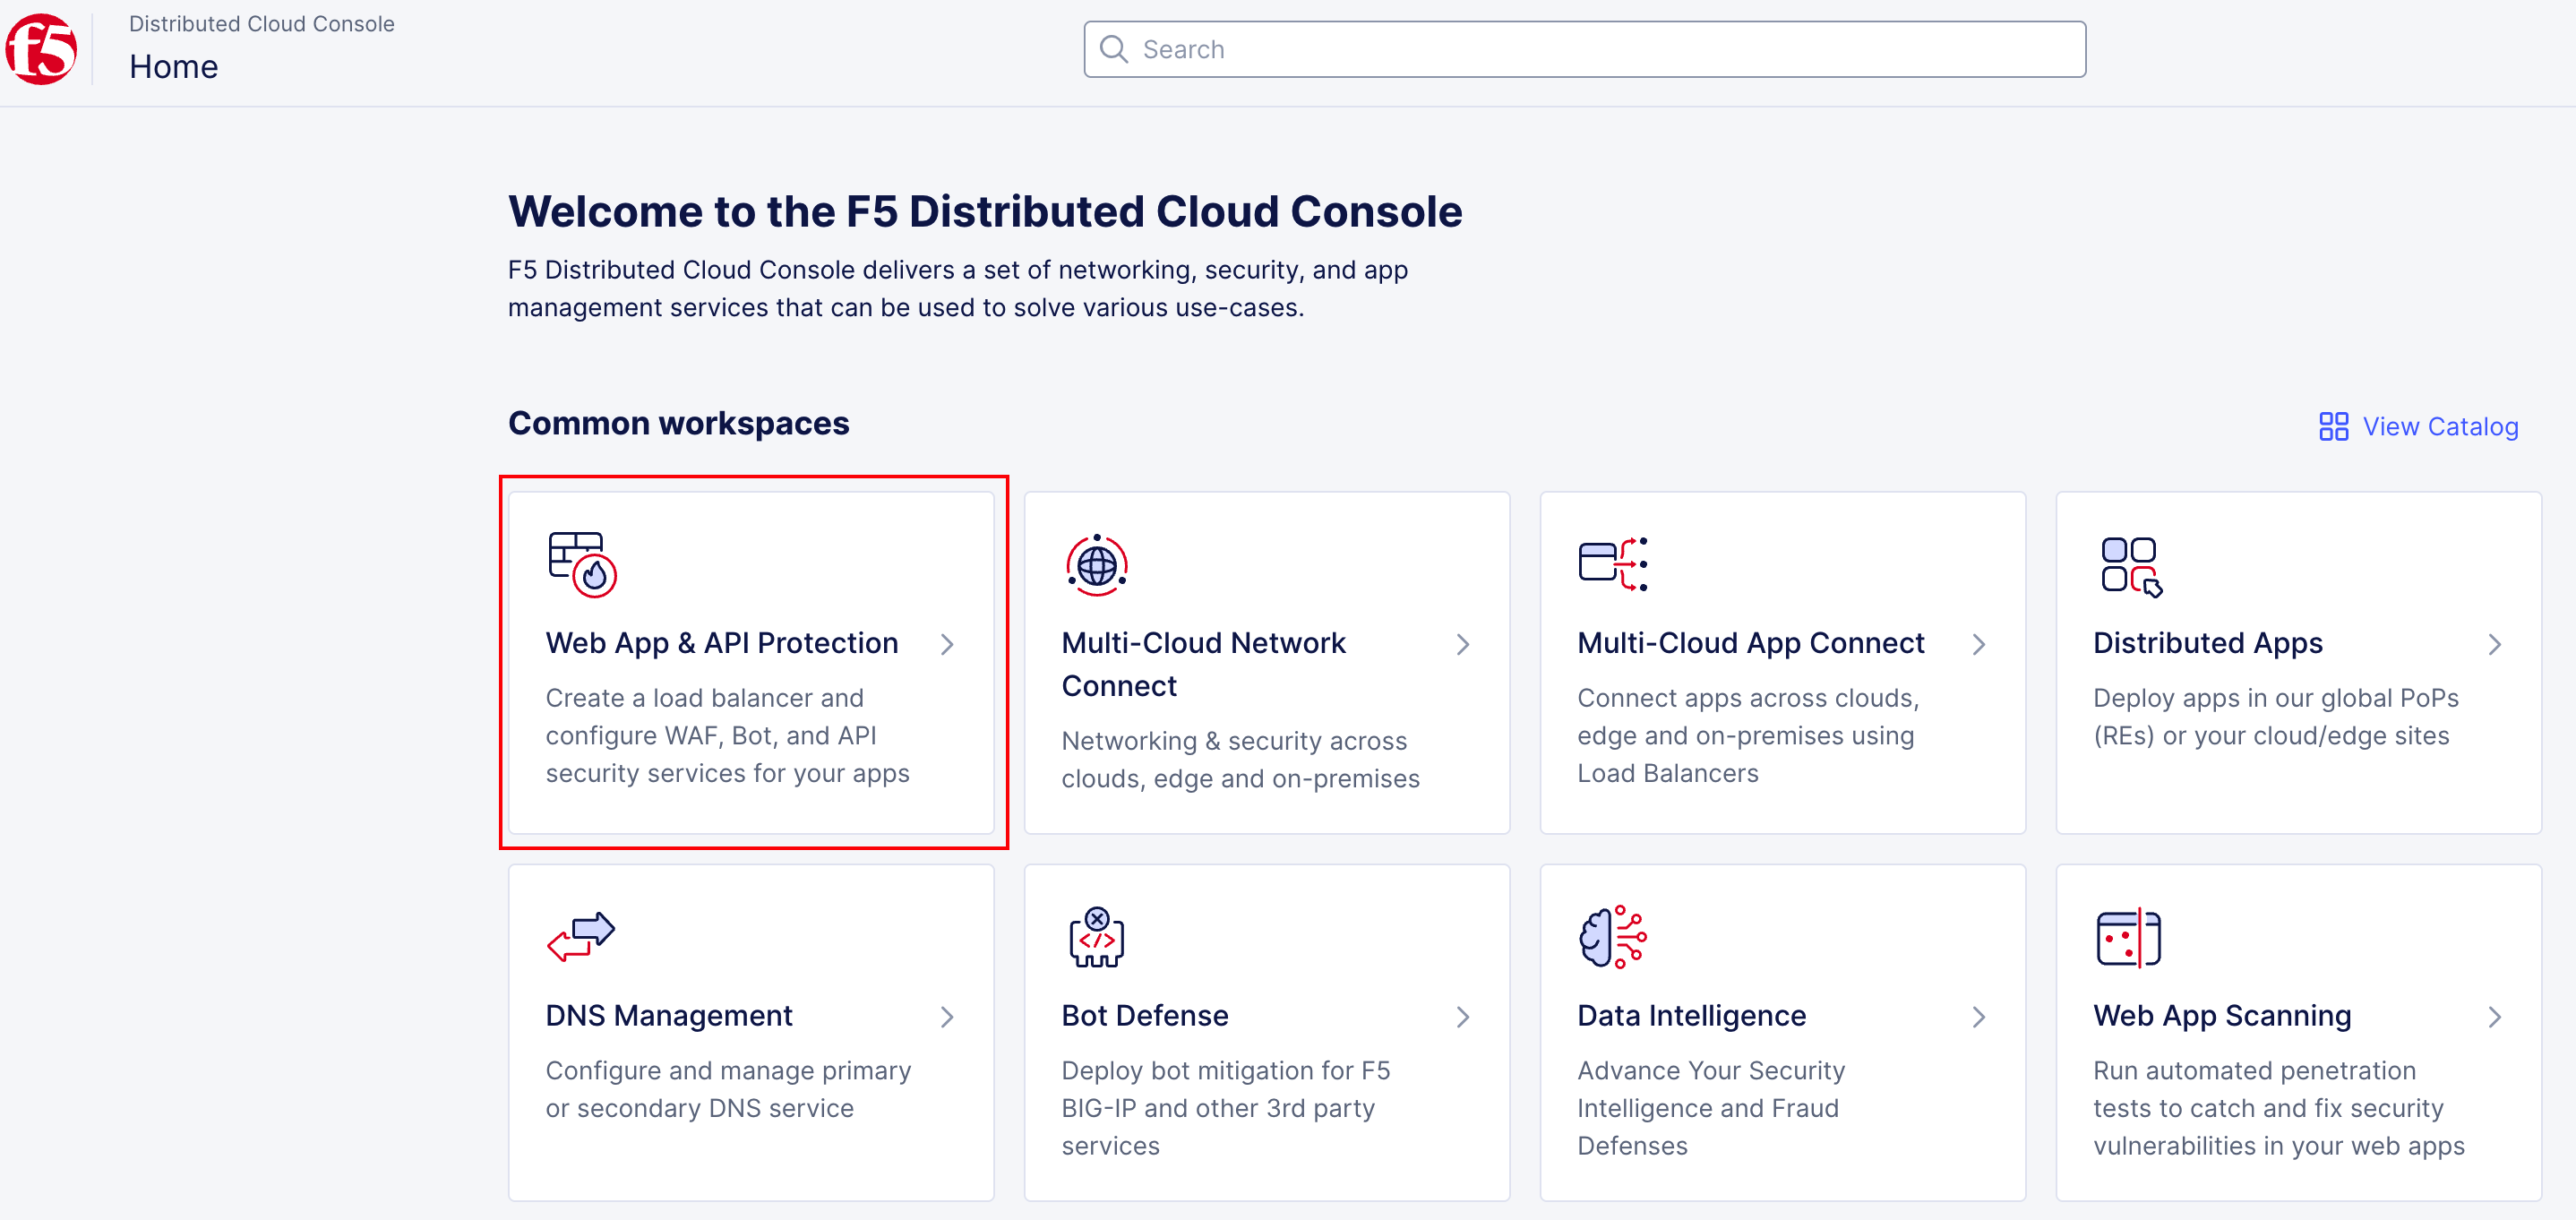
Open the F5 Distributed Cloud console and navigate to the WAAP security view.
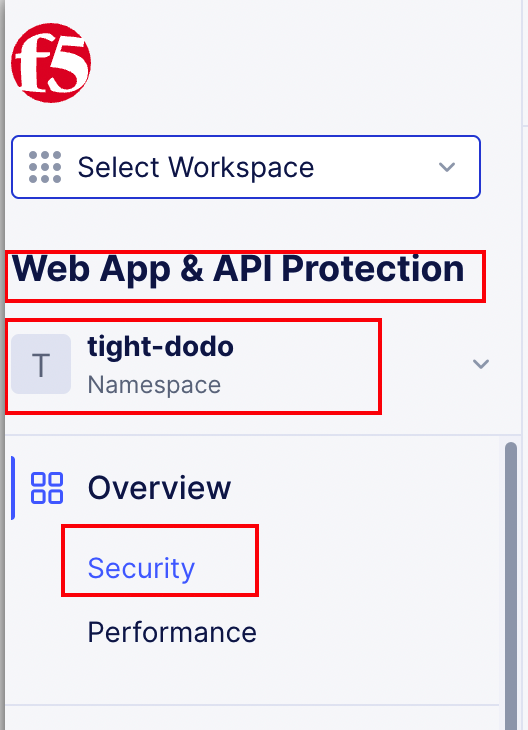
Return to the Security dashboards and review bot-related events after generating traffic. To go back to the main F5XC home page, click the F5 logo, then:
Click on the Web App & API Protection tile
Under the “Overview” section, make sure you are in the Security Dashboard.
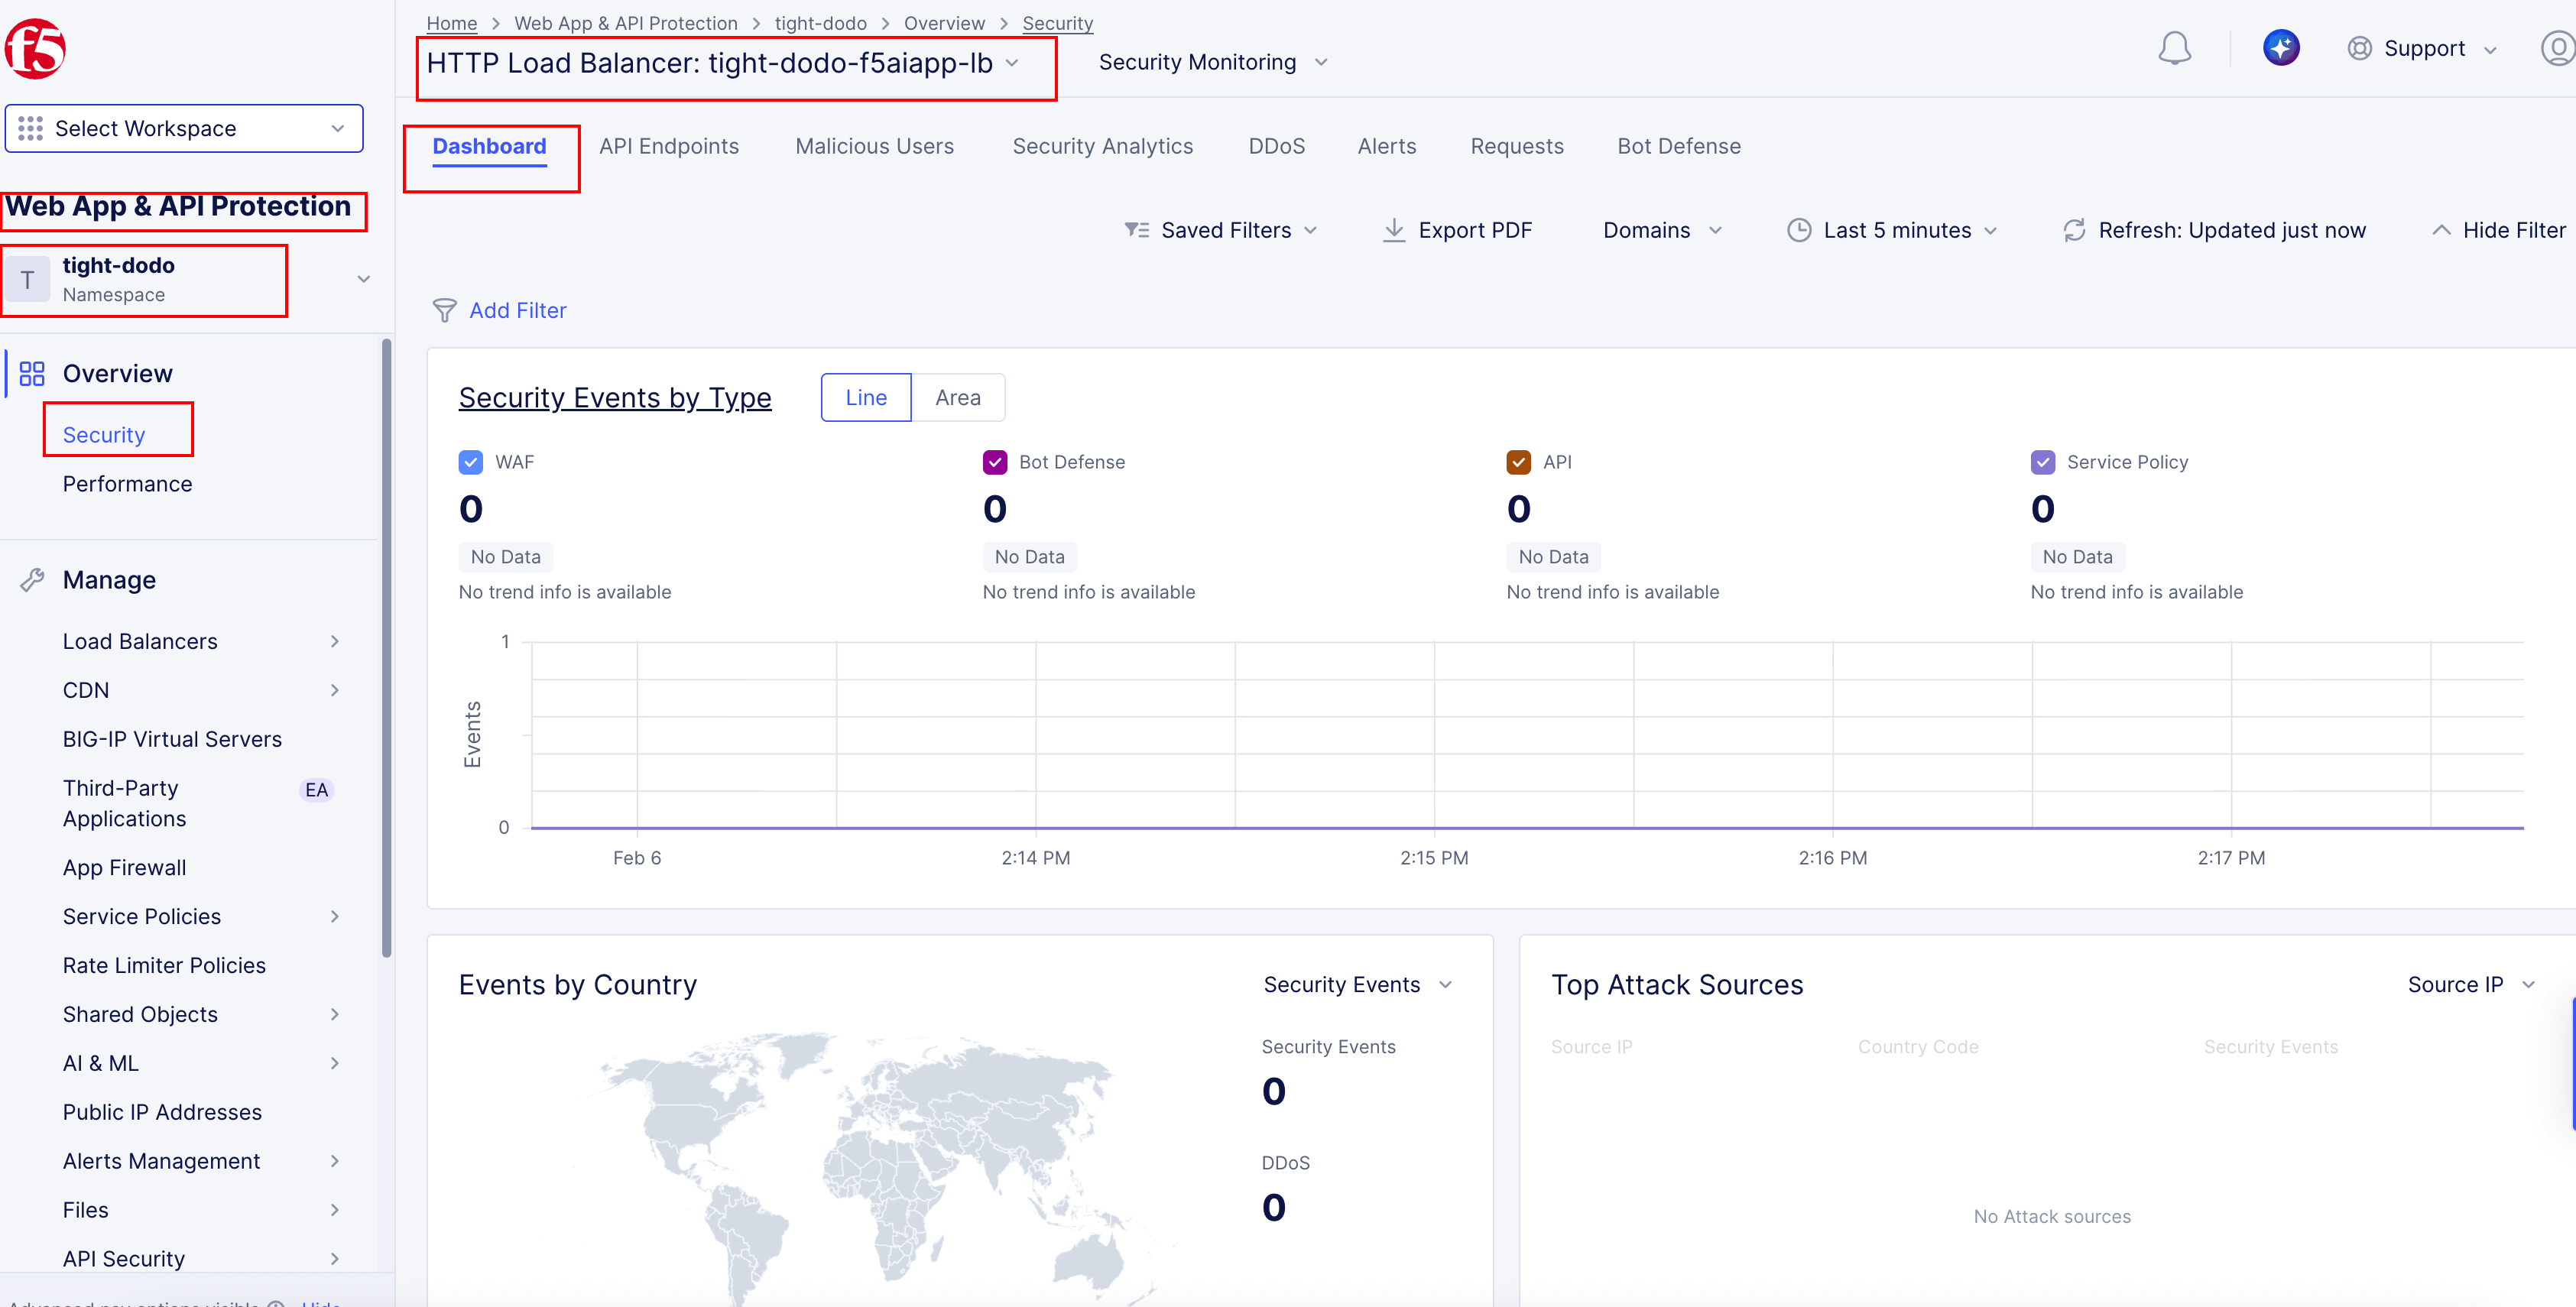
Then Scroll all the way down and click on your load balancer to go to the Security Dashboard for your application.
Open the Bot Defense dashboard.
In the Security view, select the Bot Defense dashboard to review bot-specific signals.
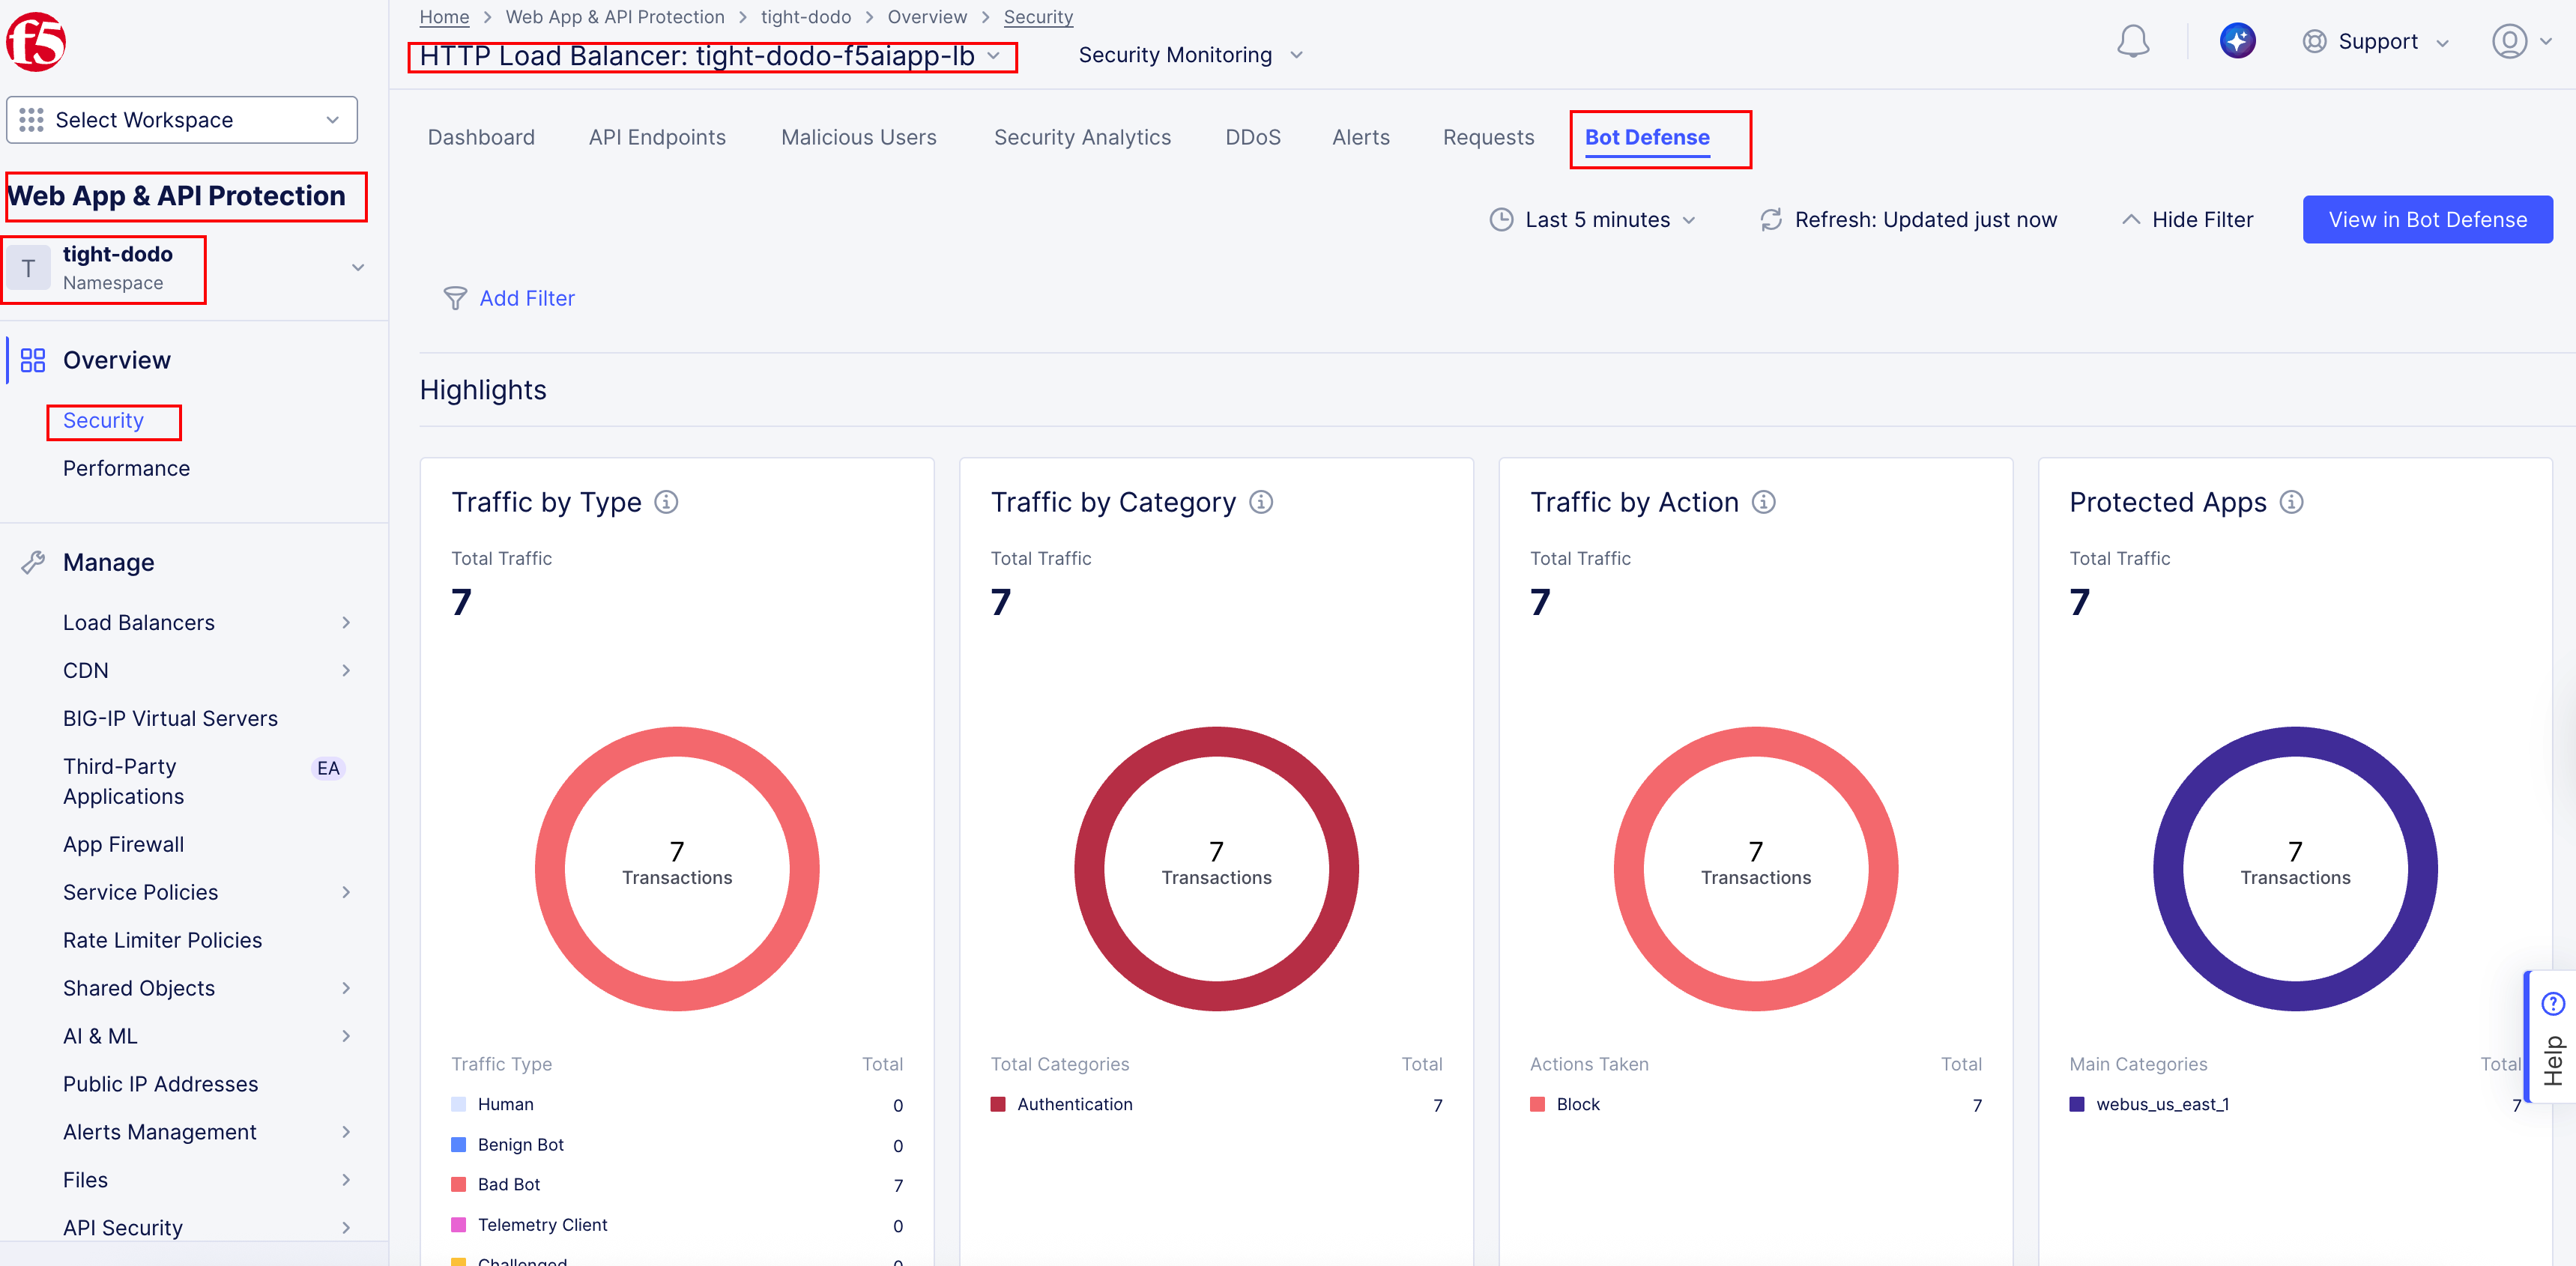
You can also review specific security events related to bot defense in the Security Analytics section.
Bot Defense is enabled for the application.
Login and contact pages are identified as protected endpoints.
Events appear for
/loginand/contact.You can correlate browser activity vs curl-based automation.
Bot Defense provides visibility into classification and enforcement.
Wrap-Up
You have successfully:
Added user-facing pages using AI-assisted coding
Enabled Bot Defense through policy-as-code
Triggered automated deployment via CI/CD
Observed runtime enforcement differences between browser traffic and scripted traffic
In the next module, you will step back from building and enforcing controls and focus on validation.
You’ll review F5 Web Application Scanning (WAS) results as a DAST tool to compare: - The application before security controls - The application after WAF, API Discovery, and Bot Defense are enabled
This closes the loop by answering the most important question in DevSecOps:
Did our security controls actually make the application safer?
That final comparison brings the lab to its conclusion—and reinforces the full Code. Secure. Repeat. workflow.