Lab 3: Human-Simulated Stuffing Attack
Scenario Lab 3
In this lab, you will configure Openbullet to simulate human input on a selenium-controlled browser.
Since a browser is being used as the client, the POST will contain JavaScript containing telemetry about
the client. Note: Telemetry allows the engine to assign a risk factor to a threat. For some attacks,
like a slow-moving “human” stuffing attack, the engine needs to see enough data to positively identify
it as a bot. Therefore, for this attack, you may see some of the initial requests are logged as Human
but quickly the bot will be flagged.
Expected Lab Time: 30 minutes
Task 1: Execute a Human Credential Stuffing Attack
For this task you will create a Human credential stuffing attack with our test tool. The workflow
is the same as the Basic stuffing attack except you will use the Human config and Human credentials wordlist.
We will end by reviewing the security requests logs as well as the Bot Defense dashboard for greater insights.
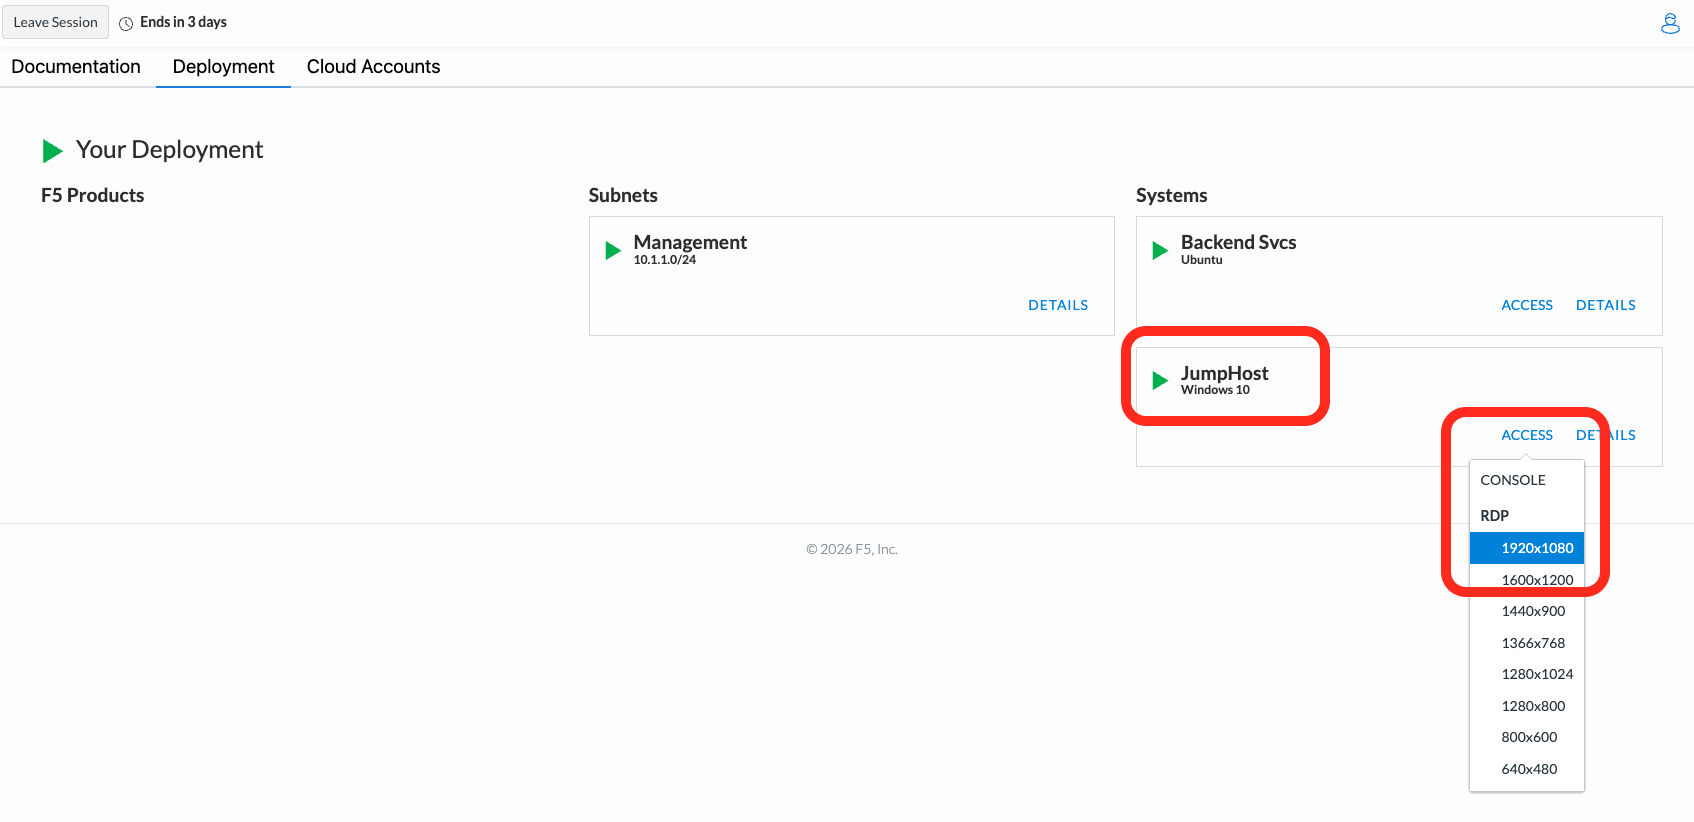
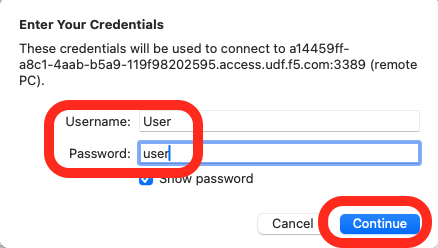
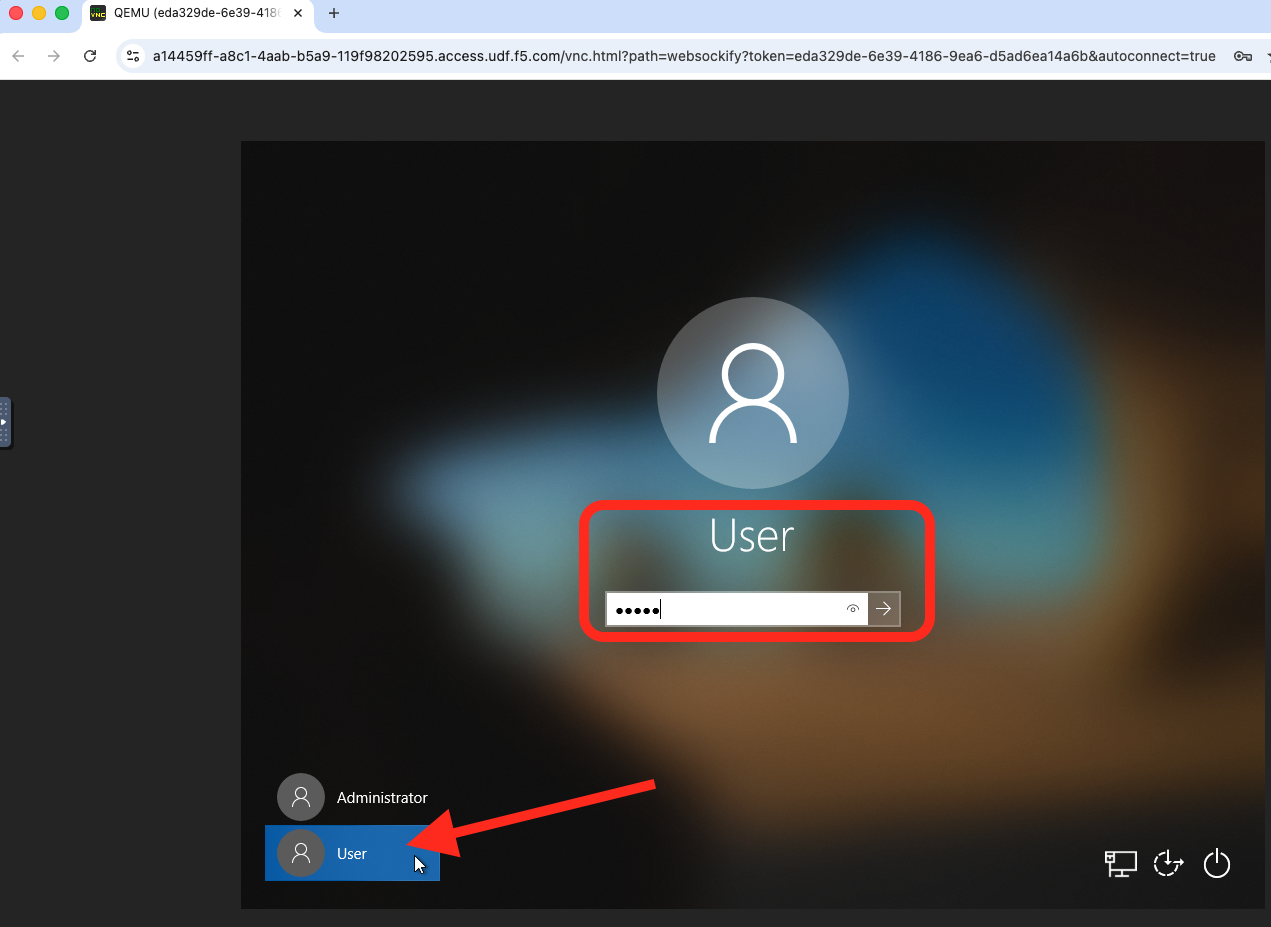
RDP or Console into the Windows Jump Host.
Go back to your UDF Deployment page to initiate an RDP or Console connection into
your Windows JumpHost. The username is “user” and the password is “user”.
Click on Deployment Tab > JumpHost > ACCESS
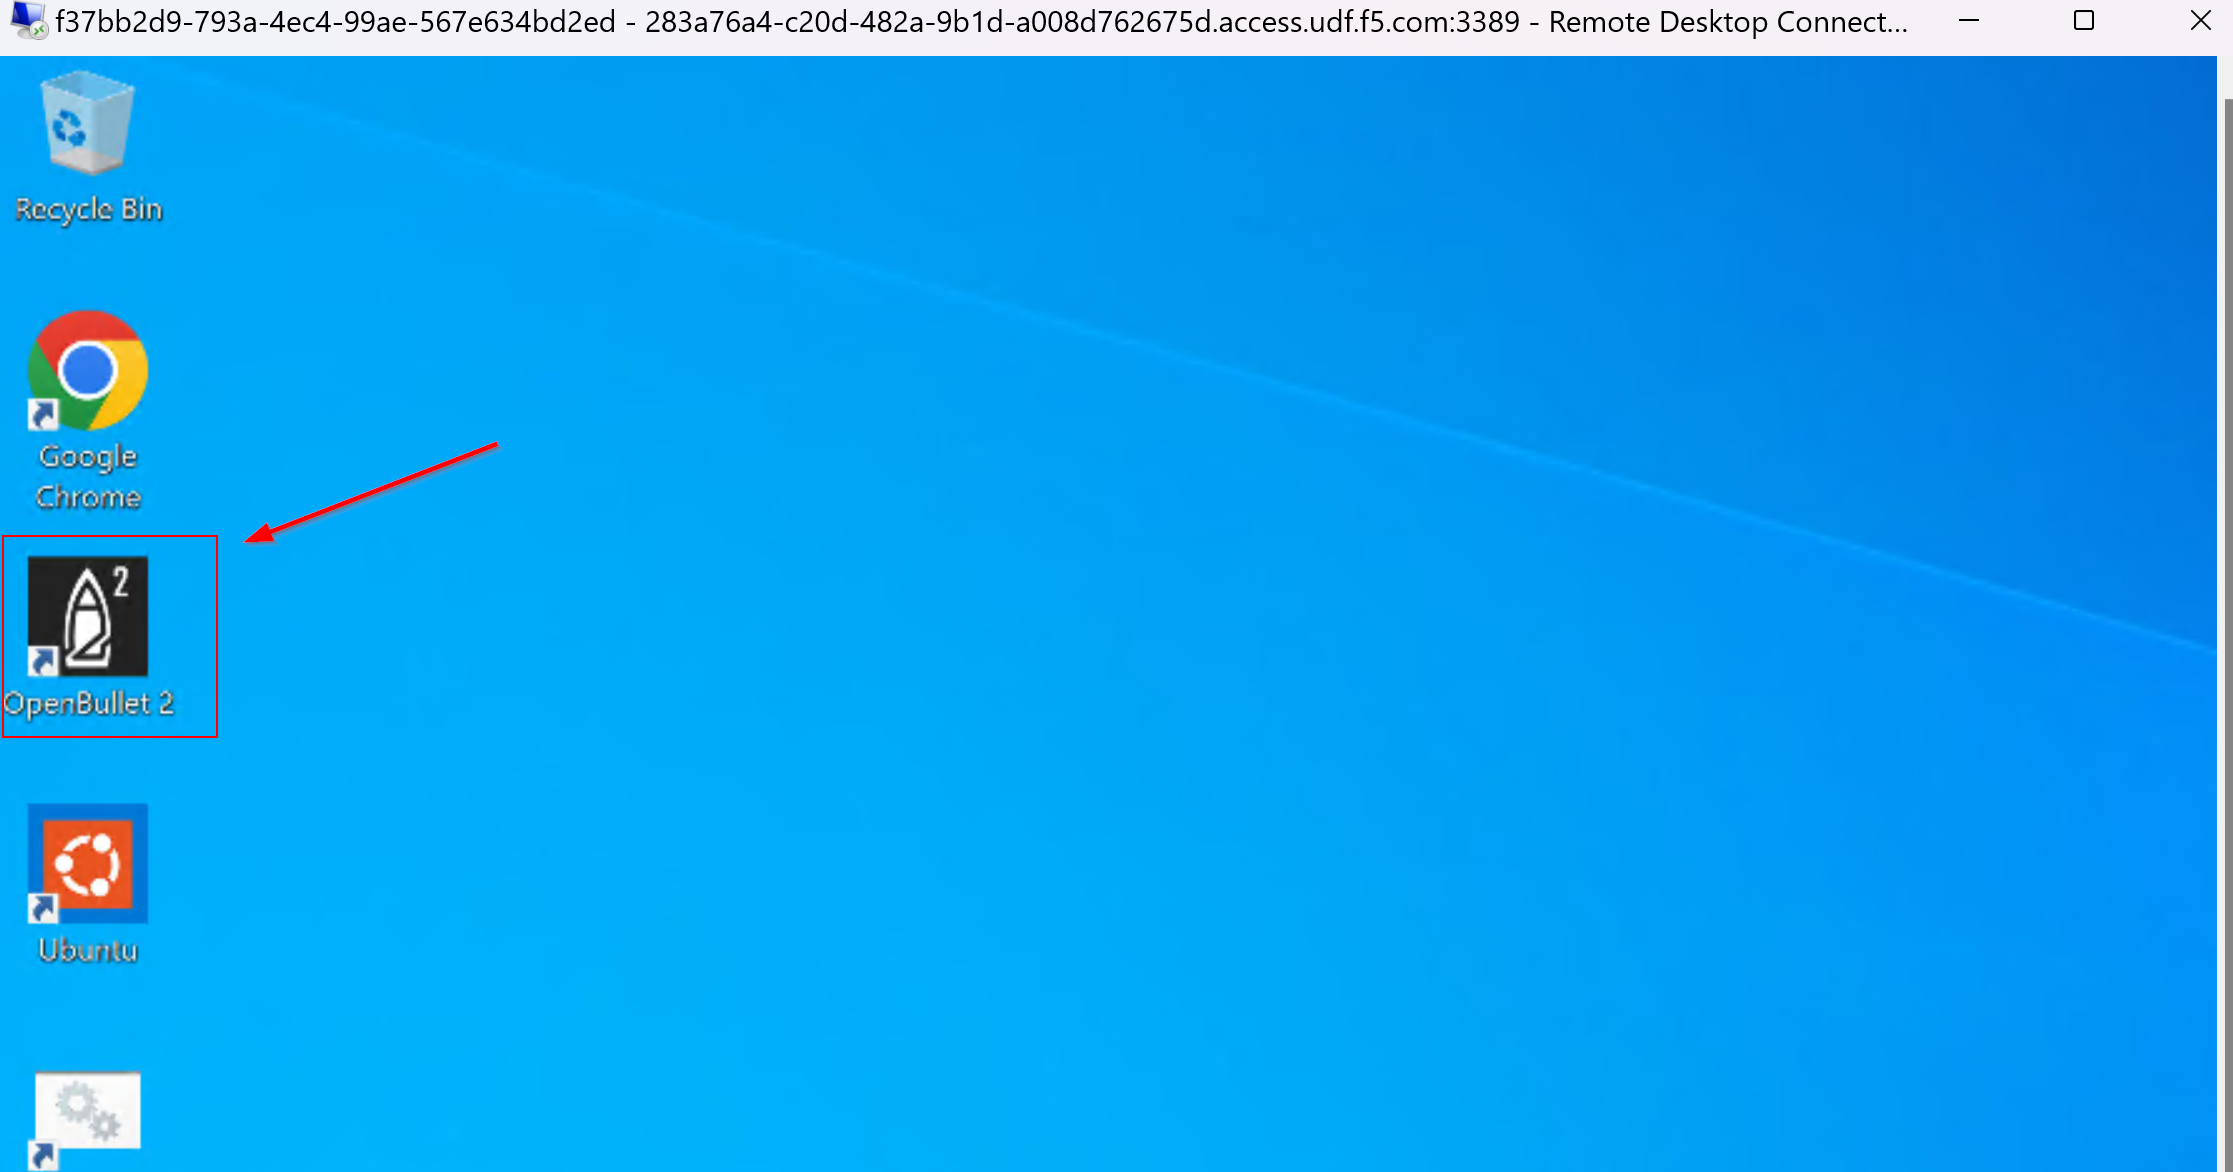
On the home screen double-click the OpenBullet 2 shortcut
|
|
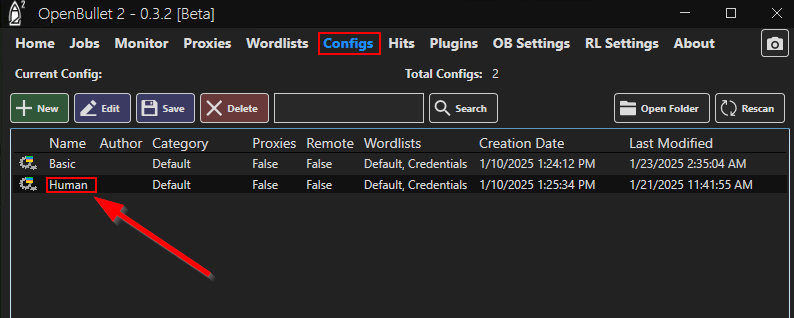
Click on Configs and double-click “Human” - this is our credential stuffing
attack configuration that will simulate a basic Bot.
|
|
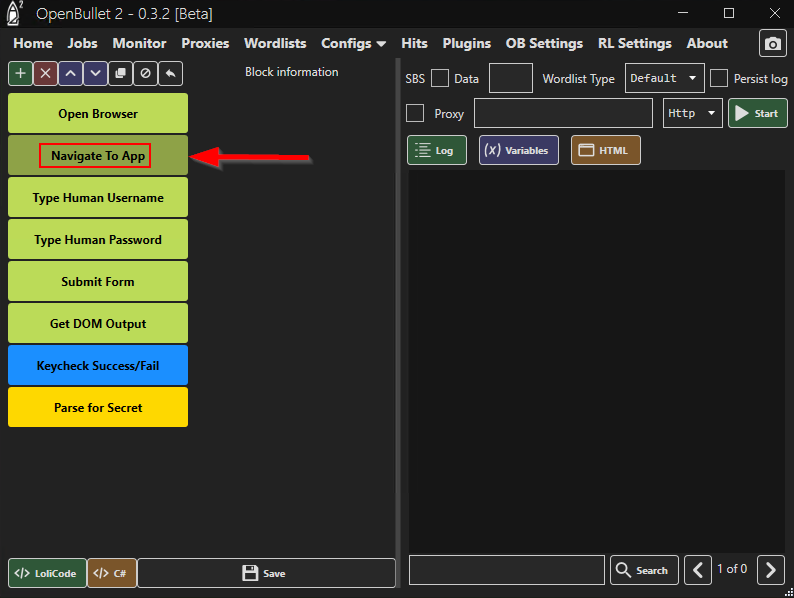
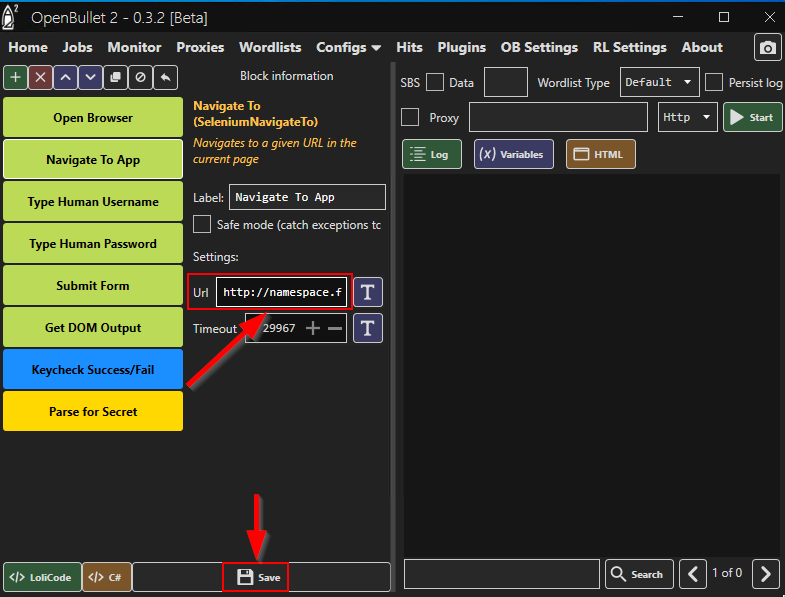
Click the Navigate to App block and update the URL field with your load balancer
namespace. Click Save and Ok at the bottom when finished.
|
|
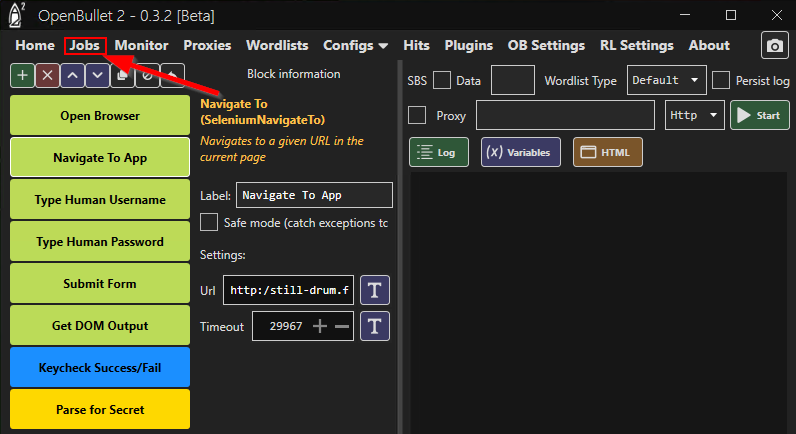
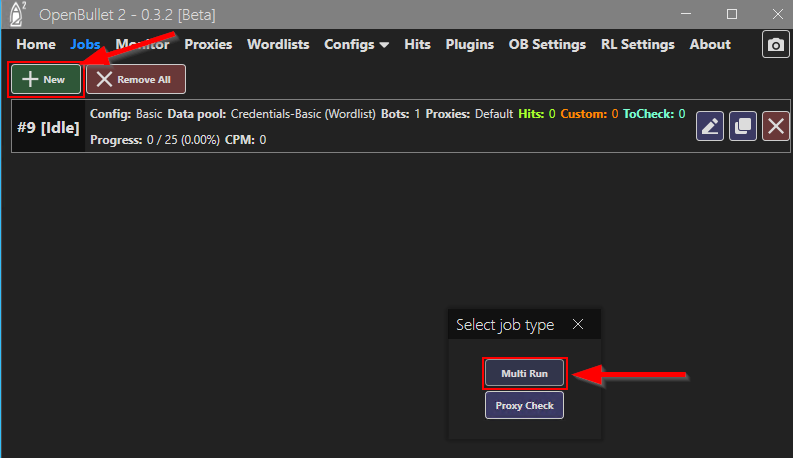
From within the same window click Jobs then +New and finally Multi-Run.
|
|
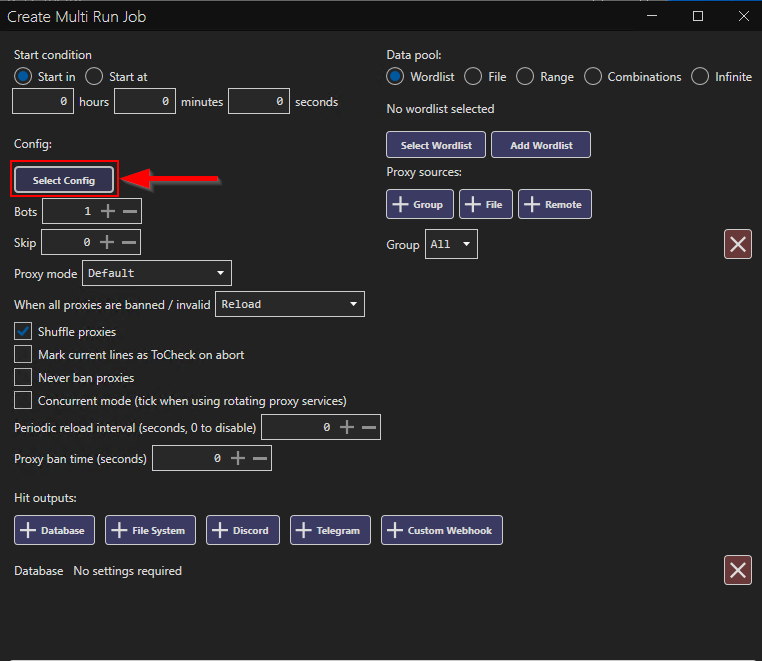
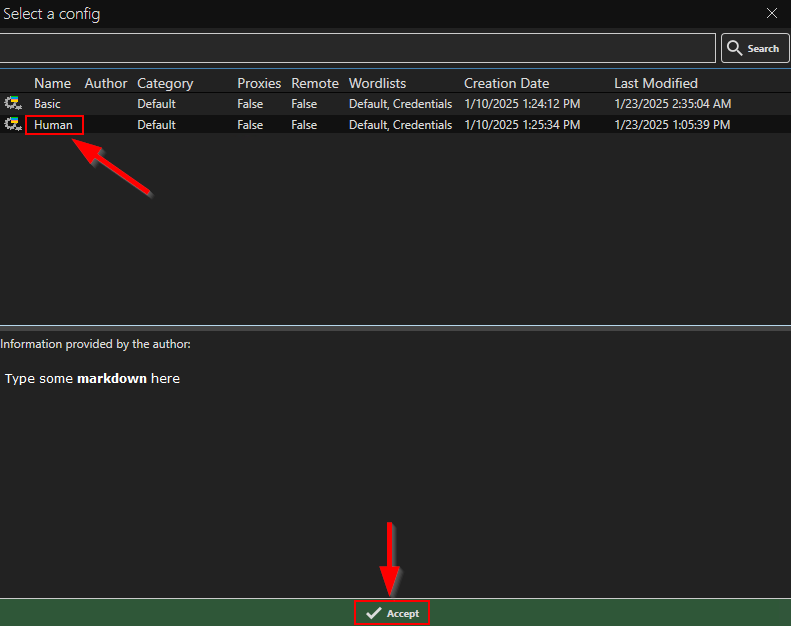
In the new window, on the top left, click “Select Config”, then Human and
finally Accept at the bottom.
|
|
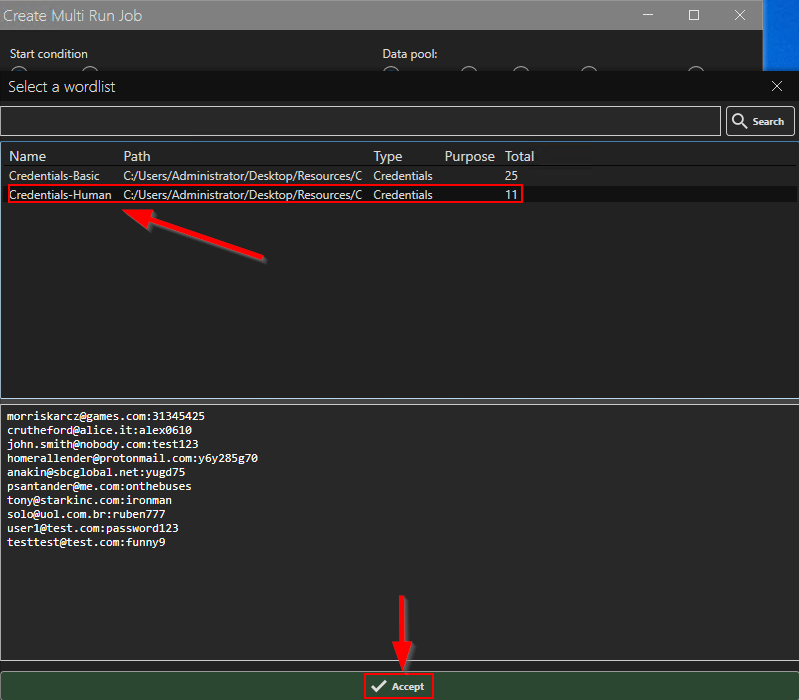
On the top right, click Select Wordlist, then select Credentials-Human and finally
click Accept at the bottom.
|

|
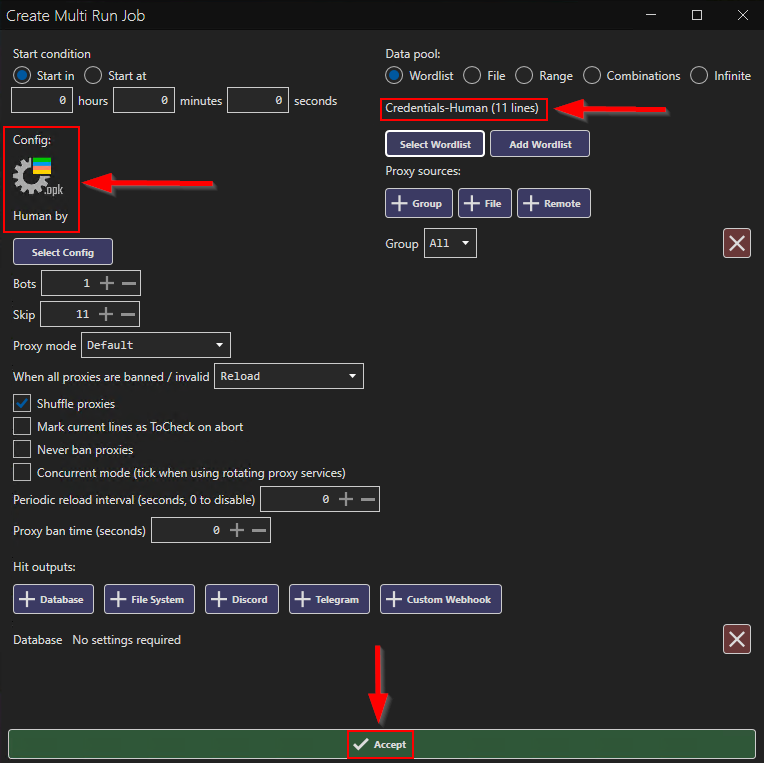
Now that we have added the Human Configuration along with the Credentials-Human
we can finally click Accept at the bottom, this will save the Multi-Run Job setup.
Note: Scroll down to find the Accept button if the screen is too small…
|
|
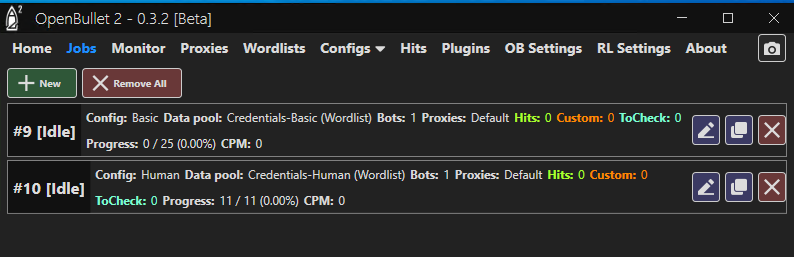
You should now see a second job titled #[X] [Idle]. Click the Options icon
to edit the job. A new window will open.
|

|
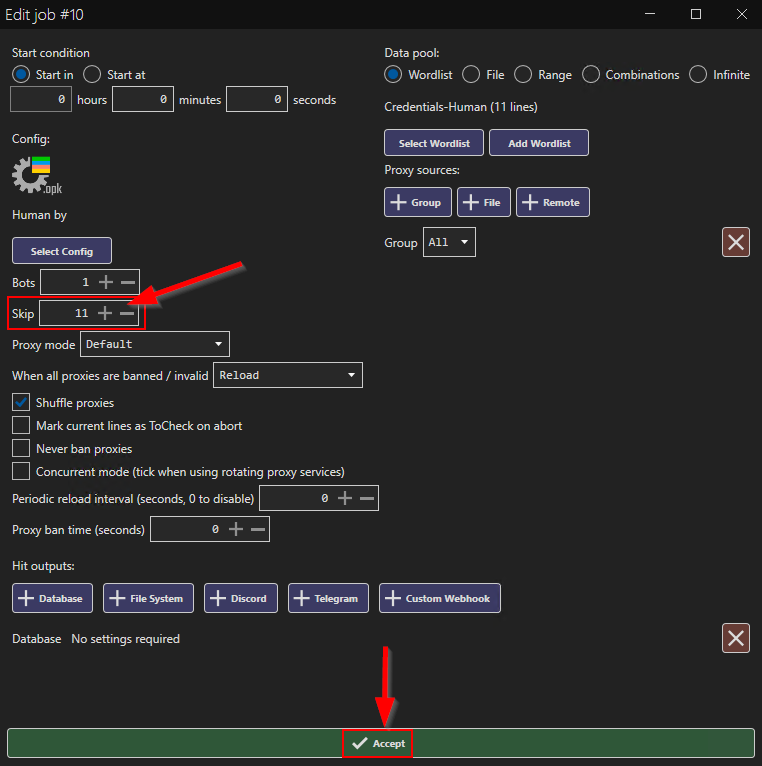
Change the Skip value to 0 (zero) either by typing it or using the minus button
finally clicking Accept at the bottom.
|
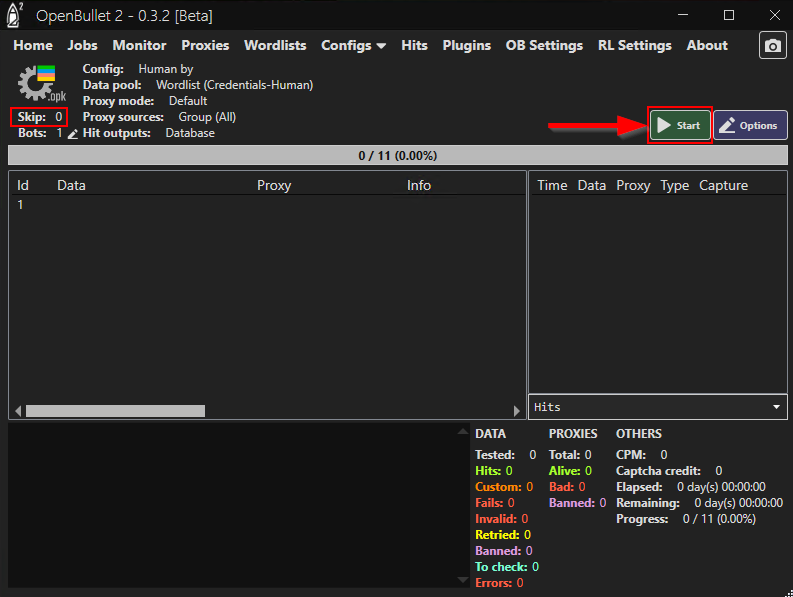
Now with the Skip value changed to “0”
you can click Start to run the job.
|
Task 2 : Review the Request Logs
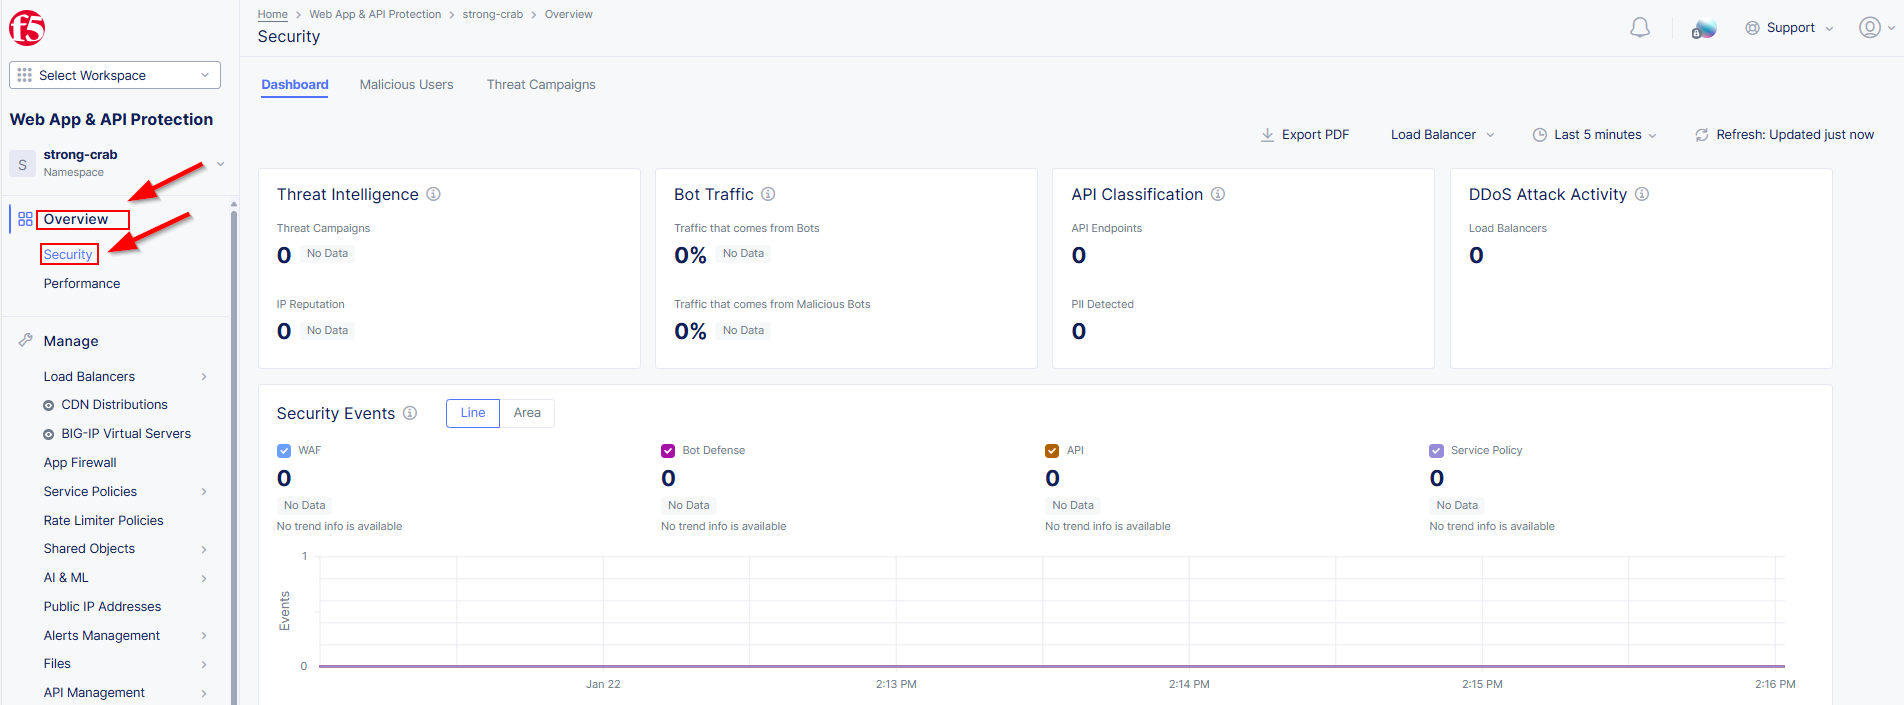
Let’s review our load balancer request logs - Go to Web App and API Protection
then Overview and finally Security (Adjust the time filter as needed)
|
|
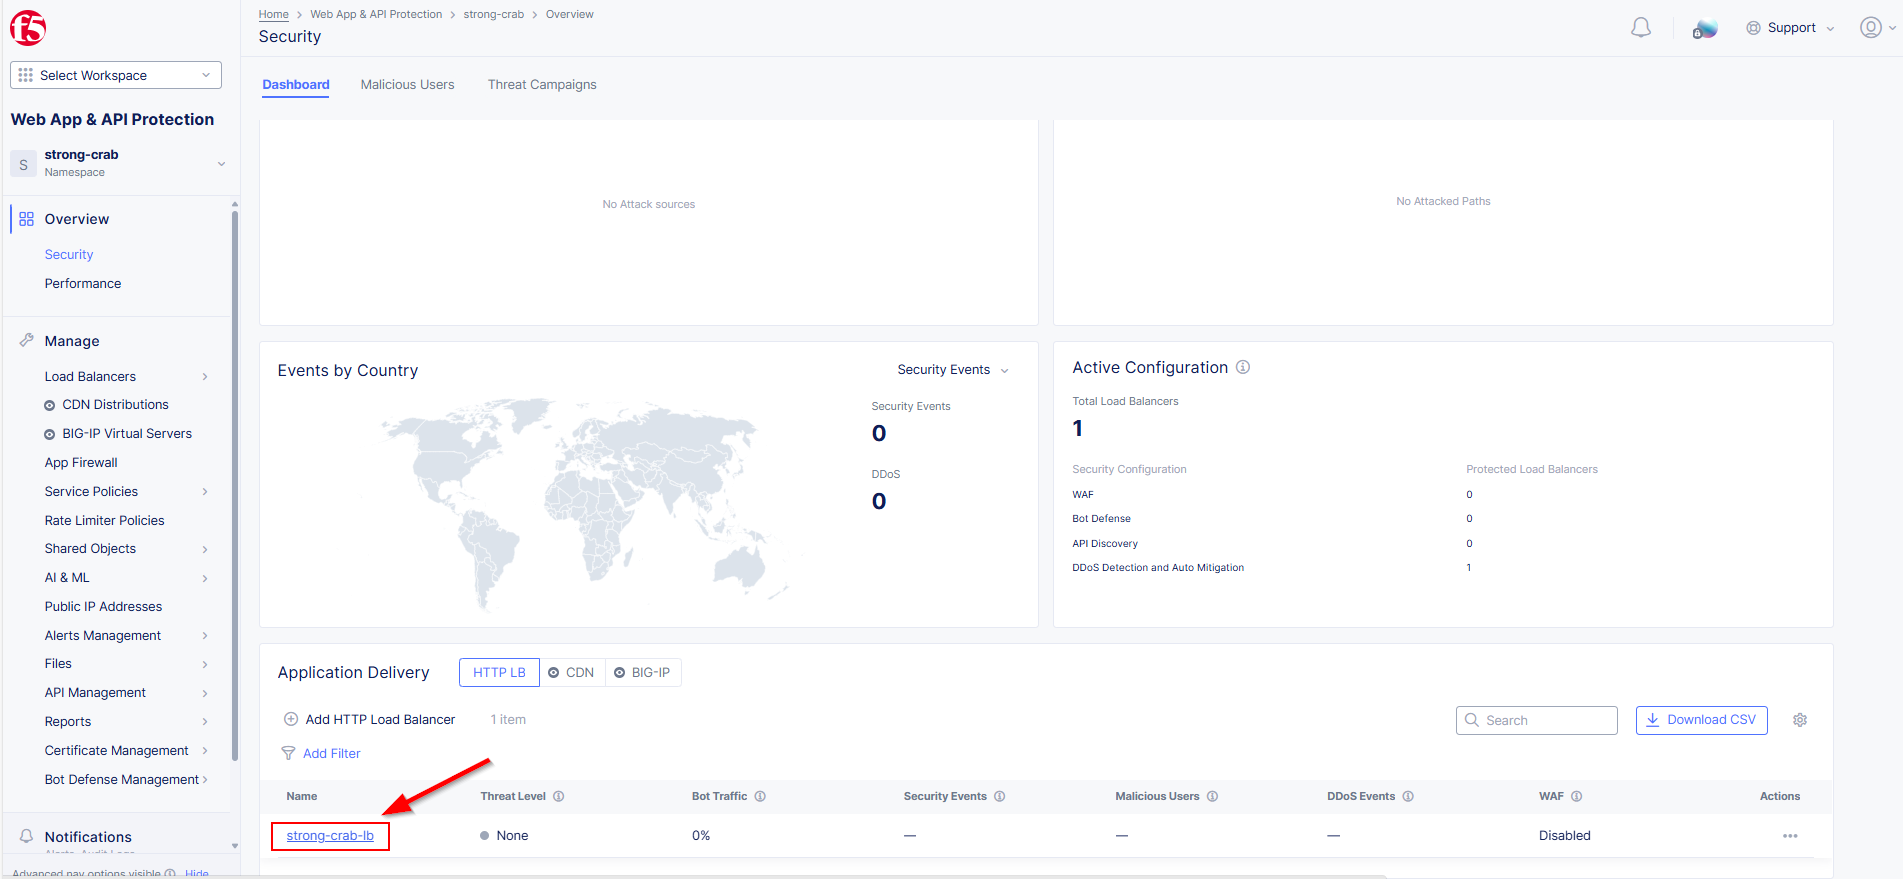
Scroll to the bottom and click on your HTTP Load Balancer then at the top Requests |
|
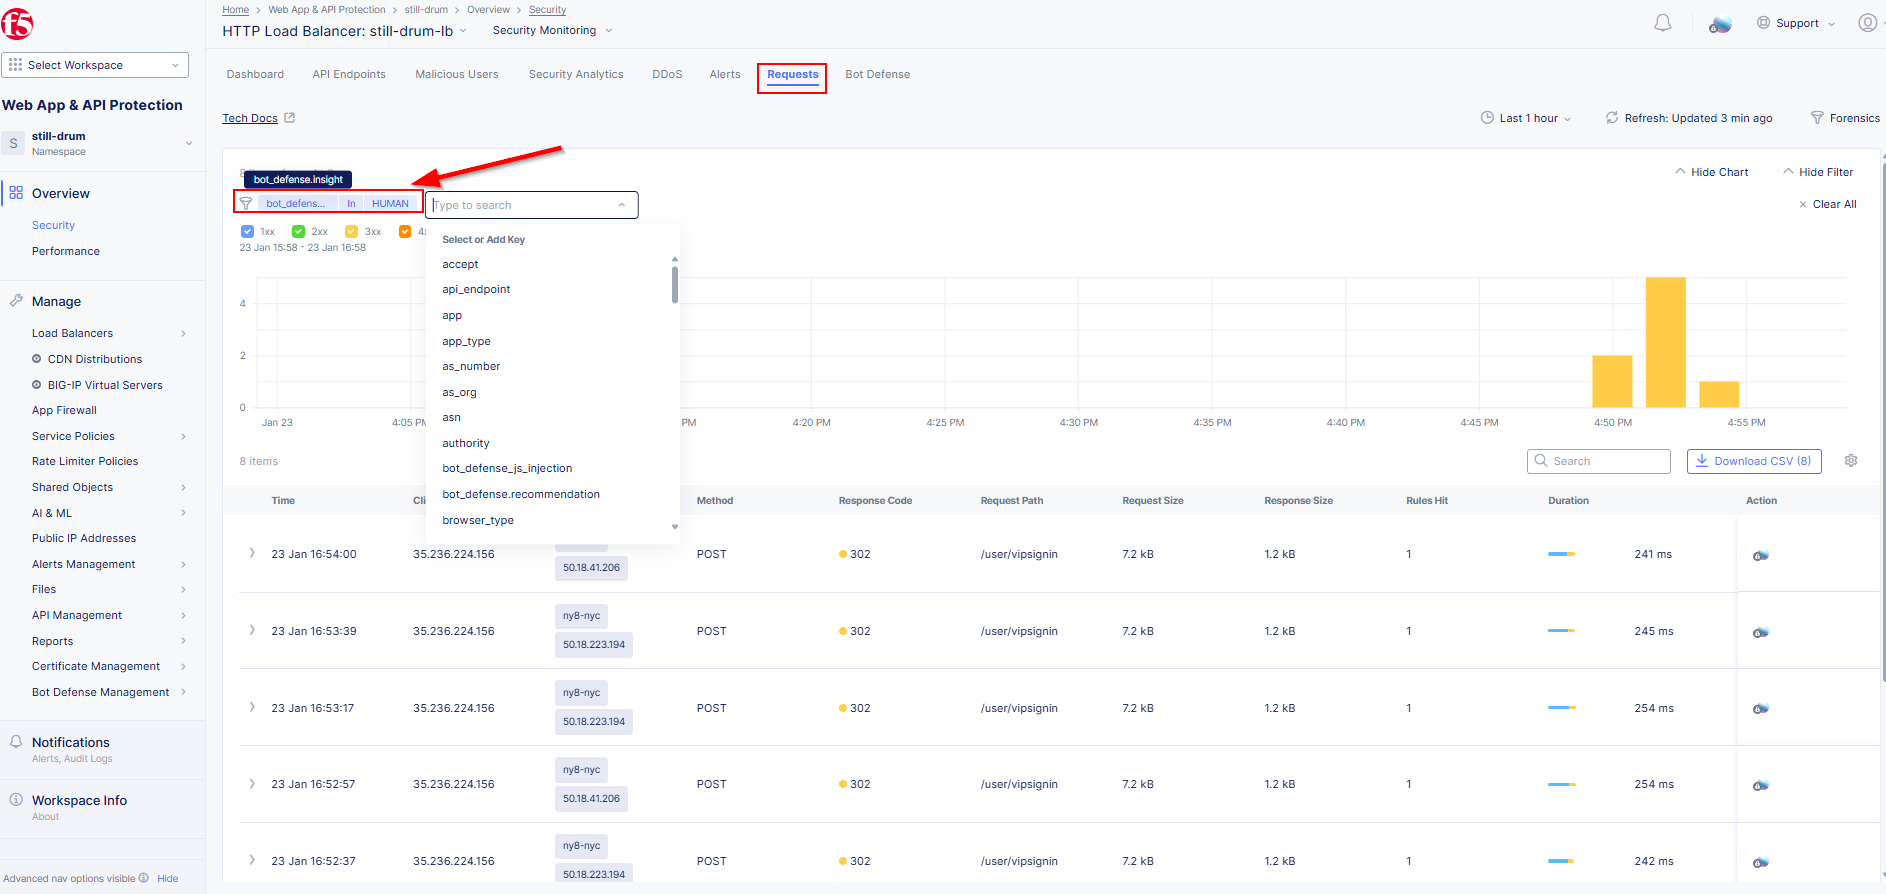
Add a filter for Human Bot requests. Click Add Filter and enter the following
syntax bot_defense.insight In HUMAN. As you type each word click on the
syntax match that will appear in the dialogue box. |
|
What were the results? How many POST requests were flagged as Human?
If you are one of the first students to run the attack, you may see it take up to 10
requests before positive bot identification.
|
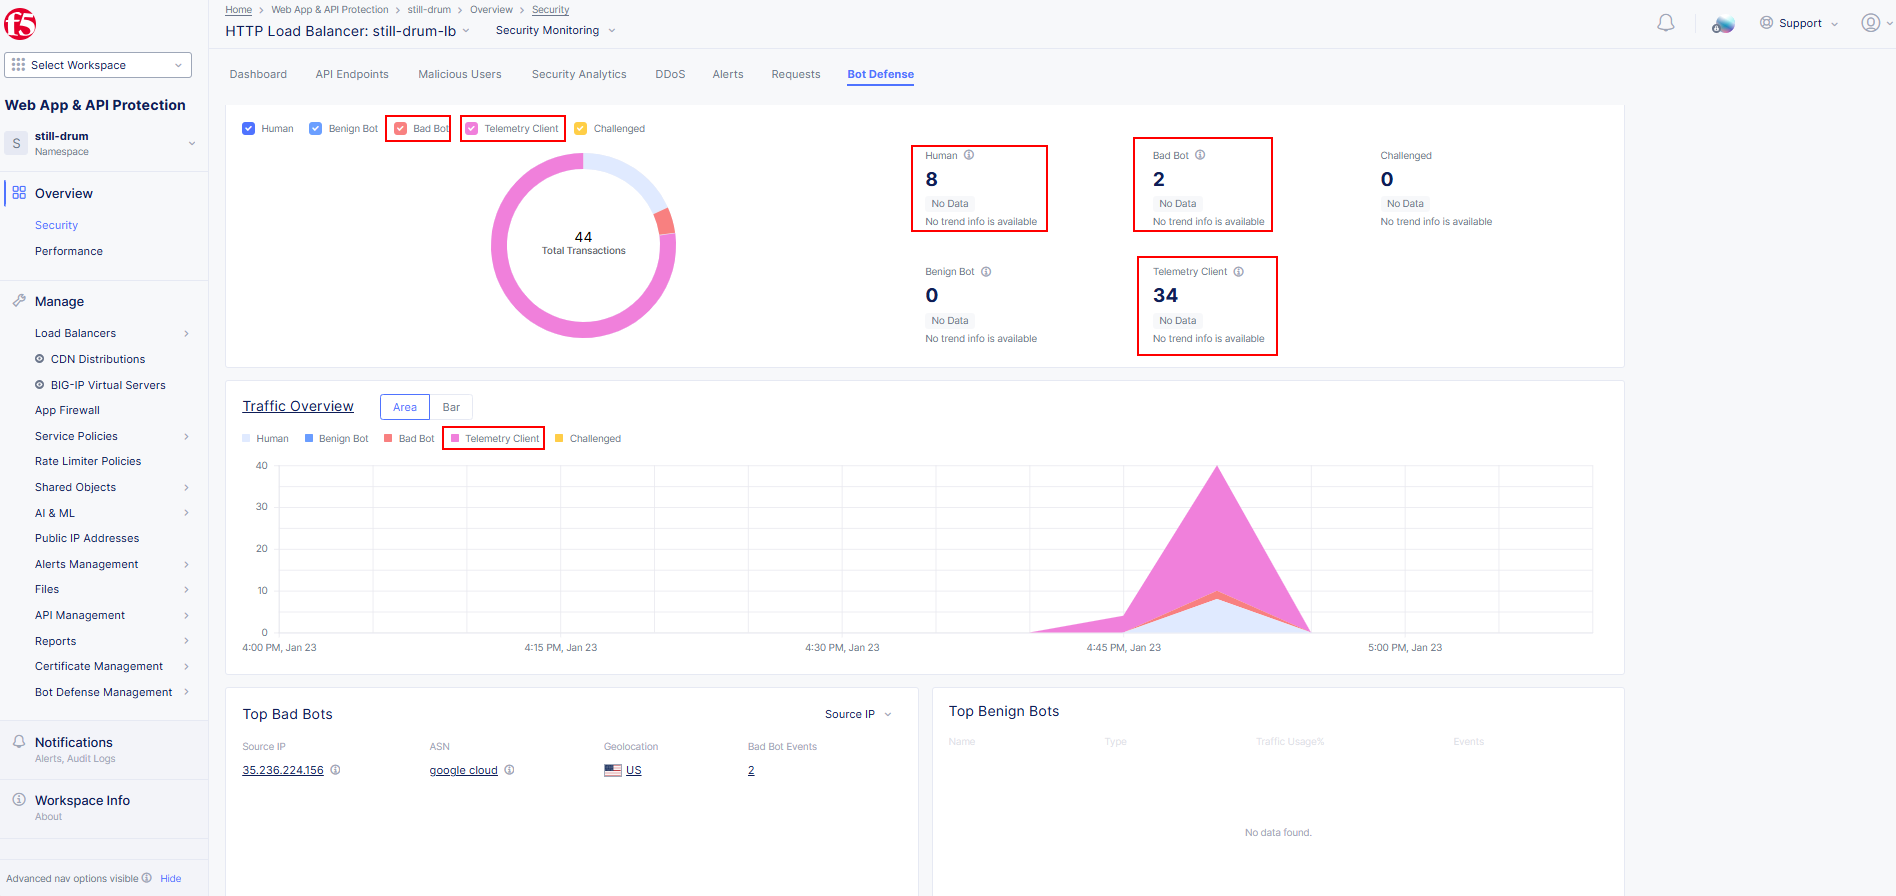
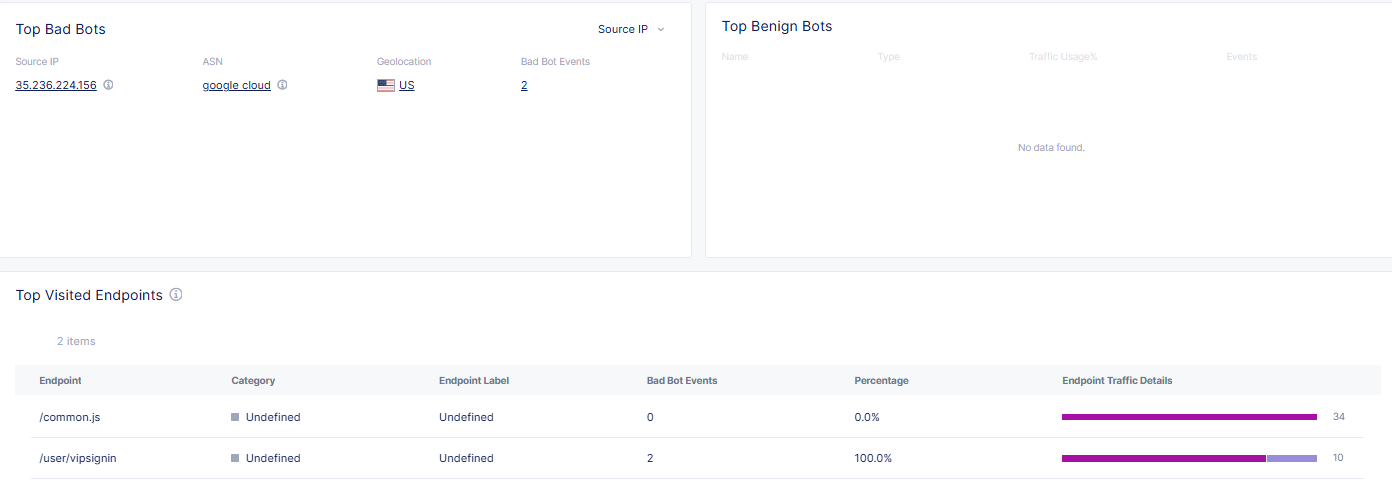
Let’s go review the Bot Defense Dashboard. We access this by clicking Bot Defense
at the top of the screen (Next to Requests).
Notice now we see Telemetry Client show up in the Traffic Types. This indicates
JavaScript telemetry within the client browser identified the bot.
|
|
Lab 3 Summary
This lab shows how Distributed Cloud’s machine learning capabilities
leverage telemetry in a browser request to identify a bot even if it is capable of
simulating human activity. This concludes Lab 3, feel free to review the configuration.
|

|